Hugo – Legacy
About Hugo
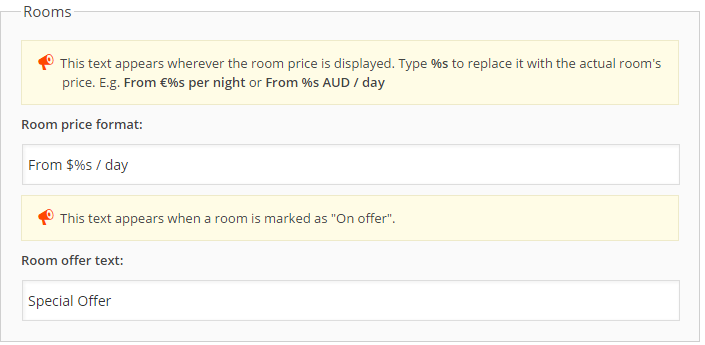
Hugo is an e-commerce theme for WordPress. It is WooCommerce compatible and allows you to easily setup a functional and beautiful e-shop to sell your merchandise. Its homepage consists of a slider and a single widgetized area which allows you to use widgets to display your products.
WordPress theme installation
The easiest way to install the theme, is by accessing your WordPress admin panel, then go to Appearance > Themes. Select the Install Themes tab and click the Upload link located just below the tab’s name. Click on Browse… and select the WordPress theme zip file you just downloaded. Then click the Install Now button, and after a few seconds, your new theme should be installed. Click activate and the theme is ready to use.
In order to install the theme manually, or in case you have trouble installing it through the admin panel, you have to unzip the WordPress theme’s zip file on your computer, and upload via FTP the resulting theme folder into your WordPress installation themes folder (wp-content/themes). Then, from the WordPress admin go to Appearance > Themes. The theme should be available in your themes list. Click activate.
After activation, you will be redirected to the CSSIgniter Settings panel (accessible from Appearance > CSSIgniter Settings) to start customizing your brand new theme.
WooCommerce
To enable eCommerce functionality for your website you need to install and activate the WooCommerce plugin by WooThemes. You can download the plugin free of charge from the WordPress Plugin Repository. For installation and usage instructions please refer to the plugin’s documentation.
Once you have installed and activated the WooCommerce plugin please install its pages by clicking on the button that WooCommerce provides on its banner. This will likely create a duplicate of some pages along with the pages installed by the sample content but its a needed step. You can delete the old pages that came with the sample content or use them instead by going to WooCommerce > Settings > Pages and assign them anew.
Also go to WooCommerce > Settings and in the Products tab set the image sizes that best fit your shop under the Product Image Sizes section, in case you need different values than the theme sets by default.
Image Sizes
The recommended image sizes for the Hugo theme are:
- Featured Thumbnail (used in single posts/pages) : 750x400px
- Fullwidth image: 1140x475px
- Header Image: 1920x200px
- Default shop catalog image: 750x665px
- Slider: 1920x1000px
- Listing Page Thumbnail: 500x390px
Useful Plugins
These plugins provide functionality and features used directly (or not) by the Theme. So, it is recommended to install and activate them before importing your sample content
- CSSIgniter Shortcodes you can use our custom made shortcode plugin to help you create a variety of layouts and elements on your site. Instructions can be found here.
- Socials Ignited use this plugin to create a widget that links to all your social profiles. You can also customize it with your icons and add new social networks, a guide can be found here.
- Contact Form 7 use this plugin to create a contact form, then copy the shortcode it gives you and paste it in an empty page.
- WP Instagram Widget: Use the latest version of this plugin to help you display your Instagram feed in any of the theme’s sidebars.
- One Click Import : Use this plugin to help you import your content with just one click.
Importing Sample Content using One Click Import
To automate the process of importing and for a better experience we have natively included support for OneClick Import Plugin. Let install it fist:
From your WordPress dashboard
- Visit ‘Plugins > Add New’,
- Search for ‘One Click Demo Import’ and install the plugin,
- Activate ‘One Click Demo Import’ from your Plugins page.
From WordPress.org
- Download ‘One Click Demo Import’.
- Upload the ‘one-click-demo-import’ directory to your ‘/wp-content/plugins/’ directory, using your favorite method (ftp, sftp, scp, etc…)
- Activate ‘One Click Demo Import’ from your Plugins page.
Once the plugin is activated you will find the actual import page in: Appearance > Import Demo Data.
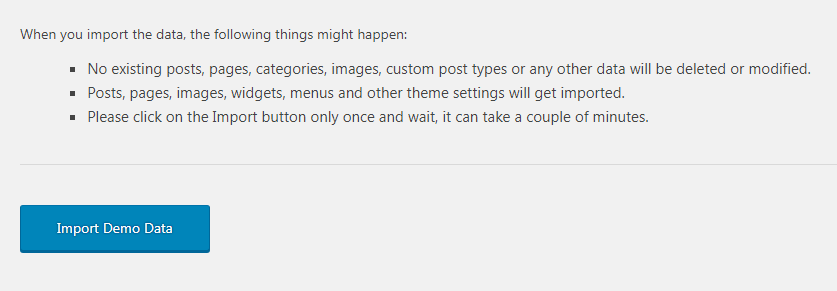
Click on the Import demo data button and you are done!
WooCommerce > Status > Tools > WooCommerce transients > Clear transients
WooCommerce > Status > Tools > Product lookup tables > Regenerate
This plugin requires PHP version of at least 5.3.x, but we recommend version 5.6.x or better yet 7.x. Please contact your hosting company and ask them to update the PHP version for your site.
Importing sample content manually
The easiest way to get started and find your way around using this theme, is by installing it into a fresh WordPress installation, and importing our sample content.
To get it go to CSSIgniter settings > Site Options, scroll all the way down and click the Download sample content link. Extract the zip file you downloaded and upload the xml file in Tools > Import > WordPress (if not already present, you will be prompted to install the WordPress importer plugin), assign the authors to an existing user and make sure you check the “import attachments” box. You can now import the sample content.
You can also download the Sample Content for Hugo by clicking here
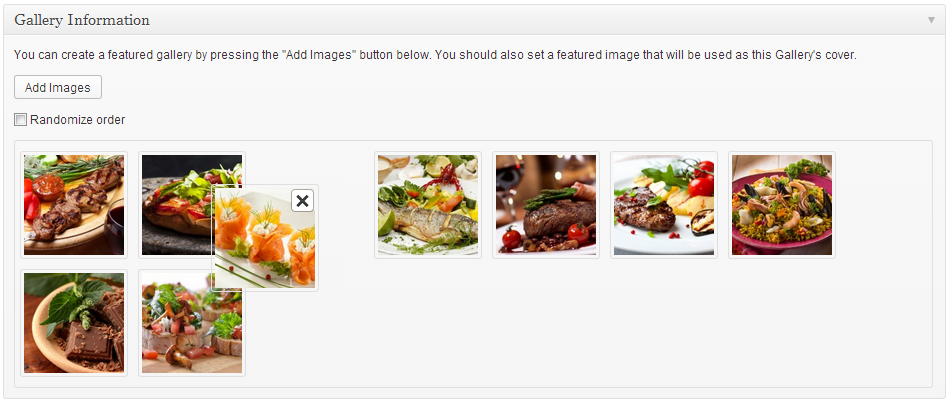
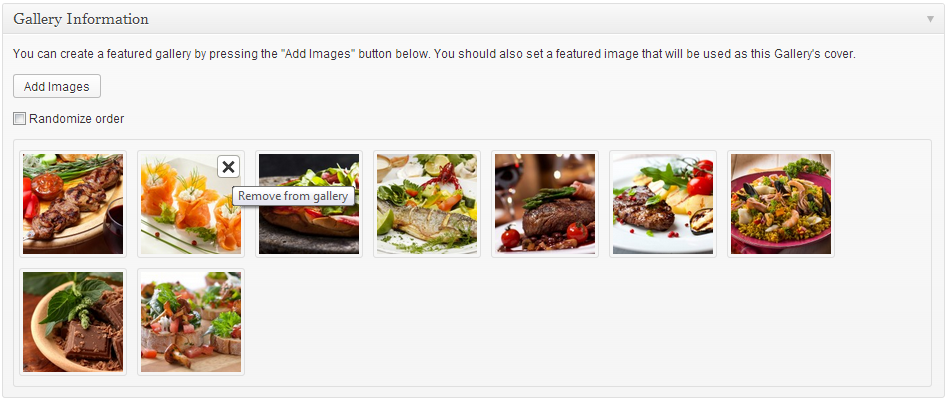
Importing widgets
Notice: Please make sure you have installed and activated the WooCommerce plugin before importing widgets, otherwise the WooCommerce-specific widgets will not be inserted.
You can also import the widgets you see on the theme’s demo. To do that, you need the Widget Importer & Exporter plugin. To install it go to Plugins > Add new search for widget importer exporter and install the plugin. Activate it and go to Tools > Widget Importer & Exporter click choose file and upload the hugo_widgets.wie file which is located in the sample content zip file, click Import widgets and you are good to go.
WARNING: As this will create posts, pages, custom post types, categories, widgets, etc. and change various system settings, it is strongly advised that you do this on a clean WordPress installation, without any previous and/or precious data. Under no circumstances we can be held responsible for total or partial data loss, so please be careful.
Setting up your theme
1) Creating theme pages
Let’s start by adding pages you are going to need. Go to Pages > Add New and create the following pages:
- “Home” this will serve as your homepage, assign to it the “Frontpage” template to it, from the “Page attributes” panel. See below for homepage configuration.
- “Blog” this will be your posts page. Just create it, no further action needed.
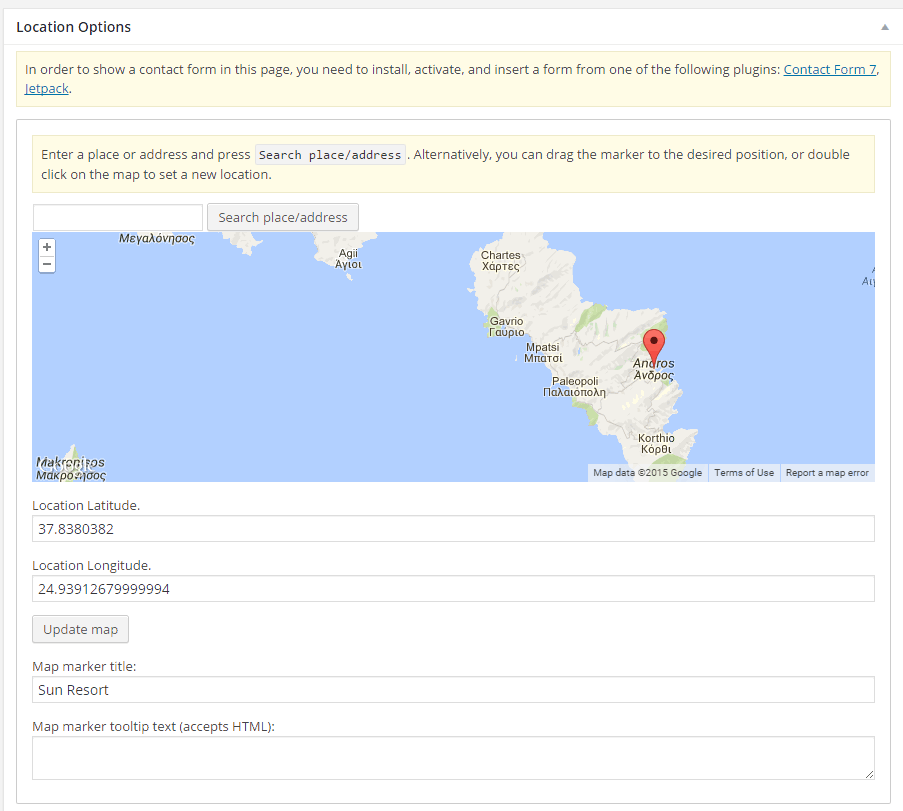
- “Contact” (optional) here you can place your contact form, use either the default, the left sidebar or the fullwidth template, depending on the layout you want for the page. Plugins like Contact Form 7 or Jetpack can help you add contact forms.
(TIP, all page titles serve as examples, you can name your pages according to your needs.)
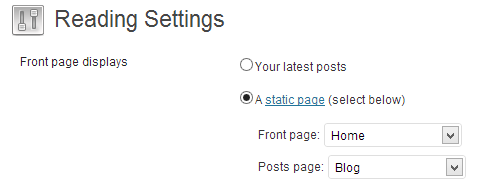
Once the pages are created, navigate to Settings > Reading and set the “Home” page to be your static frontpage and the “Blog” page as your posts page, as demonstrated in the image below.
2) Populating your blog
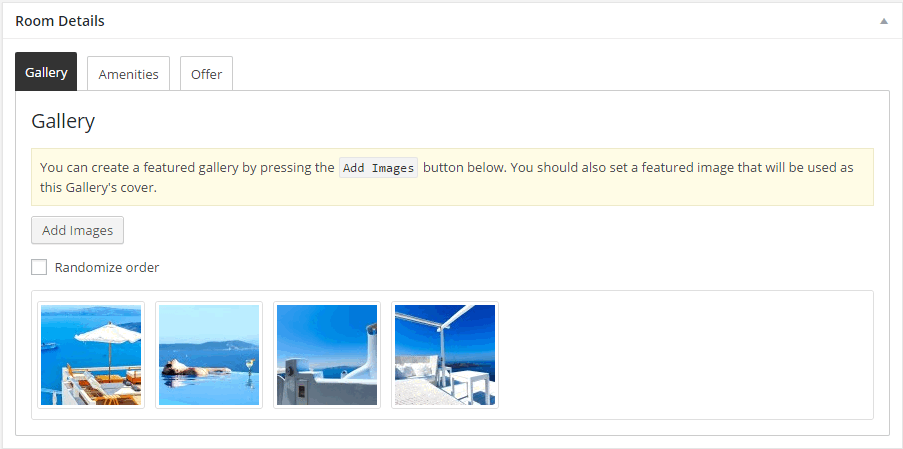
To add new posts to your blog, go to Posts > add new, title your post, enter the content in the editor, upload a featured image by clicking “Set featured image” on the Featured Image panel, add a category and/or tag to the post, if you so desire, from the respective panels and publish the post by clicking “Publish”.
3) Adding Slideshow items
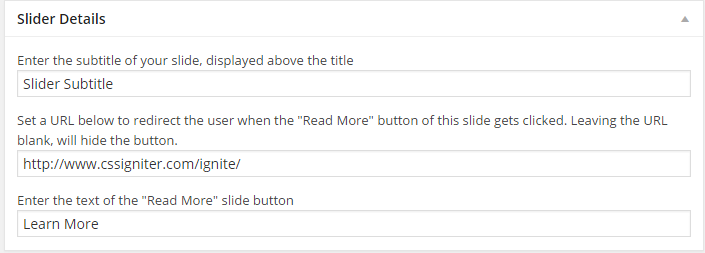
To add items to your homepage’s slider go to Slides > New Slide, set a title for the slider item and upload a featured image (which will be the image displayed on the homepage, images for the slider should be at least 1920×1000), add text in the text editor (optional), then in the “Slider Details” panel you can optionally add a subtitle, set a URL to which the user will be redirected when clicking on the slide button and change the button’s text, finally, publish the slider item. Slider speed and autoslide functionality can be adjusted under CSSIgniter settings > Homepage Options.
Slider items can be separated into categories, you have the ability to display one of these categories on your homepage by selecting it in the Homepage Options panel drop down. This allows you to create thematic sliders and switch between them very easily. For example, if your e-shop features weekend offers, you can create two slider categories, one for the featured items you want to display during working days and one for the weekend ones and switch between them at will.
4) Adding products
The most important thing of your e-shop are your products, to add them check this detailed guide provided by WooThemes here.
5) Creating your menu
Now that your content is in place, you will need a menu. Go to Appearance > Menus, check the pages you want on your menu and add them, give your menu a name and save it. Finally you will need to set your menu as “Main” menu, this can be done either by checking the “Main menu” box in “Menu Settings” just below your menu items in Menu Structure, or by going to the “Manage Locations” tab and selecting the menu you just created. The theme also features a menu next to the cart icons on the top right of the page, to use it create a new menu and assign it to the Top Menu location under manage locations.
(TIP, for more info on creating and managing menus, please read the WordPress Menu User Guide here)
6) Setting up your Homepage
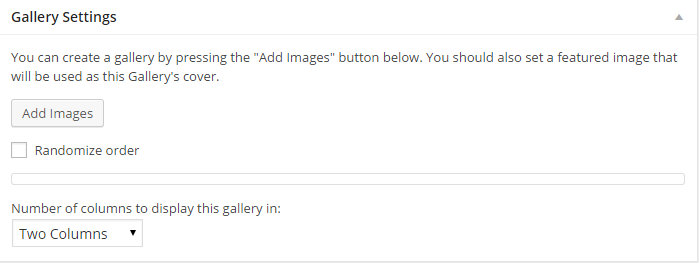
After you create your slideshow items as described above, navigate to Appearance > Widgets and assign widgets to the Homepage sidebar. Τhe following widgets are suggested for the FrontPage Widget Area which appears as your homepage’s main content:
- CI Text
- CI Product Categories
- CI Items
- CI Callouts
- CI Carousel widgets
Duplicate the demo’s layout
On the theme’s demo homepage we have our slider featuring three slider items and the following widgets: A CI Text widget with some information, a CI Product Categories widget displaying 3 product categories in a 3 column layout, a CI Newsletter widget, a CI Items widget displaying six products in a three column layout, a CI Callouts displaying three callout items, a CI Items widget displaying two posts in a two column layout and finally a CI Carousel Latest widget displaying the twelve latest products.
7) Changing Header Display image & Footer text
The default theme’s header display image can be set under CSSIgniter Settings > Appearance Options.
You can also set custom header images for posts & pages by uploading your custom image in the Header background metabox located below the page’s/post’s main text editor.
The theme’s footer features an area for you to enter your copyright info, privacy policy etc. To change the text you need to go to CSSIgniter settings > Site options and use the appropriate box (5th box down).
8) e-Commerce options
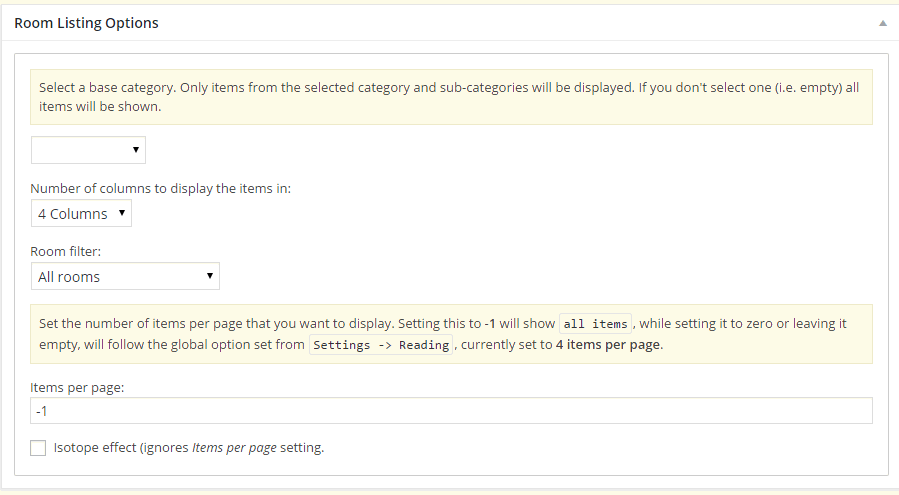
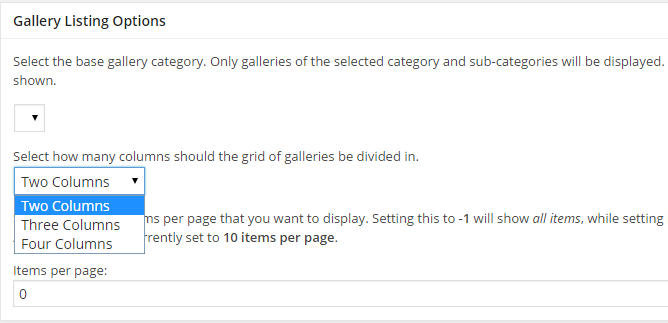
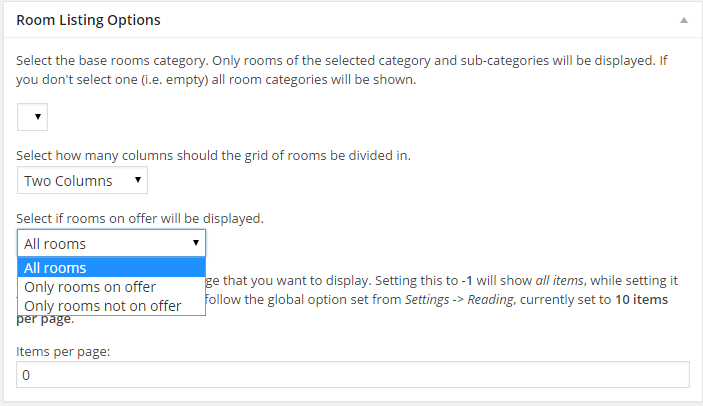
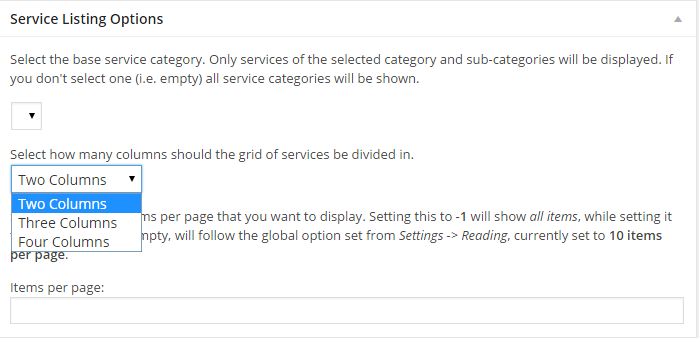
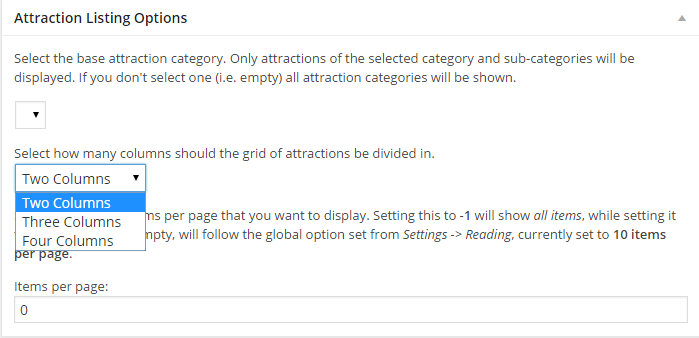
Under CSSIngiter settings > e-Commerce options you can toggle the display of up-sells & related products on the single product page and set the number of columns and products your shop listing page will have.
8) Custom Widgets
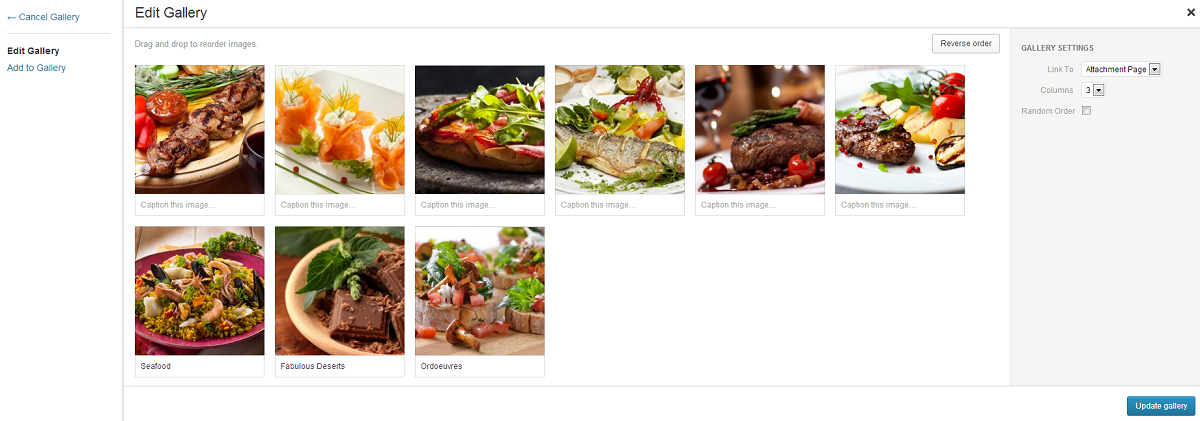
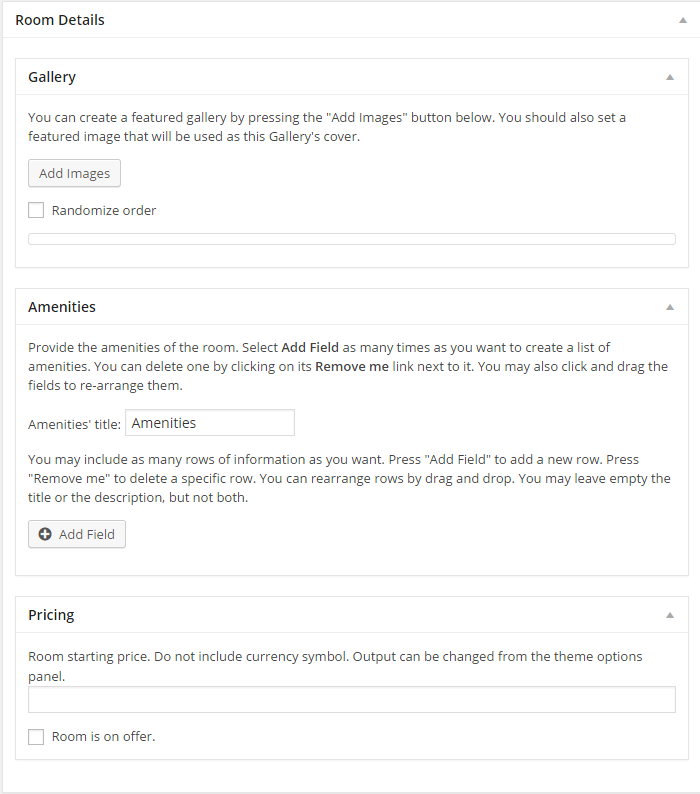
The theme features nine custom widgets which are displayed below to help you display your content better.
All widgets can be accessed from Appearance > Widgets. Below each widget you will find a small description explaining their functionality.
The CSSIgniter settings panel
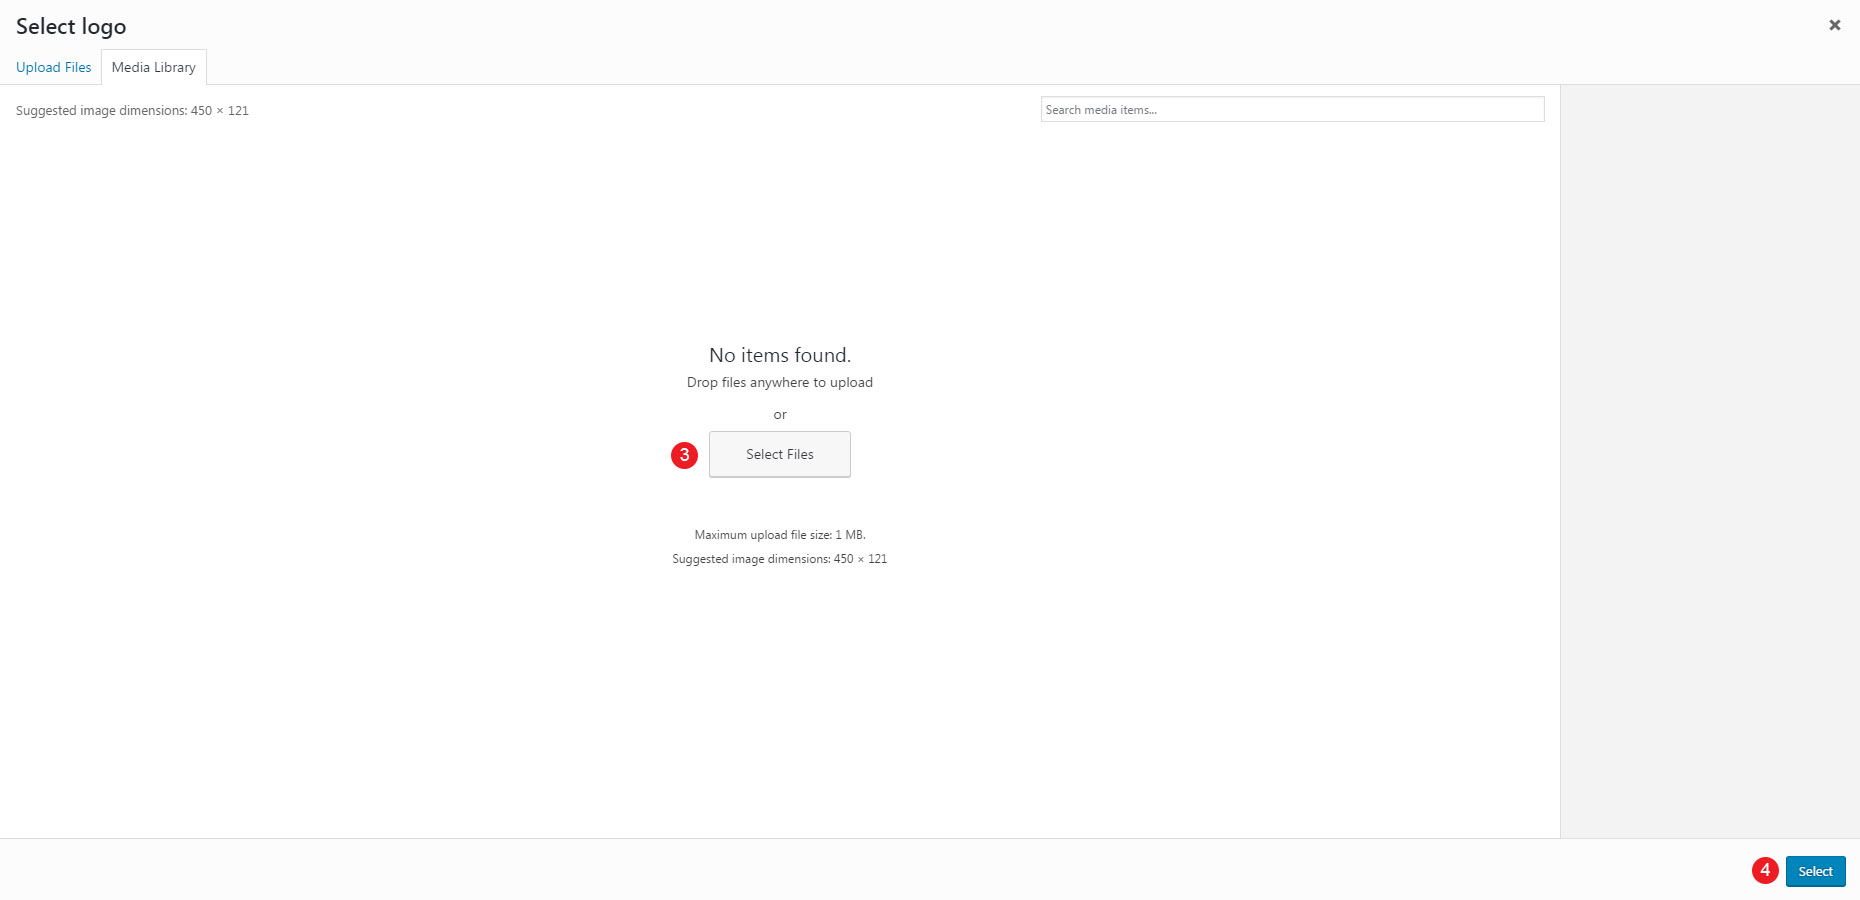
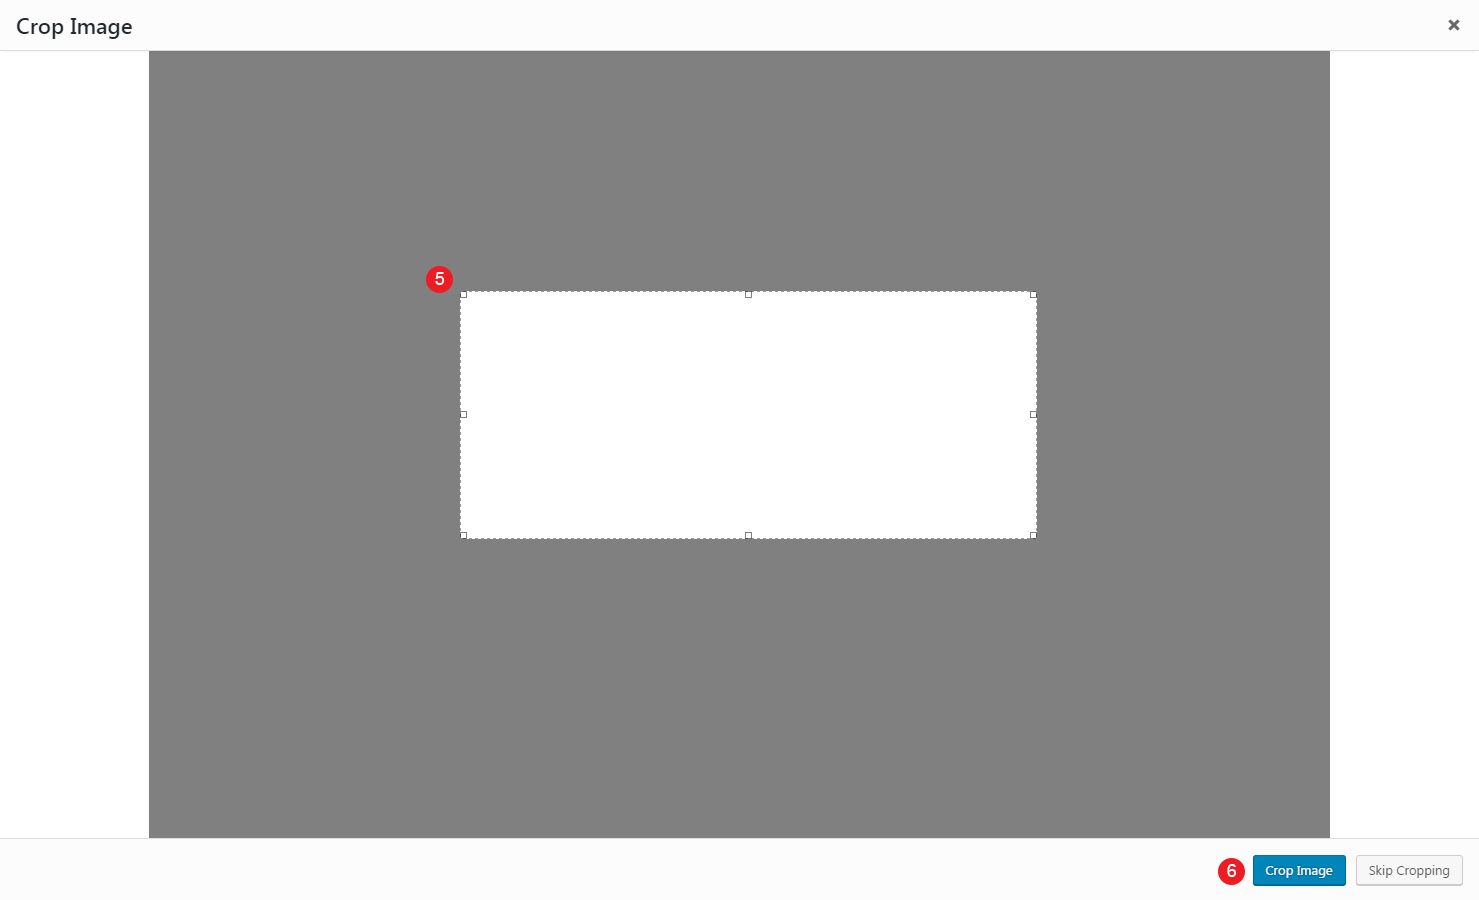
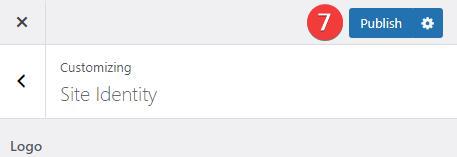
Last but not least, under Appearance > CSSIgniter settings, you can find our custom built settings panel. From here you can manipulate various aspects of your theme, including, but not limited to, changing your logo, setting a custom background, changing color scheme and applying custom styles via the custom CSS tab. All options feature a description so you instantly know their provided functionality.
How to use the page builder template
The theme comes bundled with a page builder template which allows you to use your favorite page builder plugin on it and create unique layouts very easily.
To use that template start by going to Pages > Add New. This will create a new page. Add a title to your page and select the Page builder template from the template drop down in the Page Attributes metabox.
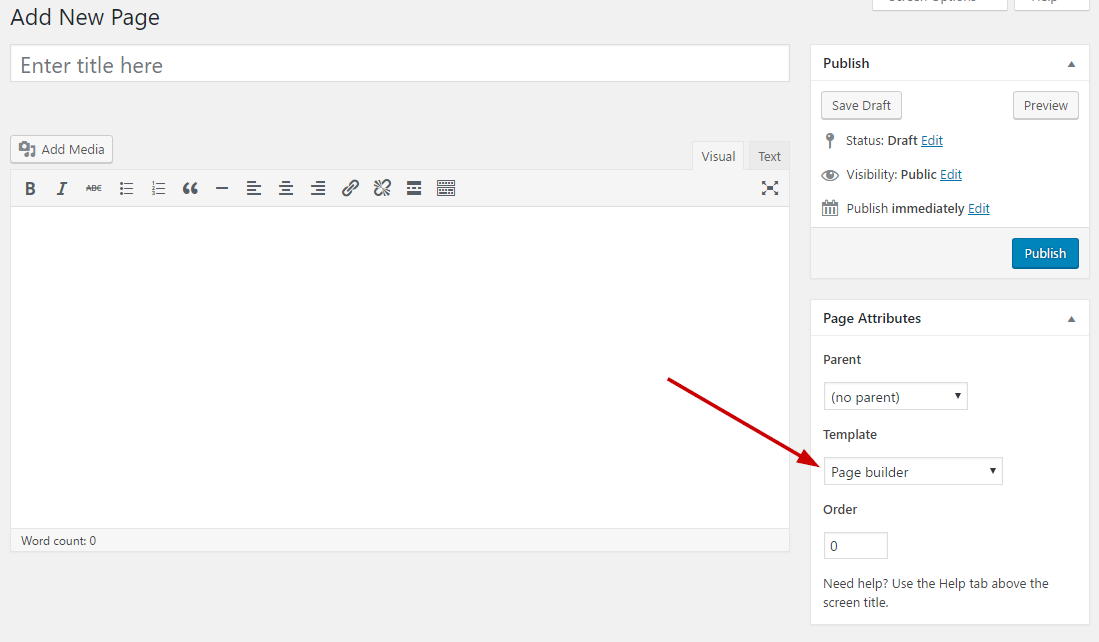
That’s it. You can now start building your page using the page builder of your choice, once done publish it and check it out.
Next Steps
Still have questions or problems setting up your CSSIgniter Theme? We will be happy to help you out! Please visit our support Hub