Moving your WordPress installation using Duplicator
Many of our customers, correctly, build their projects on local or development servers and then, once everything is done and polished, the whole installation gets moved to another server to go live. Moving a WordPress installation is thoroughly documented in the Codex, but it can still be a bit complicated for a novice WordPress user/developer. Below we’re going to present an alternative way of moving (or even cloning) your installation using the Duplicator plugin.
Plugin installation
Start by going to Plugins > Add New in your WordPress dashboard.
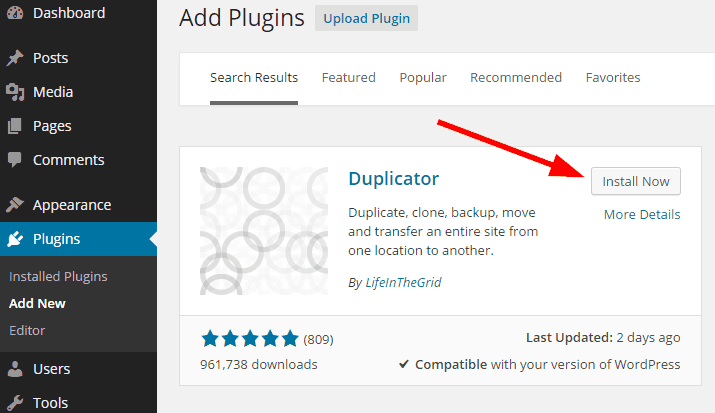
Search for Duplicator
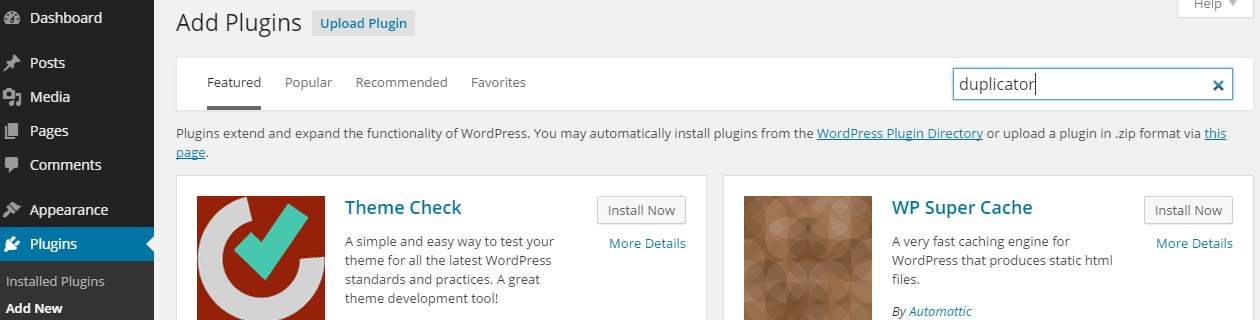
when you find the plugin click the Install button.
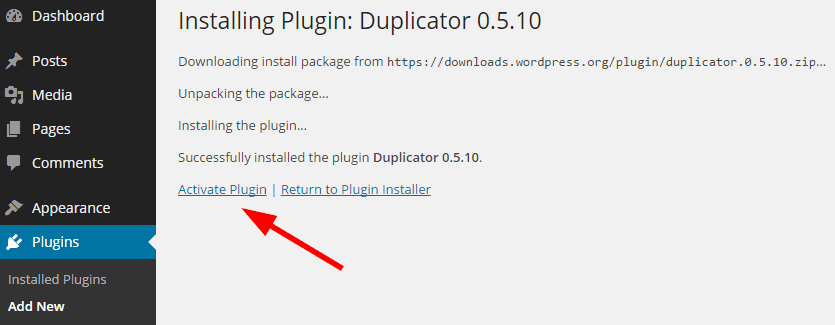
once the installation is done click the Activate plugin link and we’re done here.
Creating a package
The plugin works by creating a package which contains your entire installation, both files and the database, which can be moved and extracted elsewhere. Let’s create one.
In your WordPress dashboard’s sidebar click the Duplicator tab
you will be transferred to packages list, since we’re just now starting up, there won’t be any, click on the Create New tab

Setup

In this tab the plugin initially scans your installation to see if it meets certain requirements in order to be able to proceed such as PHP and MySQL versions, file and folder permissions etc, if you get a pass you are good to go, if not, you can expand the tab, see what’s not up to par on your server and contact your host in order to help you deal with the issue.
Next we get to name our package and add any notes to it if we wish so. Two more tabs are available to us, the Archive and the Installer, we will skip both, for reference in the archive tab you can exclude certain folders from the package, the installer tab is purely optional in this step, all info will be passed later during deployment.
Once done, click the blue Next button.
Scan
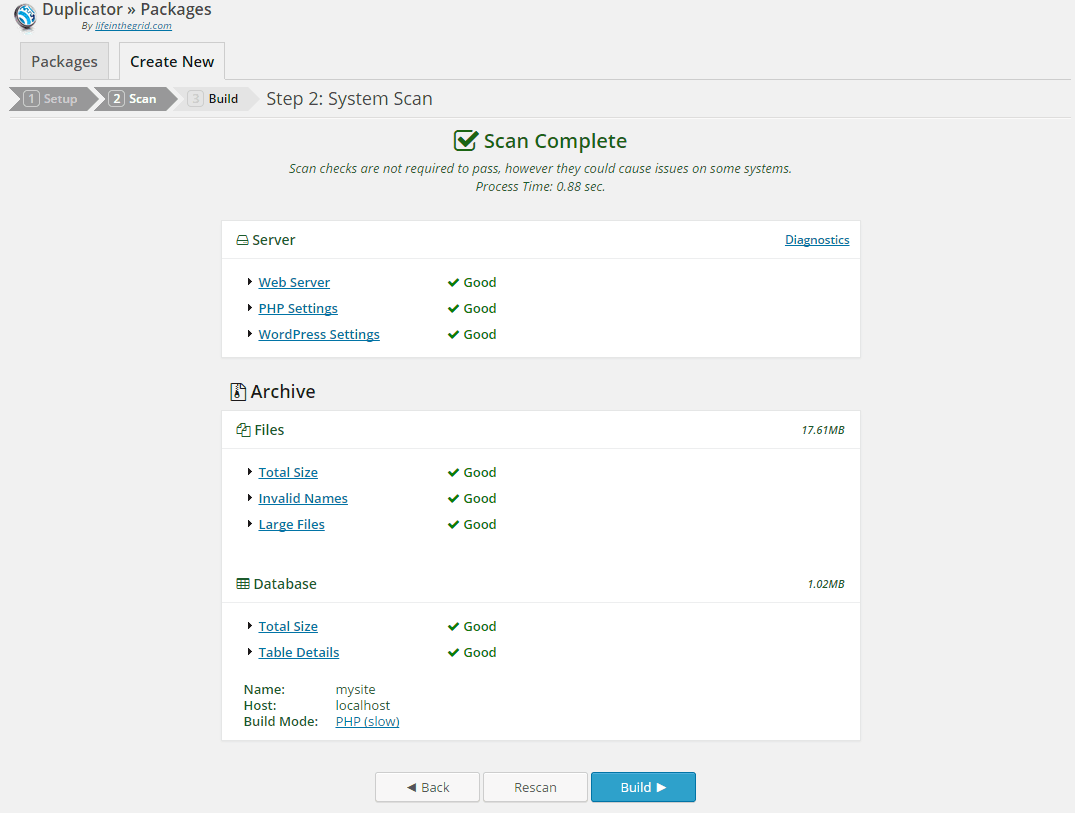
This step is automated, the plugin will scan your server, installation files & database to gather the info it needs in order to create the package. Various info will be displayed when the procedure is done, you might get warnings (most common one is for large file sizes), if you do, examine them and assess the situation, server warnings might prohibit you from moving forward, file and database warnings are more flexible.
Once done, click the blue Next button.
Build
This is the final step for our package creation. You will be greeted by a progress bar and a message that the process might take several minutes. Once it finishes you will see the screen below
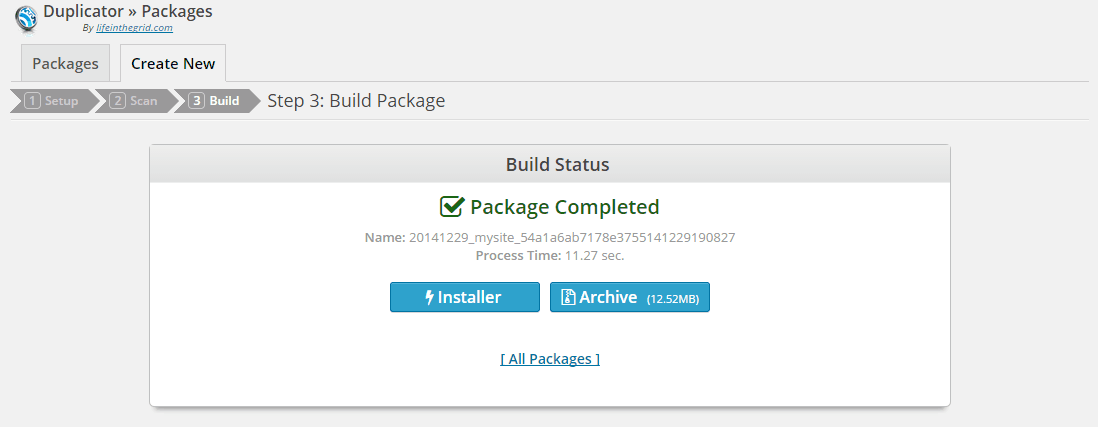
Click the Installer button to download the installer file and the Archive button to download your site’s archive.
That’s it we now have our site packaged up and ready to be moved.
Deployment
TIP: In this guide we will move our site from http://mysite.com/dev to http://mysite.com/live keep these URLs in mind.
Uploading the files
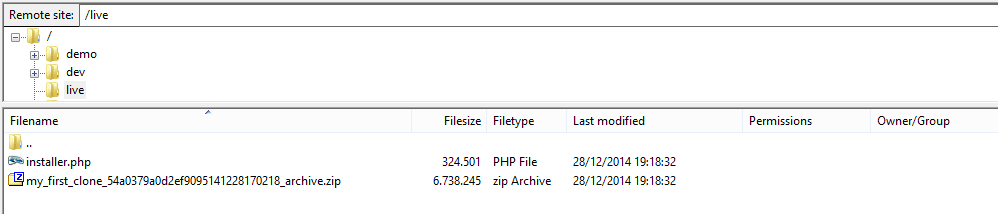
First we need to upload the installer and archive files in our destination server. Using your favorite FTP client, connect to the destination server, navigate in the deployment folder and upload the two files.
Starting the installer
Use your browser to navigate to http://mysite.com/live/installer.php and you will see the screen below
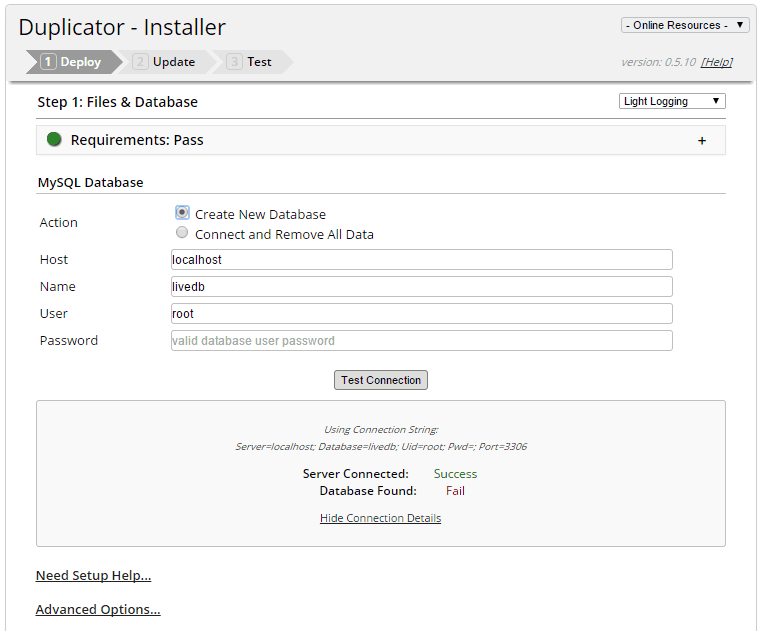
again the script will check your new server for minimum requirements, if everything is green you proceed to the MySQL Database section, here you need to fill in the database host, the database name, username and passwords. Clicking the Test Connection button will allow you to check if the connection is working. If you selected to create a new database you will see the image panel in the image above, the Fail is to be expected because the database we want to create does not exist. If you selected to replace an existing database you will see something like this
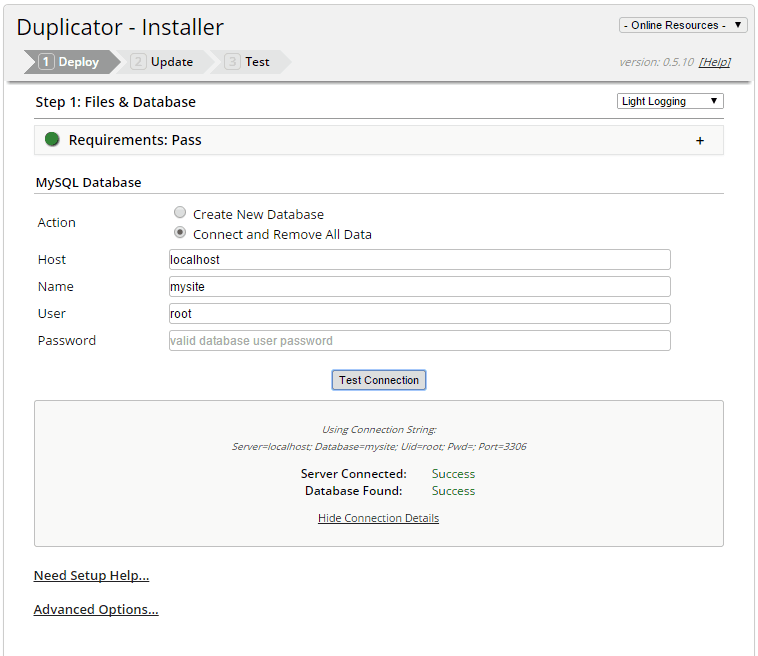
WARNING: selecting the Connect and Remove All Data option will completely erase the data from the existing database, make sure this is what you want to do, since there is no way back.
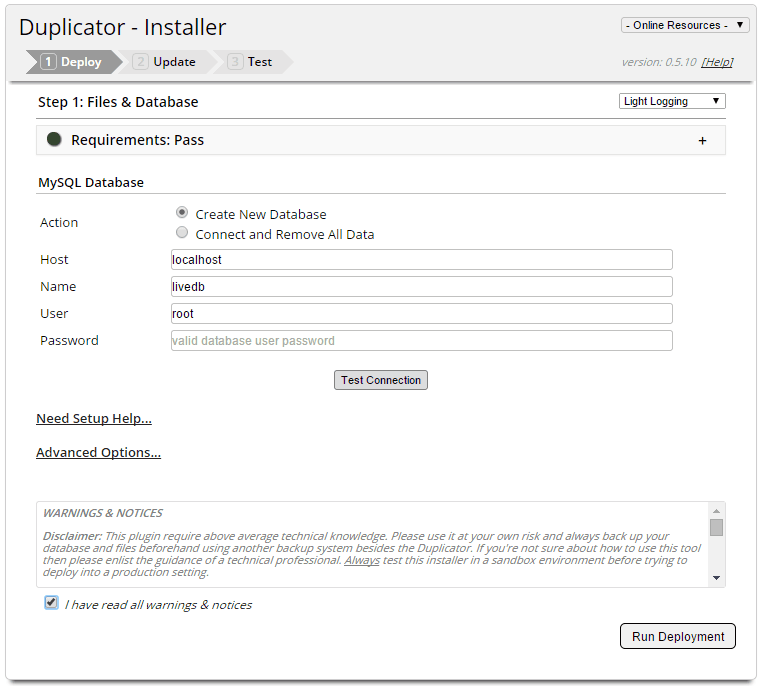
Next read the WARNING & NOTICES box, check the I have read all warnings & notices box and click the Run Deployment button.
Update
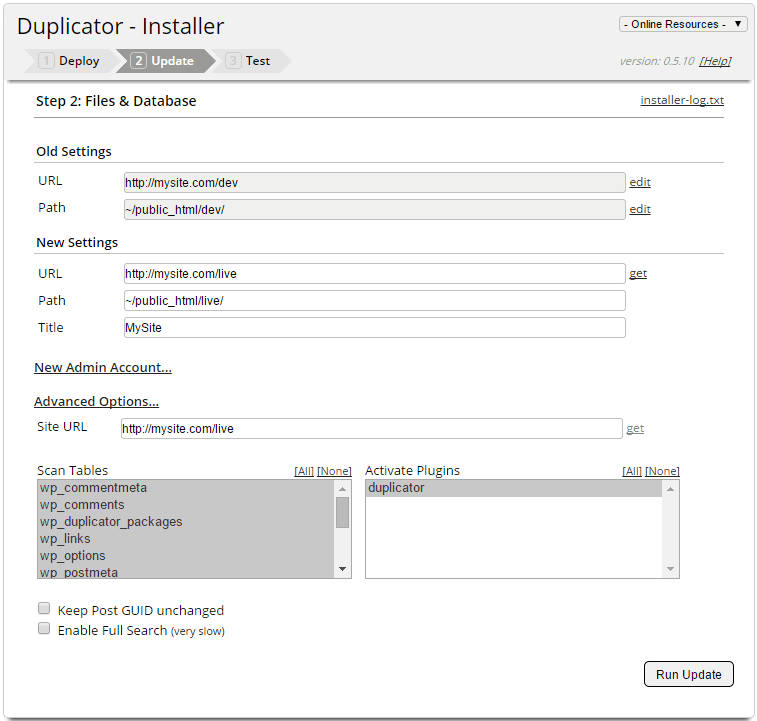
In this tab you need to check and if necessary correct the New Settings section. Under Advanced Options you have the ability to disable plugins that were active in your development server and don’t wish to have them active on the live server, this of course can be done later on. Click Run Update and wait until everything is set up.
Testing
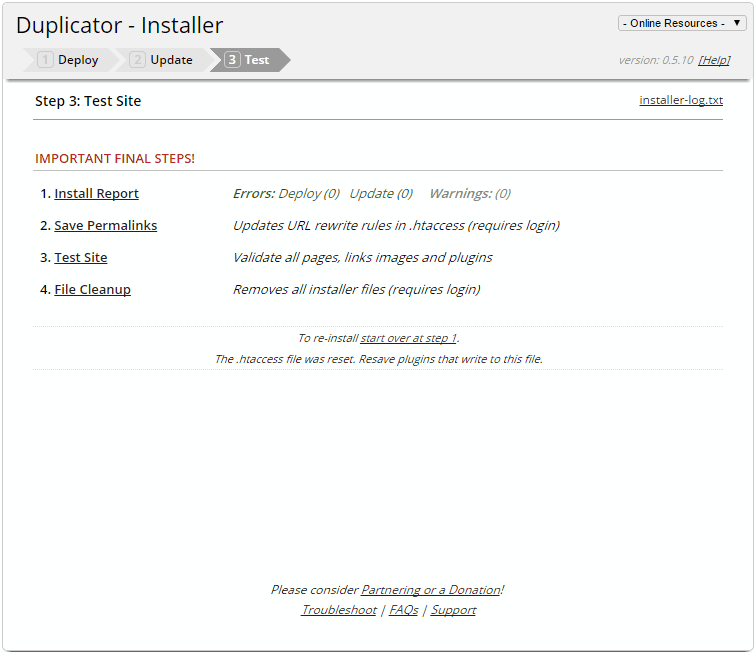
When everything is done you will see the screen above. The install report will allow you to track any errors or warnings which you might need to troubleshoot. Clicking Save Permalinks will redirect you to the WordPress permalink options page (you will need to login) so the permalinks are refreshed and you don’t get 404 errors. The Test Site link will allow you to navigate the site and see if everything’s where it’s supposed to be. Finally the file cleanup link will remove the installer and archive files, it’s recommended that you do this.
That’s it, you have successfully moved your installation from the dev server to the live one!
Conclusion
The plugin’s developers state that the plugin requires above average technical knowledge, which is true, the plugin has many options, which are more advanced and out of the scope of this guide, however I find the above described procedure easier for the “amateur” developer than the 12+ Step one detailed in the Codex. Give them both a shot and decide for your self.
As you have surely read in the plugin’s warnings & notices during deployment, always remember to:
Backup
TIP: If you get the hang of using this plugin, you could also use it as a backup method, create a package each week or so and anything is to go wrong, use them to deploy the backed up version easily & quickly.