The complete guide to Jetpack – Part 1 of 6
Index
Part 1 of 6
Part 2 of 6
Part 3 of 6
Part 4 of 6
Part 5 of 6
Part 6 of 6
Jetpack is one of the most popular plugins in the WordPress plugin directory and rightfully so. Built with the help of Automattic it provides a variety of tools to help you supercharge your self hosted WordPress site. Social media sharing, traffic reports, a CDN for your images, brute force protection and beautiful galleries are only some of the tens of features you get upon activating Jetpack.
In today’s article we’ll see how we can install Jetpack and connect it to our (free) WordPress.com account. Also we’ll take a brief look at the plugin’s administrative interface.
Installation
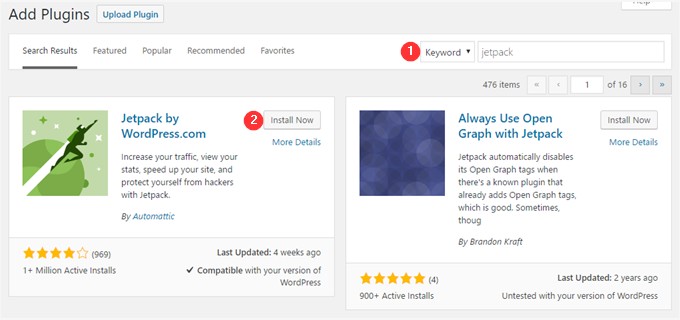
Navigating to Plugins > Add new on your WordPress dashboard should be enough. Jetpack will most likely be among the featured plugins that will be displayed once the page loads. In case you don’t see it you can always type jetpack in the keyword search box and it will appear. Click the Install button to proceed.
When the plugin is downloaded and installed click the Activate button to enable it.

Upon activation you will see this notification above the list of installed plugins.

Jetpack requires a free WordPress.com account in order to function as many of its components use WordPress.com’s infrastructure.
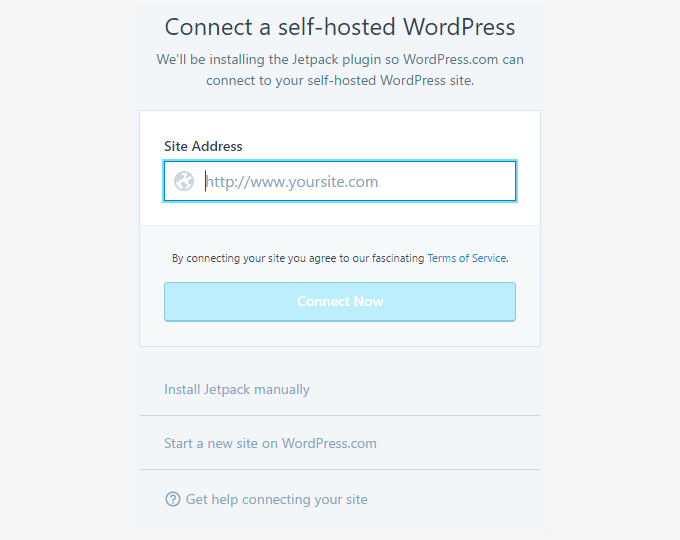
Click the Connect to WordPress.com button to proceed. If you are not logged in to a WordPress.com account you’ll see the new account screen, which looks like this.

Fill in the required info and click the Sign Up and Connect Jetpack button to proceed. If you already have a WordPress.com account you can click the link just below the button and enter your login details instead.
If you already have an account and are logged in to it, you’ll get this screen instead.
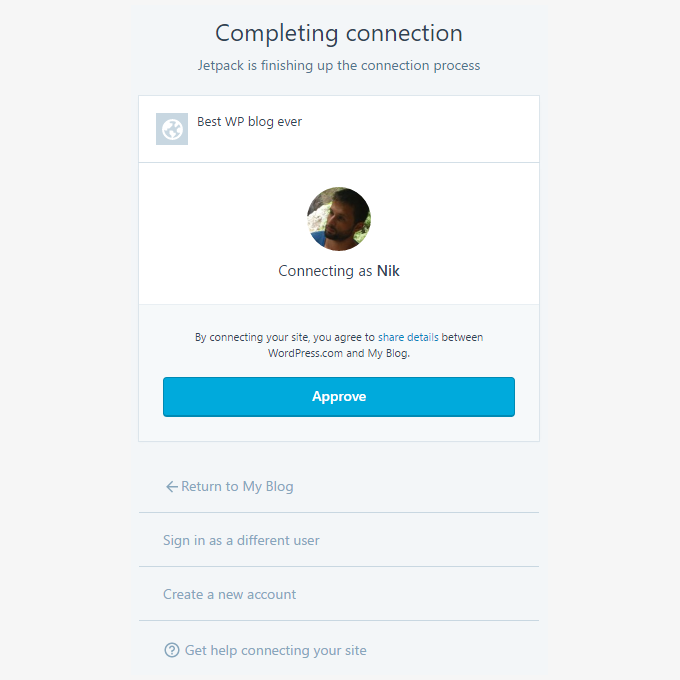
After approving the connection you might be presented with a screen like this one.
You can safely skip/ignore this page as Jetpack is already installed and connected. Close the tab and navigate back to your site.
Jetpack dashboard & settings overview
Once back to your site you can navigate to Jetpack > Dashboard.
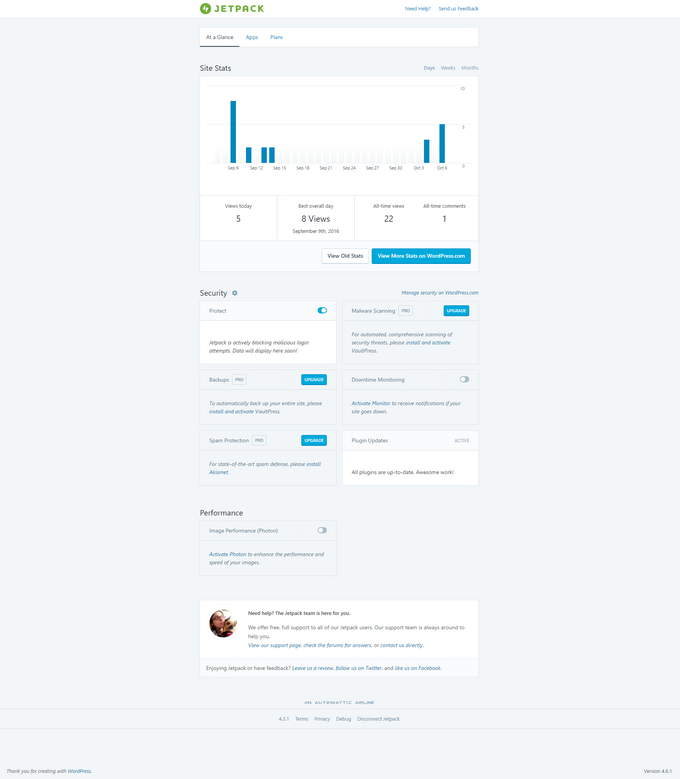
Here you will be presented with some basic information through the At a Glance tab. If there are traffic stats on your site they will be presented here. Additionally you will be informed of the status of some modules, like Protect, Downtime Monitoring and Photon. You will also be notified if there are out-of-date plugins installed on your site.
In the Apps tab you can learn a more about WordPress.com features that are now available to you through Jetpack, like plugin update management, traffic stats, a new text editor, mobile apps and more.

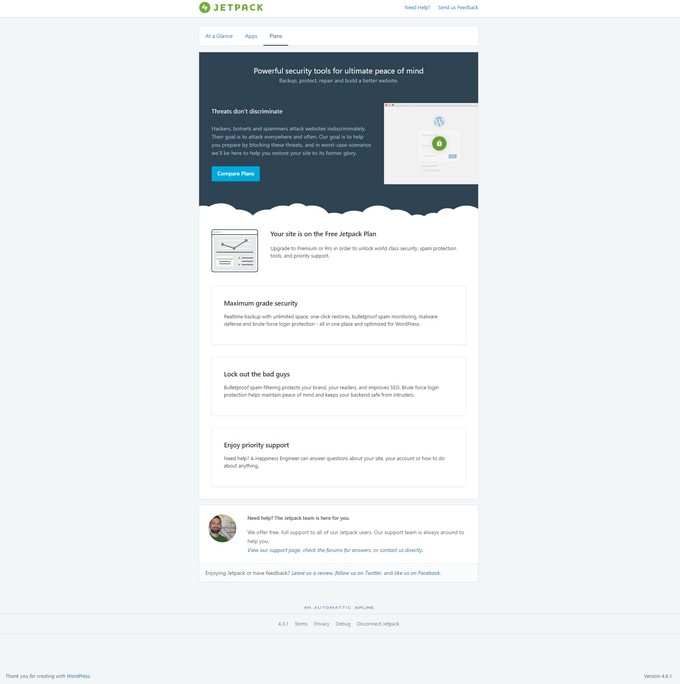
Finally in the Plans tab you can learn more about the premium features that are available on Jetpack, such as malware scanning, backups, automated restores, spam protection and more.
Under Jetpack > Settings you can access all available plugin options. This is the place where you can toggle components on and off and modify their settings.

The settings are split in five sections, General, Engagement, Security, Appearance and Writing. Each section has its own tab making management pretty easy.
In the next parts of this get to know Jetpack series we will take a closer look at each one of these five settings sections so we can see what each one has to offer.
Stay tuned!