Modify image sizes using Simple Image Sizes

WordPress comes with a few preset image sizes for images to be cropped to, the thumbnail, the medium and the large ones. Of course these basic image sizes are not enough for themes, so their developers tend to add many more custom image sizes to better creates the desired layouts on their themes. What if you need more image sizes than the ones that come with your theme? Luckily there is a plugin for that.
Simple Image Sizes
This easy to use plugin will help us generate our own image sizes to use in custom templates, or to modify existing ones using child themes. Let’s say that we need to override the image size for the single post in Olsen by creating a new custom image size. We’ll start by creating our custom image size. Install & activate the plugin and navigate to Settings > Media. You will be presented with the screen below.

Here you can see both the three default image sizes WordPress uses and all the custom ones implemented by Olsen.
To proceed click the Add a new size of thumbnail button. Next give your image a descriptive title and click the Validate image size name button.

Next fill in the image’s dimensions, for this example we’ll go a few pixels shorter than the default post-thumbnail size that Olsen provides.

The public name should be something similar to the title and formatted as seen above. Finally select if you want the image to be cropped, if you choose to crop it, you can select the position of cropping should you so desire. Finally click the Validate button to save the image.
Now that we have created our custom image size let’s apply it. To do that copy over the single.php file from Olsen’s folder to the child theme’s folder. Once done edit the single.php file in the child theme’ folder. In line 7 you will see this:
This line selects which image size will be used for the featured image. We are interested on the latter part, the ‘post-thumbnail’ bit. We need to replace this with our custom image size’s public name, so we’ll end up with this:
Now save the file and let’s take a look at what we have accomplished.
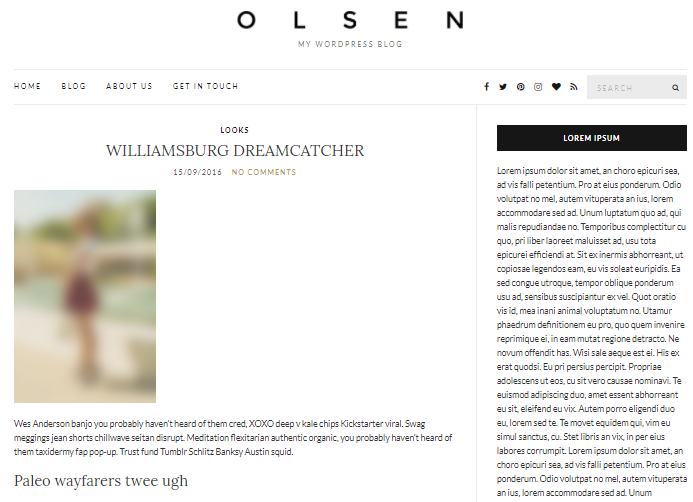
This is the default layout on Olsen’s single post view.
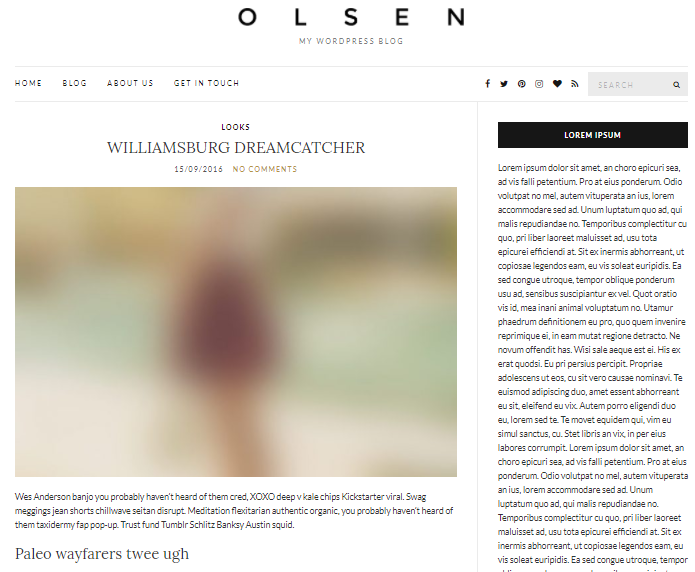
Now if we refresh we get this:
This can’t be right, we were aiming for a shorter image, not a taller one, what went wrong? Well, after adding a new image size we need to recrop the original images in order for the new image size to be generated. Go back to Settings>Media and scroll down to the Thumbnail Regeneration section.
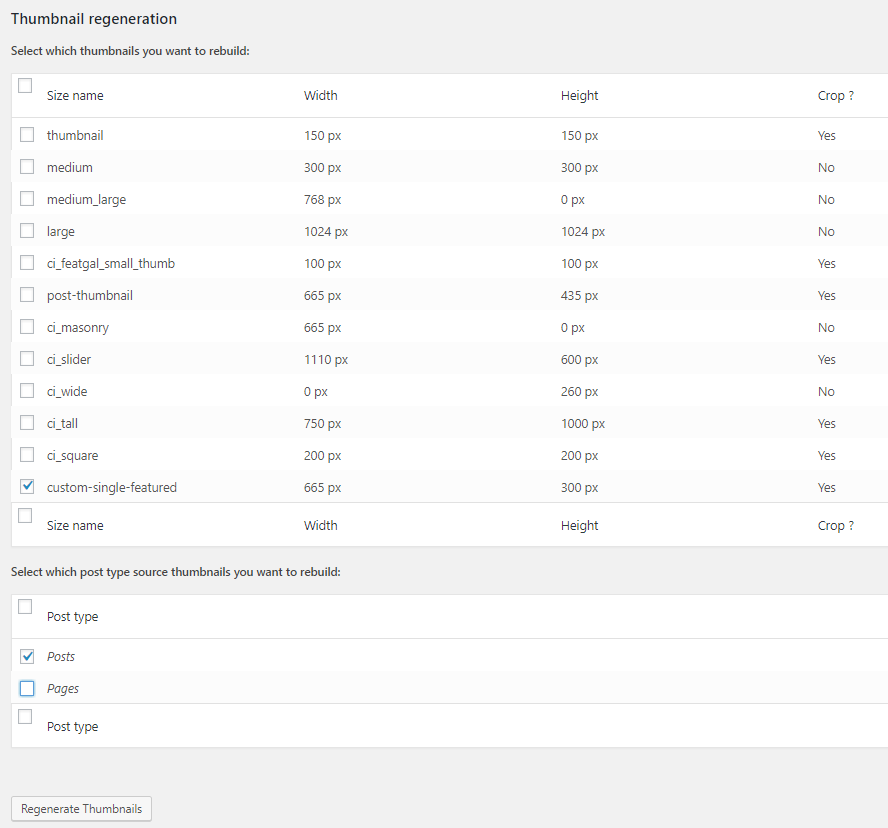
Since we have just added one image size which is applied only to posts, uncheck everything apart from the new custom image size and the Posts post type, then click the Regenerate Thumbnails button to create the new image size. Once the regeneration is complete you can refresh the page.
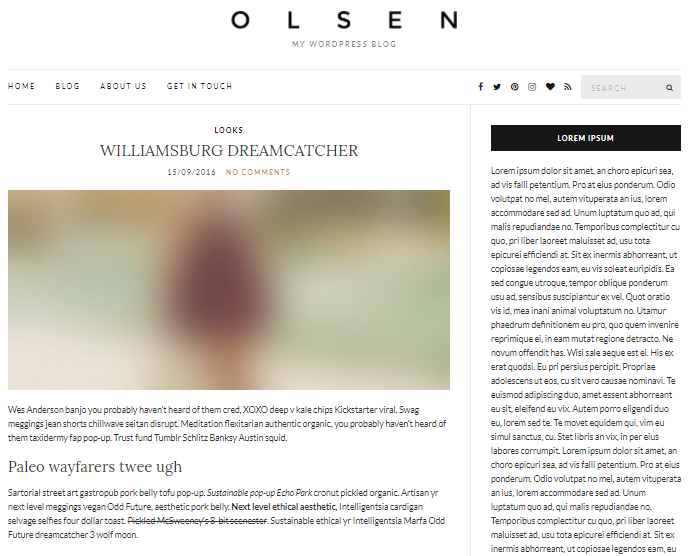
Now everything looks as it should!
2 responses to “Modify image sizes using Simple Image Sizes”
how to reset to default settings? I’ve tried to delete the plugin but its still keep the size as the plugin still on. Now its ruining my website, before I got all nice large images until it suddenly changing all the images size which I didn’t realise when I regenerated the pics for smaller images.
Hello.
Perhaps this would be better suited in the plugin’s support section on the WordPress plugin repository.
However, did you try deleting the image sizes from the plugin’s settings page and it did not work?