Multilingual WordPress sites in 3 minutes with Weglot
Have you ever tried setting up a multilingual WordPress site? If you did, you’ll know it’s no easy feat. You need to translate WordPress-provided strings (okay, these are mostly already translated by the time a new version is released), theme strings, plugins strings. You’d do that with a tool such as Poedit or a WordPress plugin such a Loco Translate (let’s call them “translation plugins”). But then there’s also the dynamic strings, a.k.a. the content. All those words you write yourself through WordPress. Posts, pages, custom fields, widgets, etc. These need a separate kind of WordPress plugin (let’s call them “multilingual plugins”), able to extract them, translate them, and show the appropriate translations depending on the user’s choice of language.
If you did try before, you probably know that multilingual plugins have endless options to configure, the theme must specifically support it, and if any other plugins you use display custom strings in the front-end, then those plugins must provide support too. WPML and Polylang are some well-known plugins of this type. There’s also another approach some multilingual plugins take, namely MultilingualPress, and that’s to create a multisite installation, where each sub-site is a copy of the base site, and the multilingual plugin facilitates in updating all those sites. Better? Debatable. Easier? Nah.
Ignore the introduction above. Meet Weglot.
Let me repeat (or rather, rephrase) the title. You can set up a multilingual WordPress site in 3 minutes, with Weglot. This doesn’t include the time to actually translate your content. Kinda…
Weglot approaches the creation of multilingual websites a lot differently than the aforementioned plugins. It’s not really a plugin, but a service. It provides a WordPress plugin which interfaces with the service, but your translations are managed through the Weglot website instead from within WordPress.
I’ll walk you though the process of multilingualizing (I love making up new words) our popular hotel theme, Milos. The process is identical in all installations however, no matter what the active theme is.
Registering an application
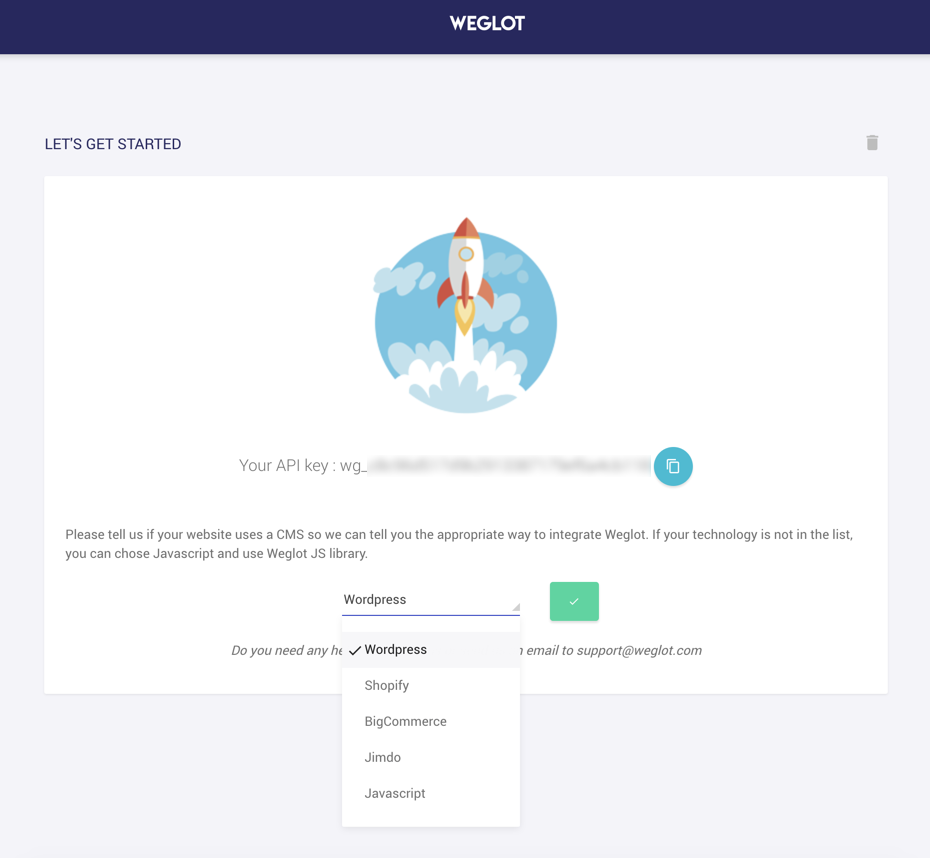
First of all, if you don’t have an account on Weglot, go ahead and create one. Once you confirm your email, you’ll be greeted by a pleasant surprise. A “getting started” page provides you with an API key which you can immediately use. A new project (called MyWebsite by default) has already been created for you behind the scenes, and the only information it needs from us is to select WordPress from the list of CMSs.
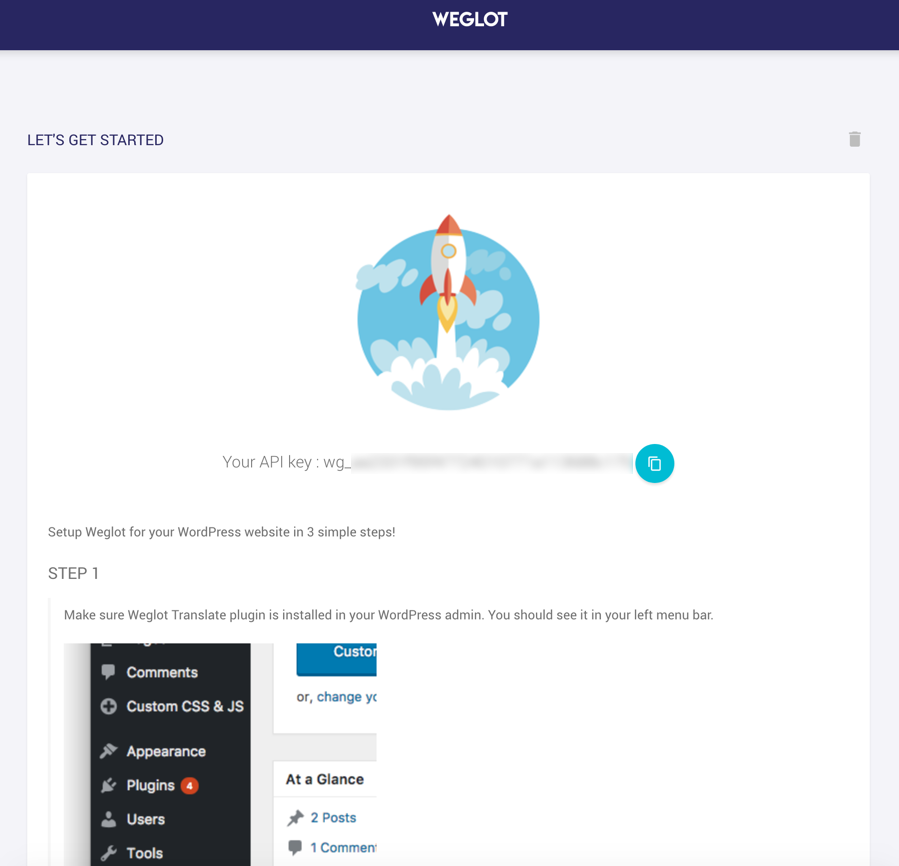
Once we select WordPress from the list, the instructions for setting up the Weglot plugin WordPress are displayed. No searching around.
Setting up WordPress
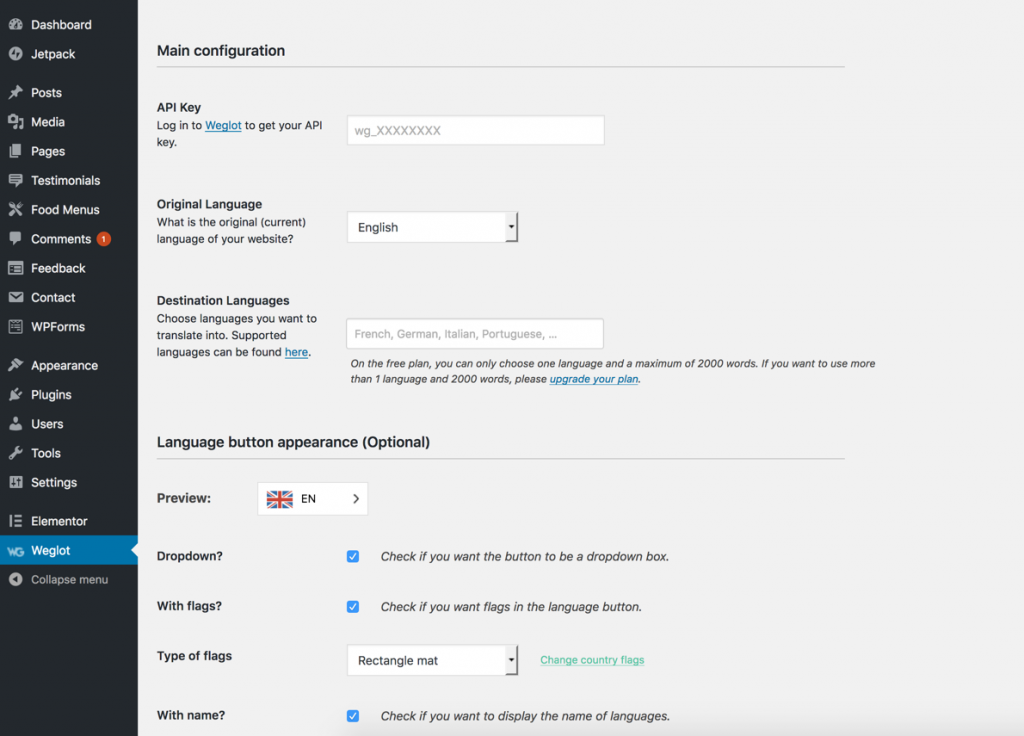
We need to install the Weglot plugin, so that the Weglot service can communicate with our website. You know the drill. Dashboard → Plugins → Add New. Search for weglot. Once installed and activated, go to Dashboard → Weglot.
At the time of this writing, there are only two options that are required, three if your base language isn’t English.
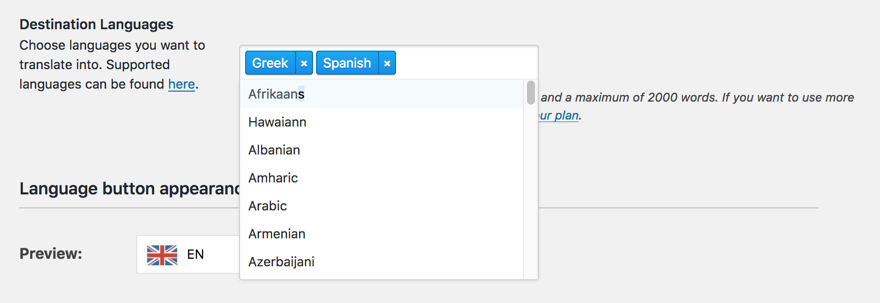
First of all, we need to enter our API key, the one we got immediately once we first logged in. Hopefully you did that on a separate browser tab, so you have it readily available. Just paste it in. Next, if your base language isn’t English, choose the one at is from the Original Language dropdown. For me, the Milos theme’s demo is in English (including some gibberish lorem ipsum). Finally, select the languages you want in Destination Languages, the ones that you want to translate into. Assuming you just signed up to Weglot, you’re on the free plan, so you can only target one language. I can do multiple languages, but for the purposes of this tutorial, I’m only going to select two, Greek and Spanish.
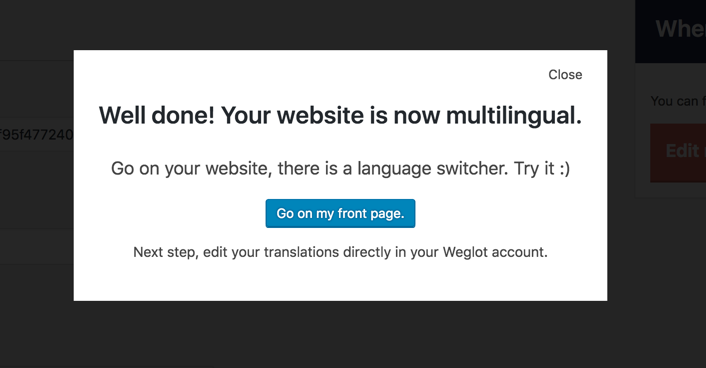
Let’s save our changes. We get a message saying our site is now multilingual. That’s it? Really?
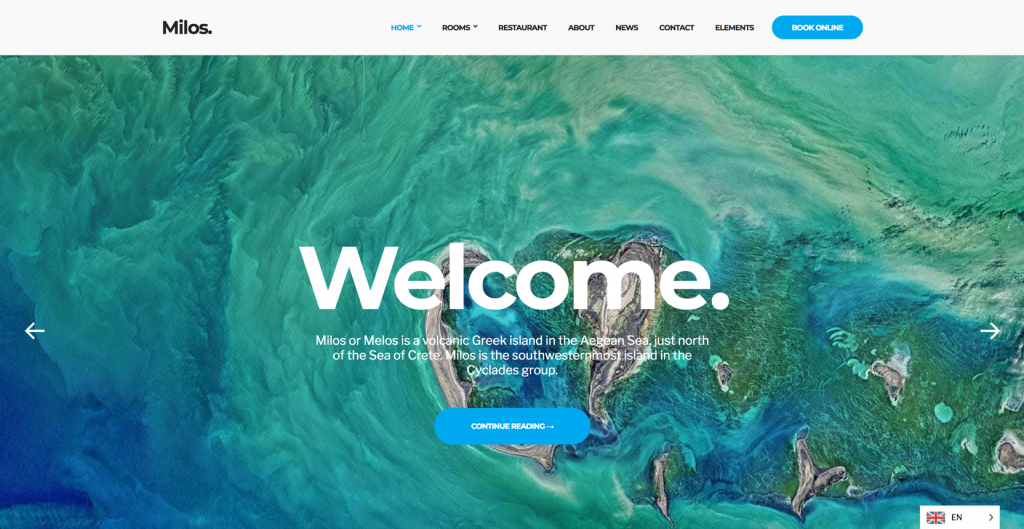
The message also says there’s a language switcher. Let’s check our homepage. Indeed, the language switcher appear on the bottom right corner of our website!
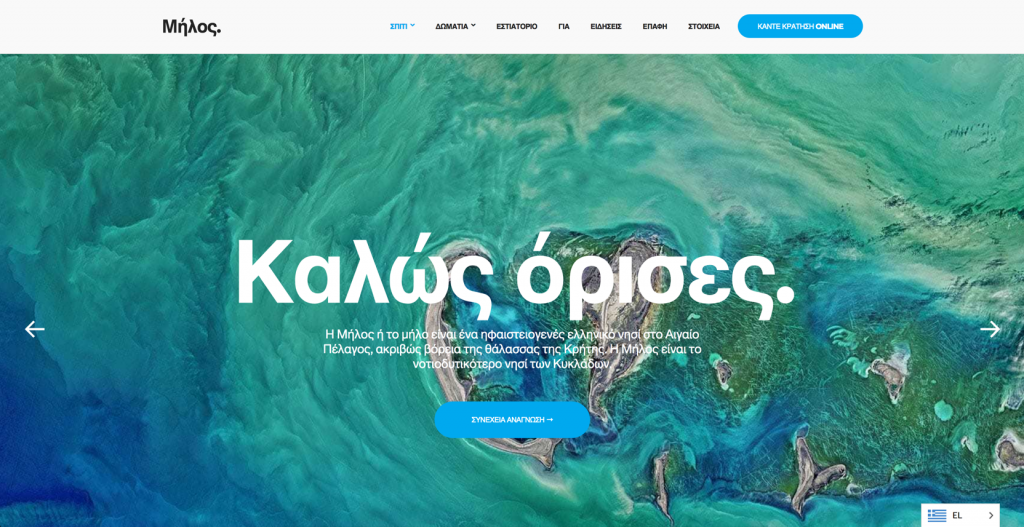
Let’s click on it and select a different language. ¡Ay, caramba! The page has been translated automatically!
Translating the website
Automatic translations are almost never as good as human-provided translations, and if you can speak Greek, you’ll see in the screenshot above that quite a few strings need to change. Let’s go back to the Weglot dashboard and refresh the page. From displaying WordPress instructions, it now looks more like an dashboard, providing information about our selected project (“MyWebsite”, which appears on the top-left corner of the page).
Clicking on the bell icon, we can see some notifications. For me, it says that there are some new translations. Clicking on the message opens up a modal showing an overview of these new translations. Interesting. Let’s close that, and select Translations List from the left sidebar.
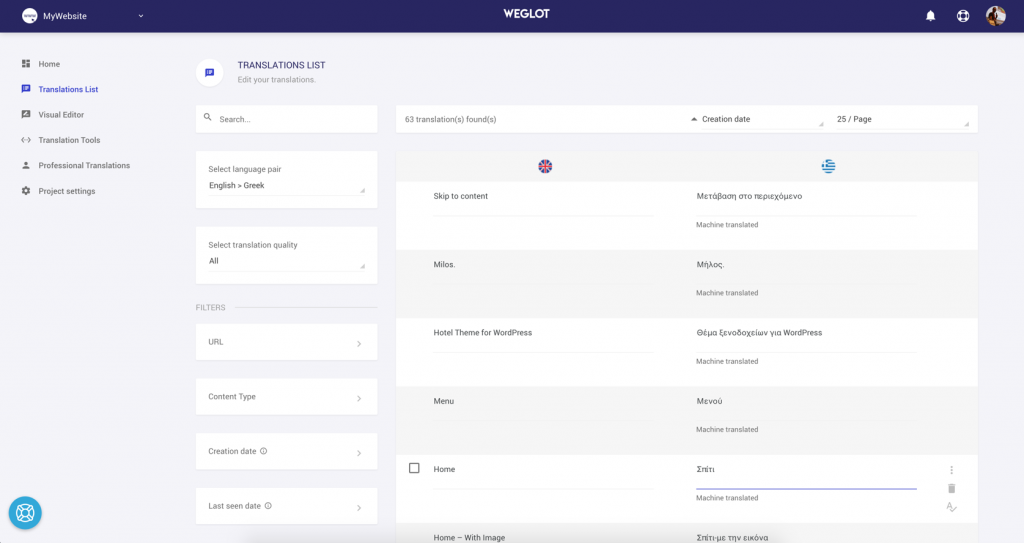
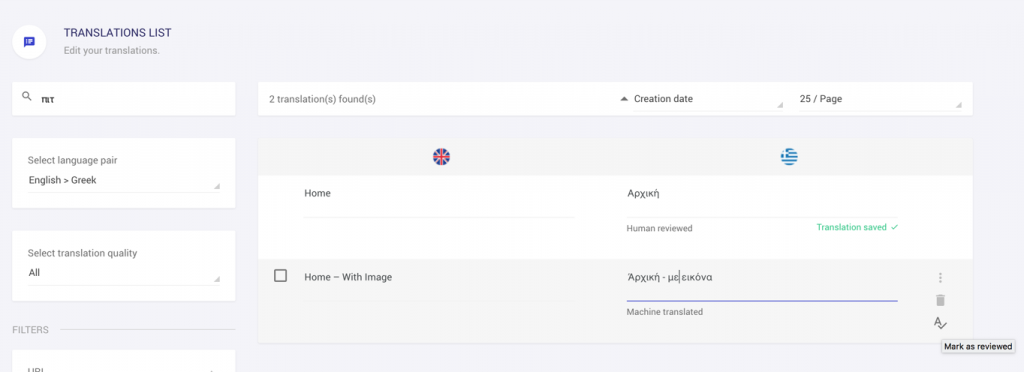
This is the page that most people will spend their time on. This is where we can correct any funky auto-translated strings. In the screenshot above, the word “Home” has been translated into Greek as “Σπίτι” (which means “house”), and while technically correct, Greek websites use the word “Αρχική” (meaning it’s the starting point) to denote their homepage. Let’s correct that. In the search form, we can type a series of characters, and results matching any part of the string, in any language, will appear. We can search for “Home”, “hom”, “ome”, “ίτι”, “πίτ”, and the correct strings will appear.
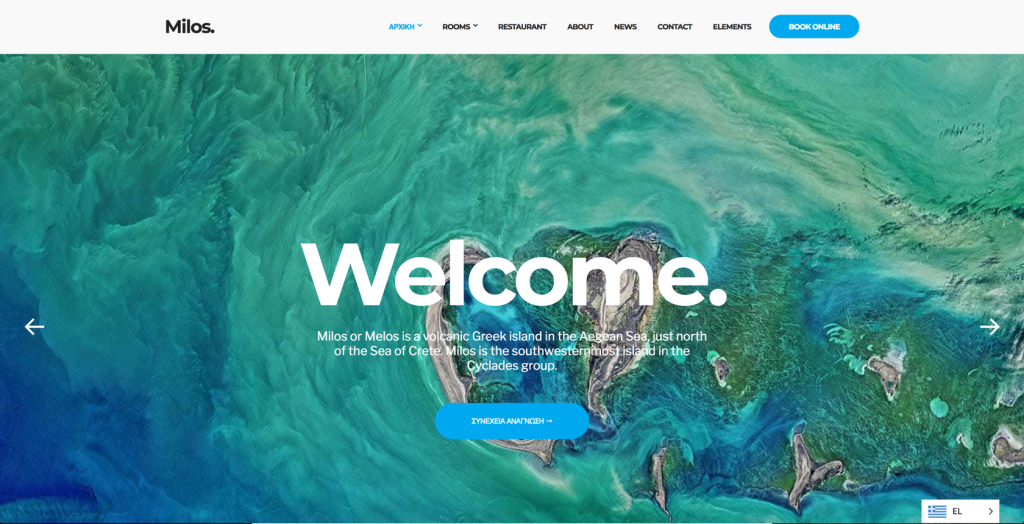
Let’s go ahead and change any occurrences of the word “Σπίτι” to “Αρχική”. Once a string is changed, press the icon that shows an “A” and a checkmark, to save the change and mark it as reviewed by a human. Let’s go back to our website and refresh the homepage. Indeed, the word Σπίτι (which appeared in the menu) is now changed!
Let’s visit another page now, for example the Booking page, or the blog, or a single post. We can see they are also auto-translated. Then switch back to the Weglot dashboard and refresh. There’s a new notification. Clicking on the bell icon, informs us that there are new translations. See what’s happening? Strings are auto-translated on demand. Once a new untranslated string is encountered, it is auto-translated and registered on your project. This has the benefit of not having to translate strings that may never show up to your visitors. It does mean however that you have to visit every page of your website so that all strings will get registered.
Translating images
We’ve covered translating the strings of your website. How about translating the images? “But Anastis, why would you want to translate the images?” you ask. Glad you asked! Perhaps the word “translate” is a misnomer and “swapping” is more appropriate. No matter which word we choose, the fact is that some images contain text. And when images contain text, the text needs to be translated; of course, you can’t just translate the text. You need to create a new image and show the correct one depending on language. Perhaps there isn’t any text in the images at all, but the colors need to change. Why would the colors need to change? Well, depending on the country and/or culture, the same color may have completely different meanings. For example, if you grew up in a western country, you perceive white as the color of cleanliness and purity, but if you grew up in an Asian culture you perceive it as the color of death. Not cool.
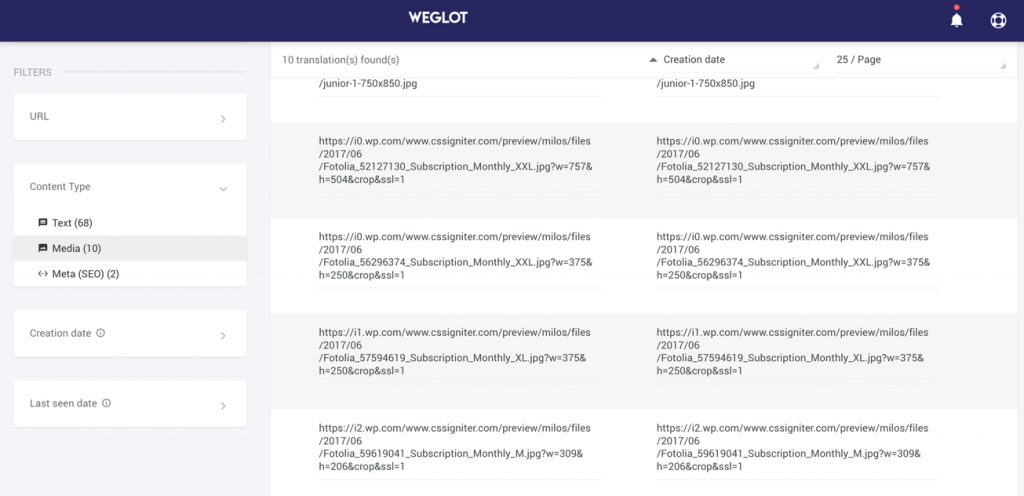
So, in order to swap our image, we need to go again on the Translations List page, and on the first column, under the Filter label, click on Content Type and select Media. Instead of string, you will now see URLs on the second column. “Translating” them is just a matter of changing the URL where required. Not all images will need to be replaced.
Project settings
There is another cool feature of Weglot that I’m going to show in a bit, but in order to use it, your website needs to be publicly accessible and reachable over the internet. So, if you’re developing locally you won’t be able to use this one.
First of all, Weglot needs to know the base URL of your website. From the left-hand sidebar, go to Project settings and on the Website field fill in your site’s URL. While at it, set a project name as well so that MyWebsite will display something useful instead. You can also disable automatic translations here.
It may not be very clear what happens when you disable Automatic translation, so let me explain. When disabled, translations not provided or approved by a human, will not be displayed at all. Instead, the base language’s string is displayed. What does not happen however, is Weglot stop providing automatic translations. So, when disabled, you get automatic translation suggestions on the Weglot dashboard; they just don’t show up on your website. Case in point, you can see on the screenshot above that while we are in the Greek version of the page, most of the text is in English.
Visual Editor
Now that we’ve set up our project, let’s see the best feature in terms of coolness. You can translate your website, right there on your website. There, I said it! Just go to Visual Editor and click on the Start Editing button.
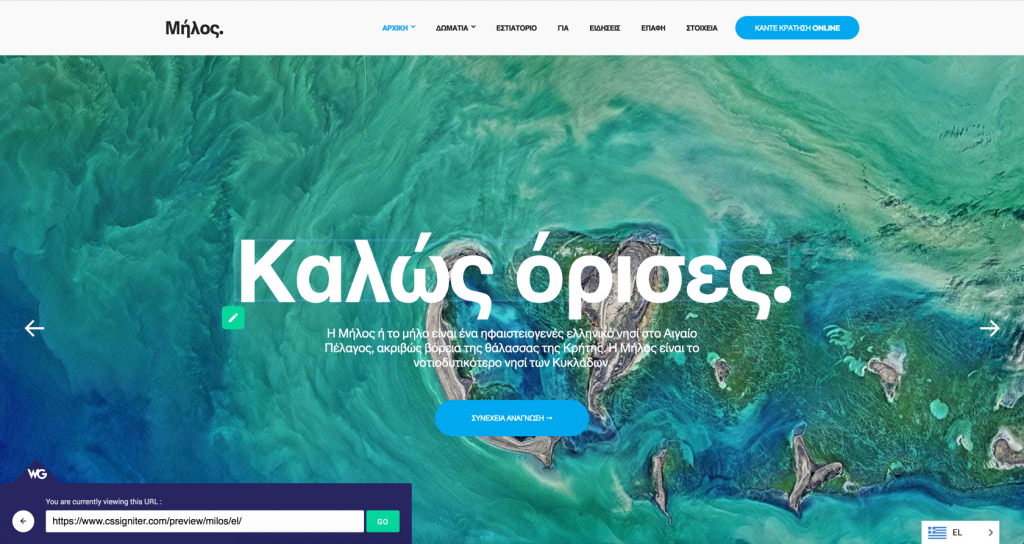
If you inspect the URL, you’ll see that we’re previewing our site through Weglot’s system, kinda like how the Customizer displays the preview of its own installation. Now, hover over a text, and you’ll see a green pencil icon appearing on the bottom-left edge of the string.
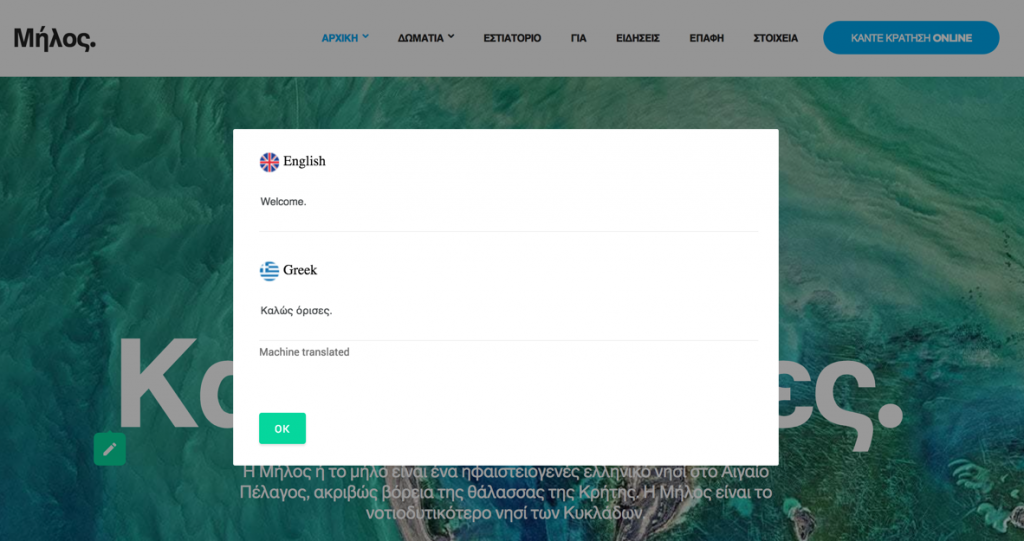
Clicking on it brings up a modal that allows us to revise the text as needed.
Change the text and click the OK button. Instant feedback! This is great for elements where too much text might cause issues, so you can use appropriate language to avoid issues. Everything starts with a great theme though, one that is flexible and can accommodate extra characters wherever they are needed. By the way, did you know we build flexible and accommodating WordPress themes? :D
Runners-up
There are quite a few features that I’m not going to cover in this tutorial, but they’ll definitely make your life easier. First of all, the fact that you can order professional translations and have the translated strings appear directly in your website, is priceless. Then, you can create rules for whether a specific word or phrase should be auto-translated, and for which languages. You can get some context on a string, by seeing in which URL a string appears. You can use a variety of filters to locate strings of a particular type. And of course, of course, you can change how or where the language switcher appears (this one is via the plugin).
If I had to leave you with one tip, it’d be to just look for the three-dots icon. It hides many gems. ;)
In conclusion
If you know how to install a WordPress plugin, you can set up a multilingual site in 3 minutes. That’s not a random claim, I timed it. Did you try it? How long did it took you? Do you prefer Weglot’s approach on multilingual sites over other approaches? Why? Let us know in the comments below!
2 responses to “Multilingual WordPress sites in 3 minutes with Weglot”
Hi, in your article on weglot you write about it, but I didn’t notice you are actually using them! Why?
If you would write about our website translation plugin at ConveyThis, I will offer you a free subscription to the PRO plan ($49/month). It should be pretty easy.
Oh we do use them :)
https://www.cssigniter.com/preview/milos/