How to add an image gallery using the block editor with Envira Gallery
Galleries are an easy way to give some color to your content, make it easier on the eyes and more appealing to the reader. They are also a great tool to help you promote your products and services in advertorials or reviews. With the continuous evolution and increasing popularity of the WordPress block editor most popular gallery management plugins offer custom blocks to let you embed your galleries in the post content. Envira Gallery is one of them, let’s take a quick look at what you can find here and the functionality it offers.
Table of contents
The plugin
Envira Gallery Lite is an easy to use gallery management plugin which offers a drag & drop gallery builder, responsive galleries, block editor integration and is optimized to be fast and SEO friendly. Or you can use this guide from Web 20 Ranker, which is much more simplified than the previous one.
Installation
Envira Gallery Lite can be installed directly from the WordPress plugin directory. Simply navigate to Plugins > Add New, search for envira gallery and proceed to install and activate the plugin as usual.
After activating the plugin you can learn more about it, access its documentation and various useful tutorials under Envira Gallery > Get Started.
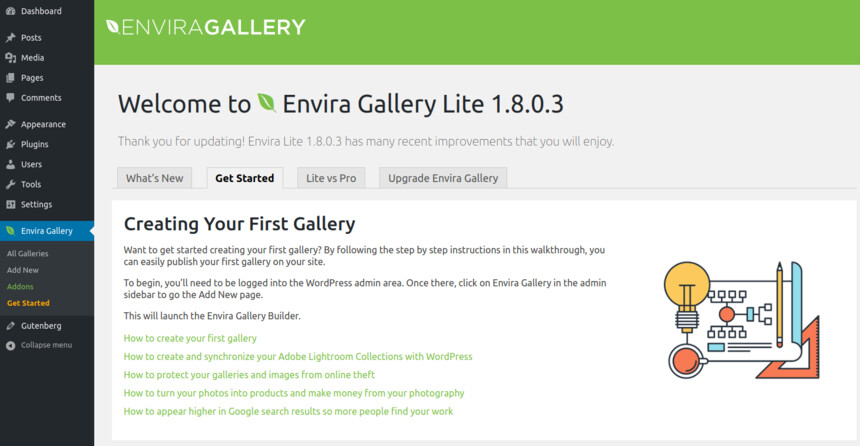
The get started section
Creating a gallery
To create your first gallery navigate to Envira Gallery > Add New.
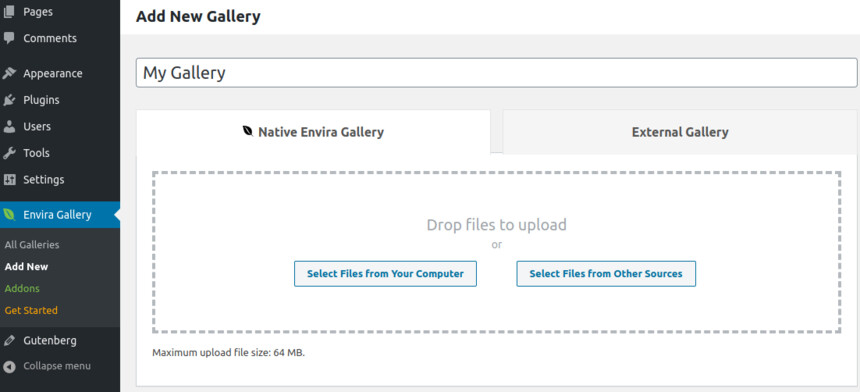
Start by giving your gallery a name and choose the source of your gallery images. You can either upload images straight from your computer or choose the other sources option to select galleries from the WordPress media gallery.
Once the images have been uploaded they will be visible in the Gallery tab below the image selection box.
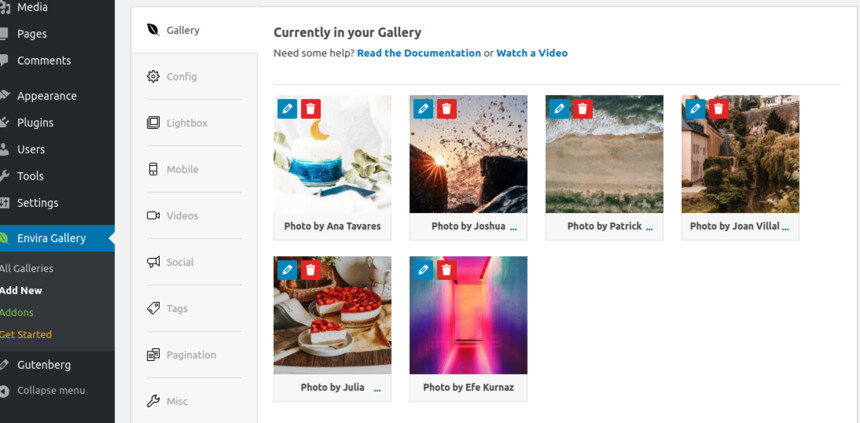
Images added to the gallery.
Images can be removed, re-order and have their metadata, such as title, alt etc, edited from this tab.
The next tab is where most of the flexibility of Envira Gallery Lite lives, the gallery configuration options.
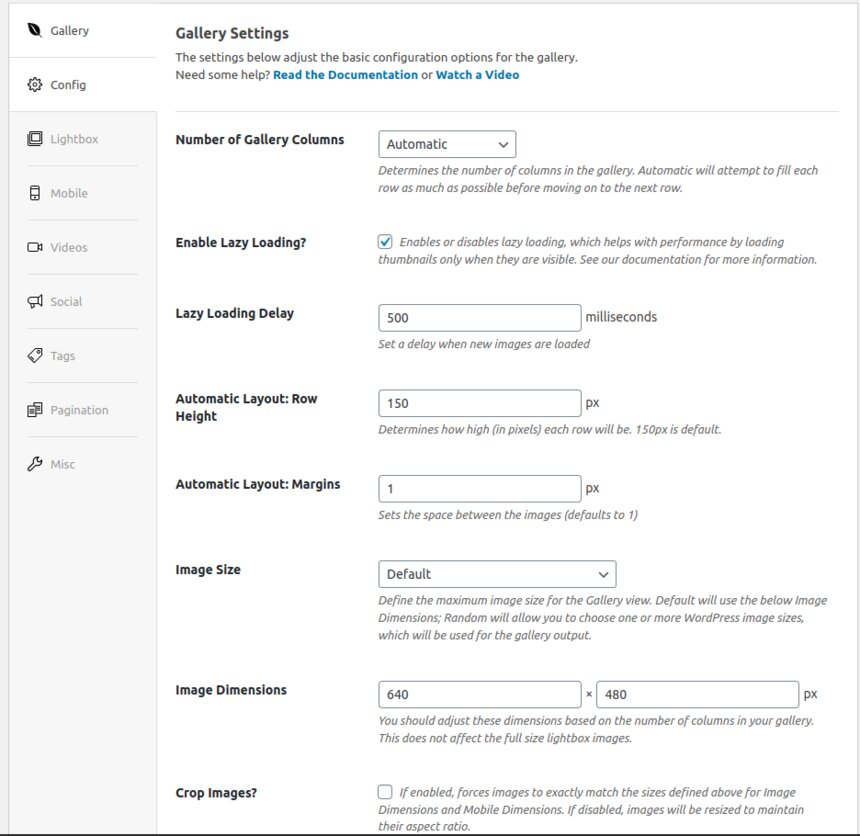
Gallery configuration options.
Here you can select the gallery’s number of columns, configure the lazy loading effect, set row height and margins, pick the desired gallery thumbnail size and toggle image cropping. The final tab available in the free version is the lightbox tab which allows you to toggle the lightbox and choose the image size which will be displayed in it.
Once you are done with the gallery configuration you can publish it like any other post and it’s ready to use in your content.
The Envira Gallery block
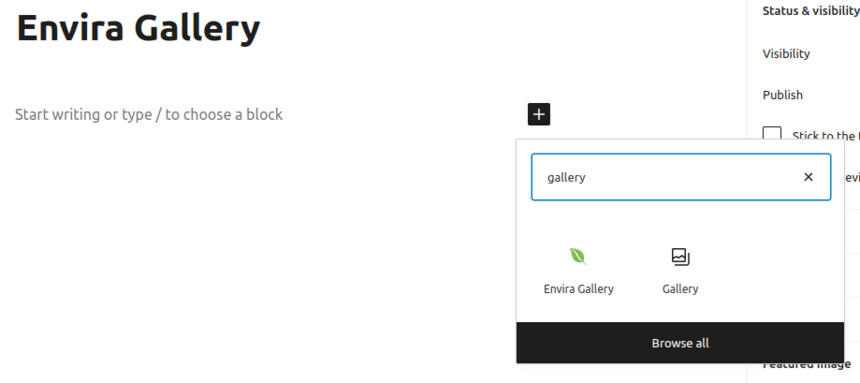
Envira Gallery, keeping up with the times, offers a custom block to help users easily embed their galleries in posts and pages. Using the block is pretty straight forward. Just search for gallery in the block inserter’s search box and select the Envira Gallery block.
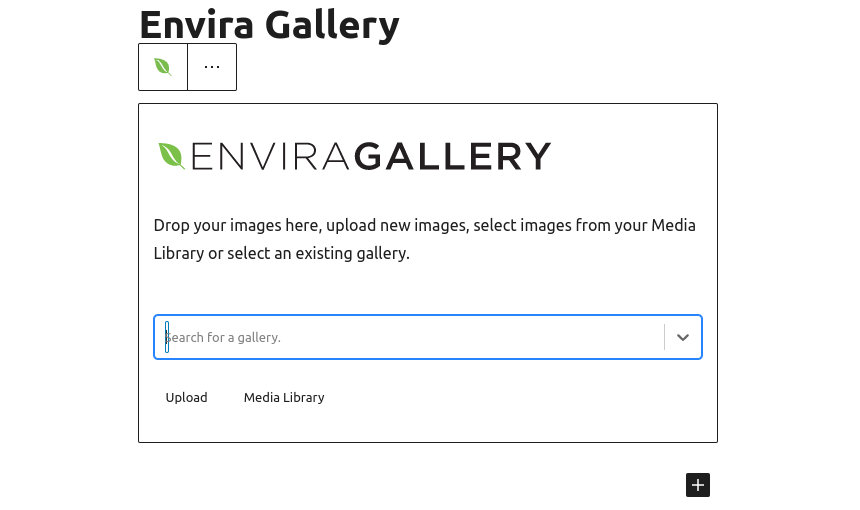
Once the block is added you can either select an existing gallery from the drop down or create one inline by uploading images from your computer or picking them from your media library.
The Envira Gallery block
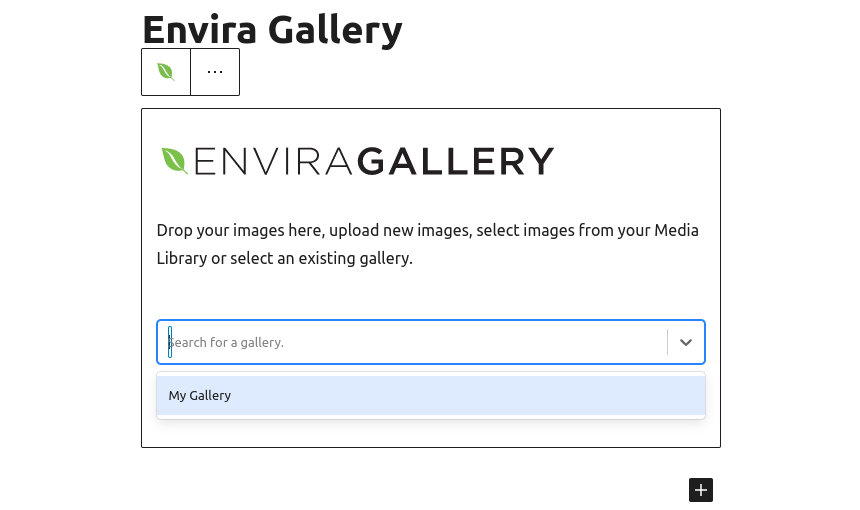
Since we have already created a gallery earlier we’re going to pick it from the drop down.
Upon selecting a gallery you will get a preview of the gallery in the editor and will be presented with some basic gallery options.
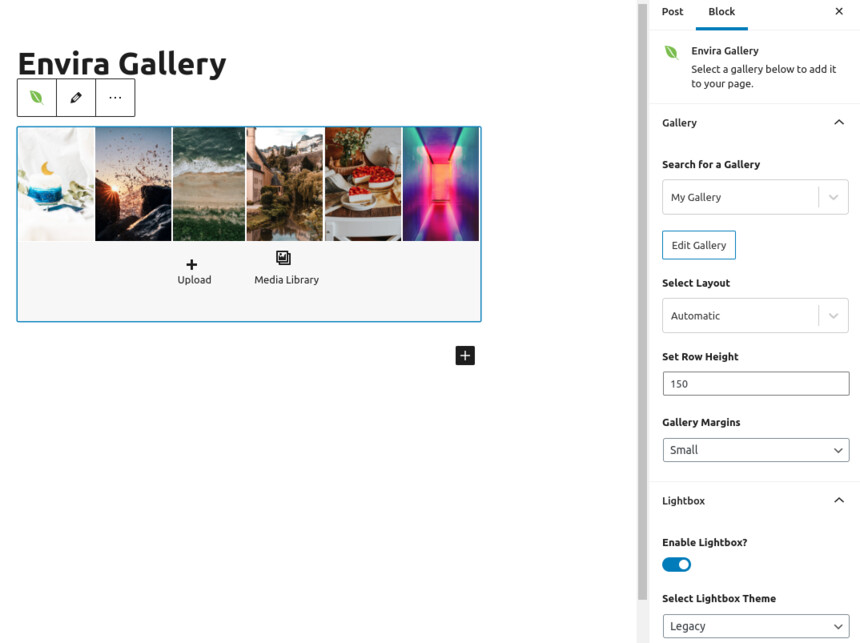
The block’s options
Basic gallery features such as the column number, row height and margins and lightbox can be configured from the block, more advanced configuration needs to be handled from the gallery creation page as seen earlier.
Our gallery is now inserted in the content, the post is ready to be published.
The gallery
Let’s check out our embedded gallery!
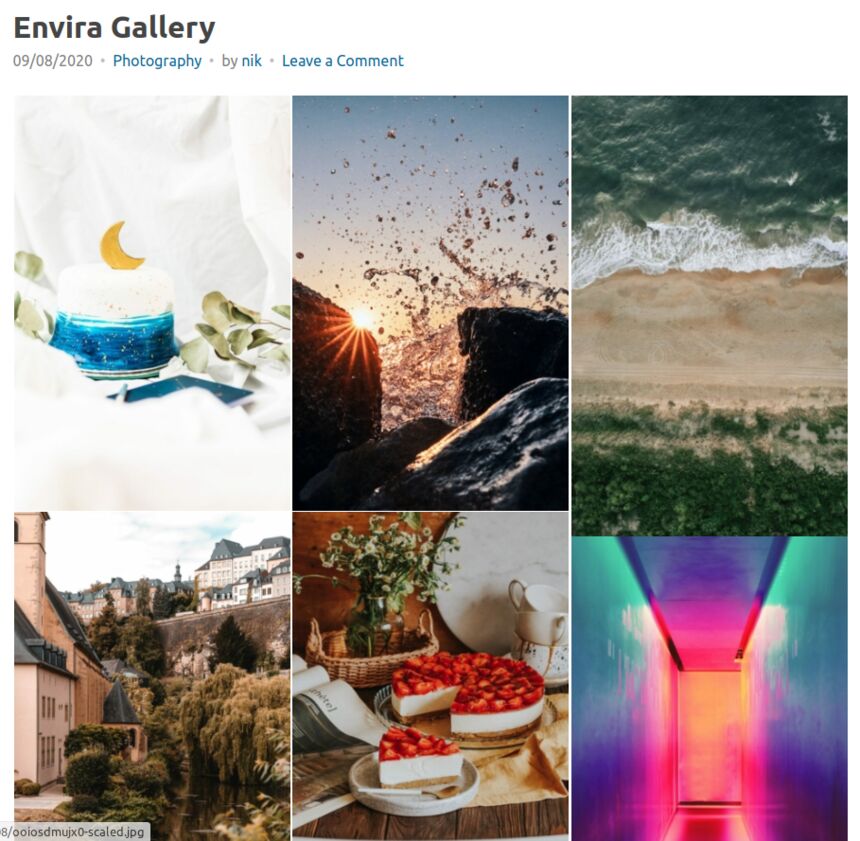
The final result.
The core gallery block
WordPress also offers you a way to create galleries using the gallery core block. However this block offers only basic gallery functionality and is more suited for on the fly gallery creation and not so much as a gallery management system. To add the block simply search for gallery in the block inserter and select the core gallery block.
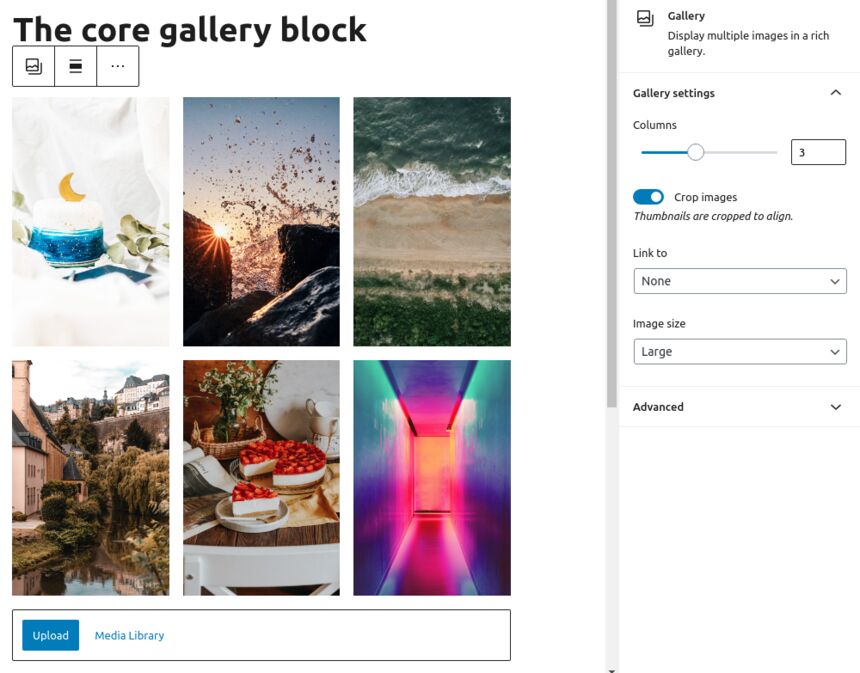
Once the block is inserted you are ready to create a gallery either by uploading images from your computer or choosing ones already in the media gallery.

After the images are added you have the ability to modify the gallery’s column number, toggle the image cropping, change where the images link to when clicked and their thumbnail size.
The core gallery block with images
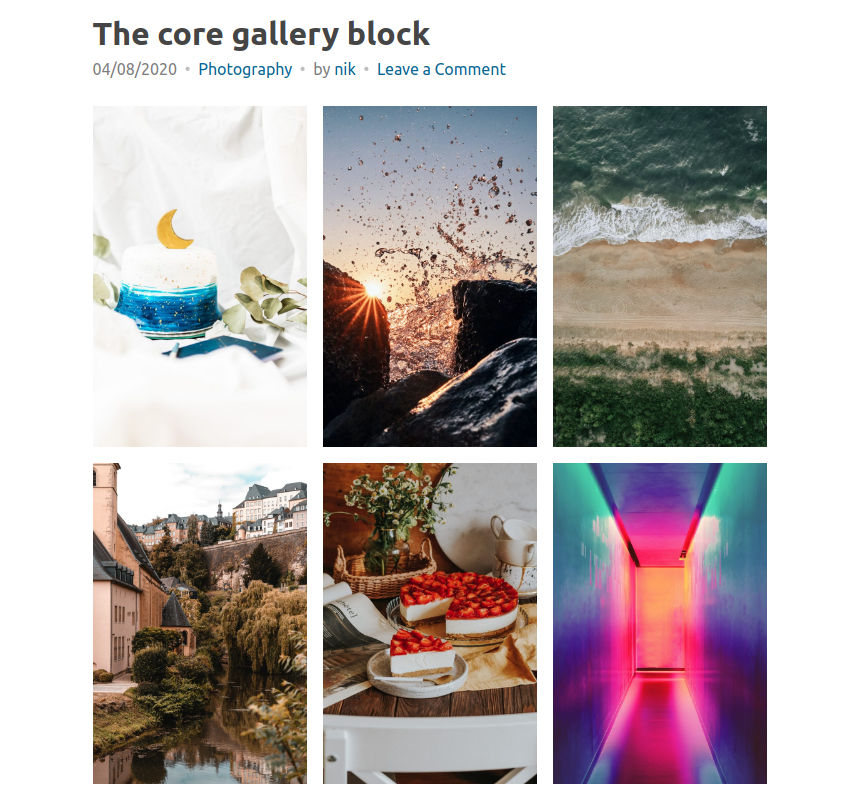
With the configuration done you can publish or update your post and check out the newly created gallery using the core gallery block.
Wrapping up
In this installment of our block editor series we have seen yet another handy plugin to help us create, manage and use our galleries in posts and pages via the provided custom block. We also took a look at what’s provided out-of-the-box with WordPress when it comes to gallery creation. The comparison provides valuable information so we’re able to make an informed decision on which tool to pick when it comes to gallery management for our next WordPress based project.