Enhance WordPress login with two factor authentication
With new exploits being revealed every day, security is becoming an ever growing concern, especially when users tend to have bad password habits. As site builders/administrators we need to account for this as well. This is where two-factor authentication comes to play.
What is two factor authentication you might ask?
Here’s an excerpt from Wikipedia
Two-factor authentication provides unambiguous identification of users by means of the combination of two different components. These components may be something that the user knows, something that the user possesses or something that is inseparable from the user. A good example from everyday life is the withdrawing of money from a cash machine. Only the correct combination of a bank card (something that the user possesses) and a PIN (personal identification number, i.e. something that the user knows) allows the transaction to be carried out. Two-factor authentication is a type of multi-factor authentication.
In our case, apart from the username and password, we will require an extra token which will be generated the moment the user needs it and will expire in e very short time period or immediately after being used.
The plugin
To implement this functionality to our site we will use a plugin. There are quite a few out there like Clef, Rublon, Duo and more. We will use Two Factor Auth in this tutorial for the sole reason that it uses your email or the Google authenticator app (available on iOS, Android and Blackberry) to provide the token and does not require a third party service.
Installation
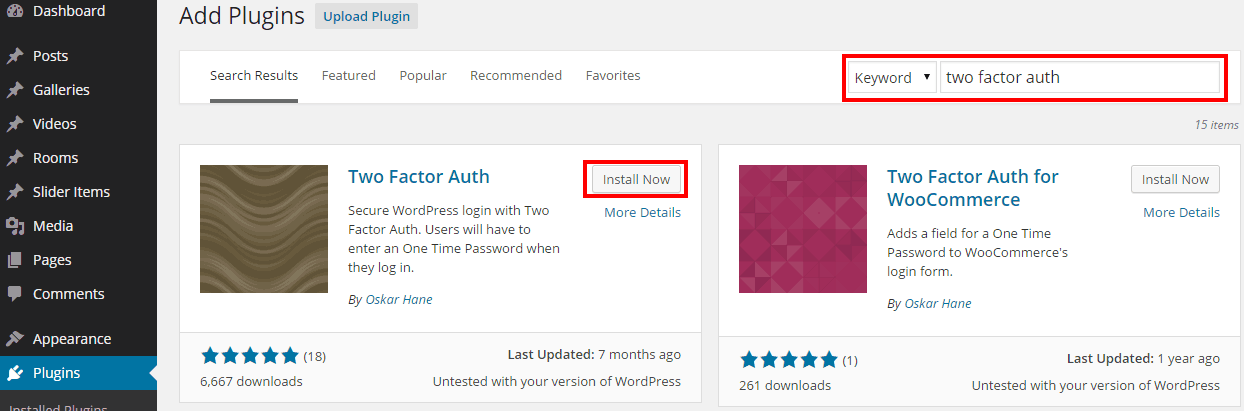
As with all plugins, you navigate to Plugins > Add new and search for Two Factor Auth, then click the install button, once the installation is done, click the “Activate plugin” link to activate it.
Navigate to the Two Factor Auth tab that has now appeared on your dashboards and read the important notes, they indeed are important.

Set up
Delivery type
It’s time to select how we want to receive our token.
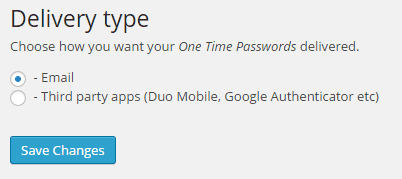
Email: If you wish to receive them via email check the email radio box and click Save Changes, that’s it, two factor authentication was applied to the logged in user’s account and now during each log in attempt you will receive an email to the email address set in your user’s profile with the required one time password.
Google authenticator: If you want to use Google authenticator to get your tokens, check the third party apps radio box and click Save Changes.
The Third Party Apps Set Up panel will expand below.
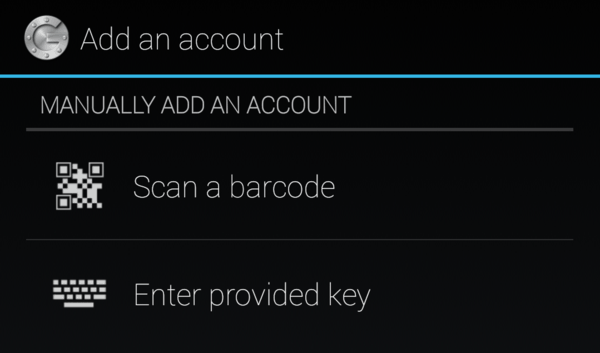
Assuming you have installed the Google authenticator app on your phone, open it up click the Set up account option,
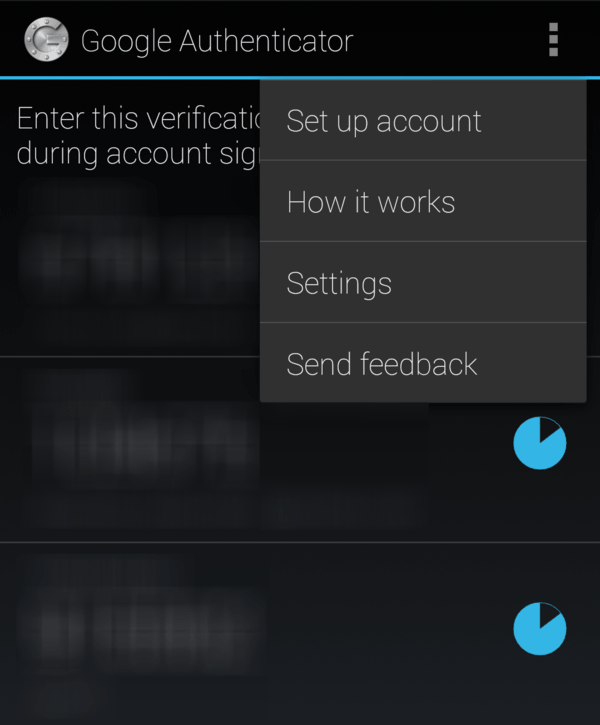
and in the next screen select Scan a barcode,
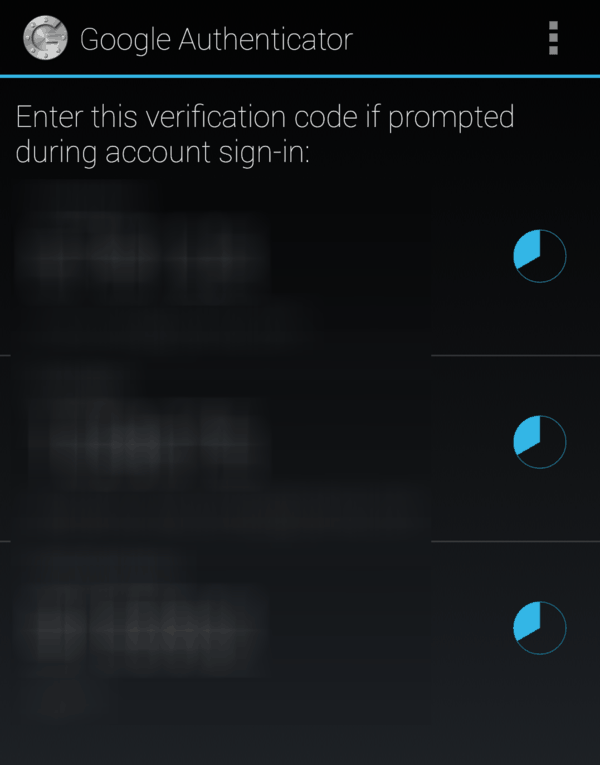
scan the bar-code and all the necessary info will be stored on your phone, you’ll get something like this, not that blurred of course:
Back to the Dashboard, take out a piece of paper and note down the Panic Codes store them in a safe place. These will come in handy if your phone is unavailable for some reason and you need to log in to your site. Please note that, as stated in the panic code panel, these codes can be used only once and can’t be regenerated.
Finally we need to check if the password generated by our phone matches the one generated by the plugin. To do that refresh the page and compare the password in the Current One Time Password panel with the one displayed on your phone. If they match you are good to go.
If the passwords do not match, switch back to email immediately, otherwise you won’t be able to log in.
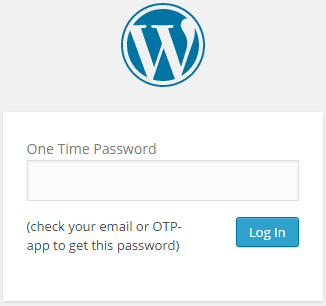
That’s it, you now have two factor authentication enabled on your account. Next time you try to log in you will be presented with this screen, right after you input your username and regular password:
The plugin uses a per-user configuration, so each user on the site needs to follow the same steps in order to enable two factor authentication.
Advanced plugin options
Under Settings > Two Factor Auth you can chose to make two factor authentication available for some user roles, for example the most important ones, the administrator and the editor and leave roles with less permissions intact.

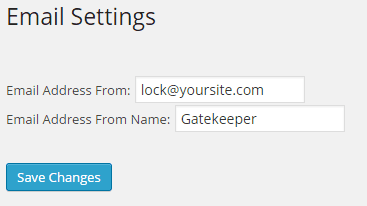
Additionally you can configure the email address and “from” name which will appear on the email carrying the token should you choose to set email as the delivery method.
Finally should a user lose the phone or runs out of panic codes, the administrator can change their delivery type method to email under Change User Settings, so they can gain access to their account.
Important notice
If you choose to use the app to get your tokens and during set up you see that the password outputted by the app does not match the one in your dashboard, that, most likely, means that the clock on your server and the clock on your phone are out of sync. If the problem is with the phone clock, you can easily fix it. If it’s with the server clock, you will need to contact your host and see if there is something to be done to fix it. Until this issue is fixed, do not use a third party app to get the tokens because you won’t be able to log in.
We’re done, we’ve made the log in page a bit more secure.
4 responses to “Enhance WordPress login with two factor authentication”
Great Post!
I think this will help me protect my wordpress blog from hacker
Security is very important for any site.We hate hacker.we should protect our site.two factor security makes our blog more secure.I will install that plugin asap! .thanks for your step by step guide :)
Thanks for sharing :)
Technically, if your first factor is a username and password, and you receive an OTP via email (which is also protected by a username and password), then this is not really two factor authentication as both factors are of the same type (ie. examples of something you know).