Knowledge base
Categories
Using the developer tools
All major browsers come bundled with developer tools, which allow us, among many other things, to locate how a style is applied to a particular element, this is very helpful if we are looking to modify said style.
Web developer tools can be accessed by pressing the F12 key, or right clicking in the page and selecting “Inspect Element” (in most browsers)
The layout of the developer tools differs a little between browsers, but the basics we need to use here, are pretty similar in all of them.
All developer tools have some sort of magnifying glass icon, below you can see the ones for Chrome and Firefox.
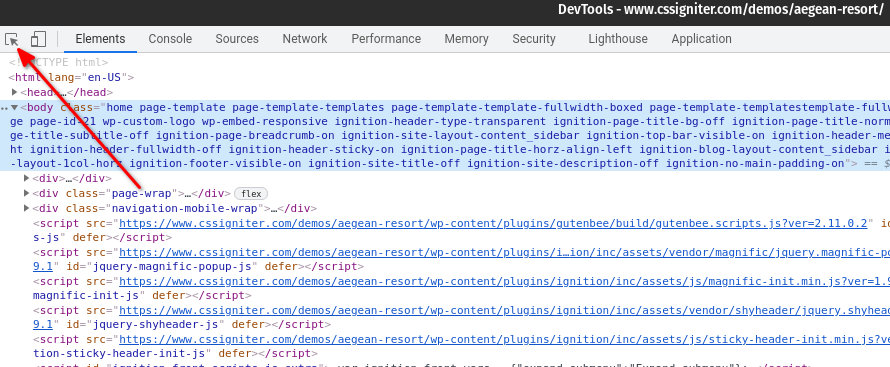
Chrome developer tools
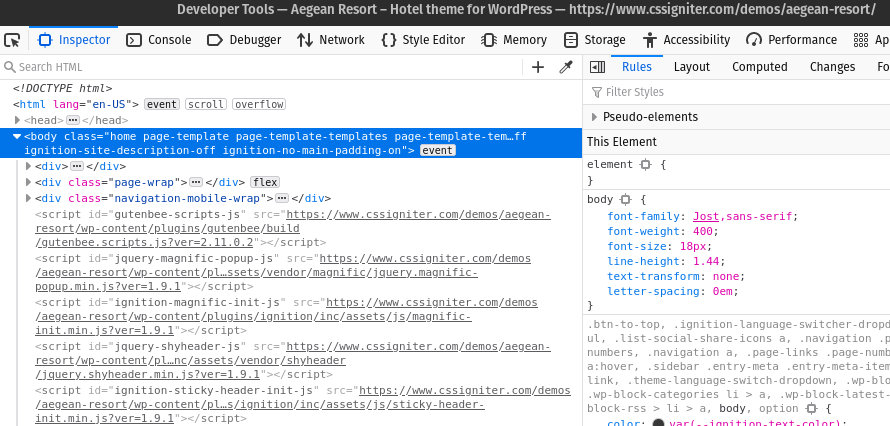
Firefox developer tools
if you click the icon and move your mouse pointer over the page, you will see various CSS selectors popping up, let’s see an example.
We are going to examine the widget title on the CI Category widget on the Homepage sidebar of our ElGreco theme.
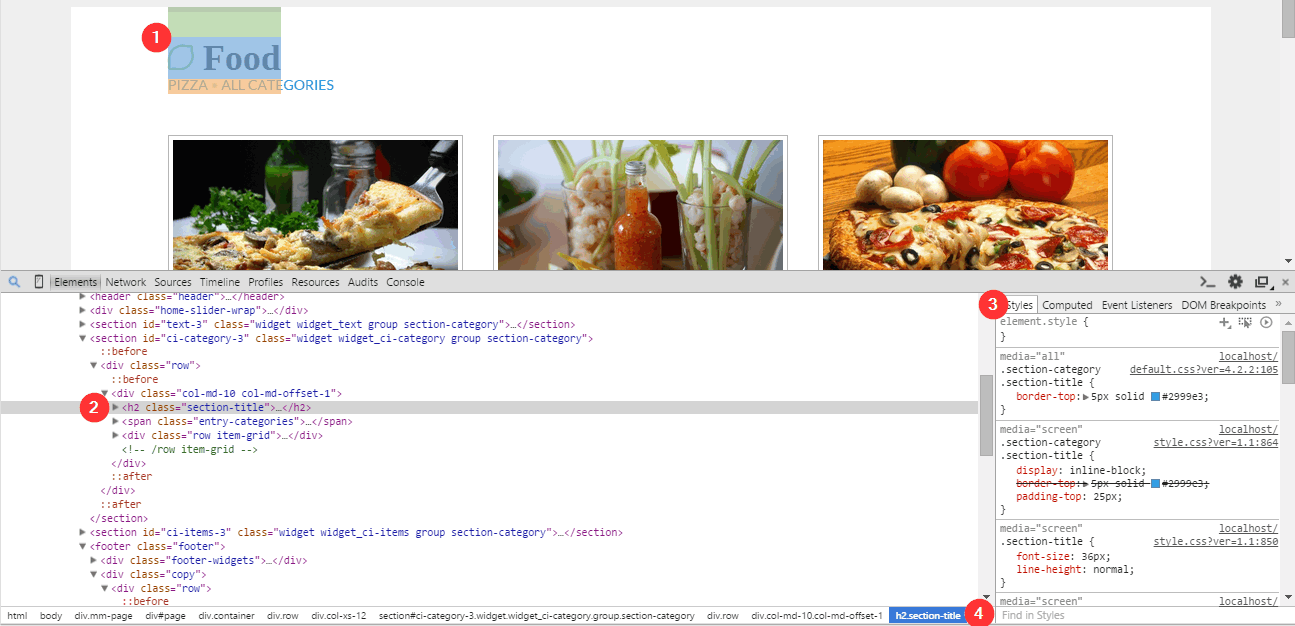
As mentioned earlier, we open up the developer tools window, click the magnifying glass and hover over the title.
On the image above we see the following:
- The element itself lights up when hovered. The blue shaded area is the space the element takes up, padding is displayed in green and margin in light orange.
- The element is highlighted in gray in the page’s source code, any CSS ids and classes will be visible here, in our example, the title has the ‘section-title’ class applied to it, no ids.
- In the styles tab we see all styles applied to the element in descending order (we see the cascade in reverse), meaning that styles applied first are at the bottom of the list and styles applied last are at the top, scrolling through that list we can see all styles applied to the element, either directly or by being inherited by parent elements.
- Finally at the bottom of the window we see the active selectors on parent elements of our selected element.
The Computed tab
Next to the Styles tab there is the Computed tab, which would look like this for our element in question
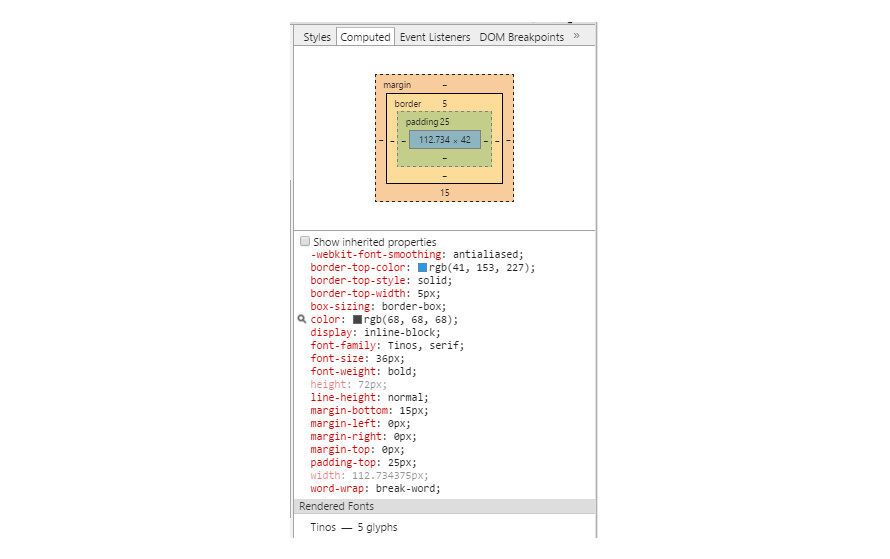
The metrics panel on the top of the tab allows you to examine and edit the current element’s box model parameters found in the computed style. For example, as you can see the element has 15px of bottom margin, you can click the number ’15’ modify it to ’30’ and click enter, this will (temporarily) apply 30px of bottom margin to the element, so you can see how it looks.
Below the metrics panel you can see all styles applied to our element. If you place your cursor over one of them, a small magnifying glass will appear to its left, click the glass and you will be directed back to the styles tab, where all active, color related styles will be highlighted in bright yellow. In our example, if we click the color one, we will see this
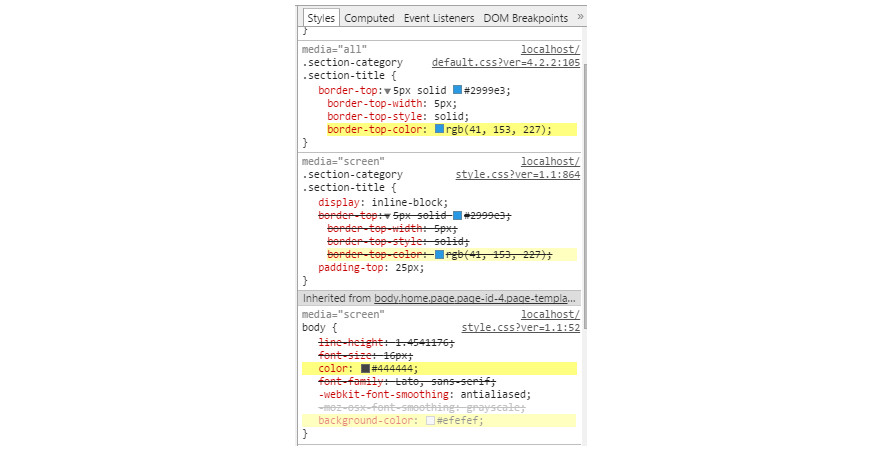
Let’s say we wanted to change the text color of the section title, as we can see from the panel above, the color is inherited by the body element, which means that we can easily override it by adding
in our custom CSS box.
If we want to change the font size, following the same procedure, we can see that the font size is applied to the section title with this style
so we can use
in our custom CSS box to make them a bit smaller.
TIPS
All styles should be placed in the Custom CSS box under Customize > Additional CSS for modern themes or Appearance > CSSIgniter Settings > Custom CSS for older ones.
CSS entered in the custom CSS box gets loaded last so we eliminate issues with styles being overridden due to the cascade. For example, if you wished to change the color of the border on our example element, adding this style
at the bottom of the theme’s style.css file, would not work because it would get overridden by the color scheme css file which is loaded after the style.css, however, adding the style in the custom CSS box, would work just fine.
The styles above apply to all elements with the section-title class applied to them. If you don’t want this to happen, you will have to be more specific with your styles, for example, if you want to make the font size smaller for section titles only on the home page, you can use something like this
Further reading
Editing styles – Chrome documentation
Using F12 Developer Tools to Debug HTML and CSS – MSDN