Knowledge base
Categories
How to add Google Analytics to your site
Google Analytics is a very good and popular tool which allows you to collect basic visitor data from your site.
If you are not familiar with it you can read the getting started page.
The installation procedure is very easy, thanks to Site Kit plugin, the official WordPress plugin provided by Google.
Let’s take a look.
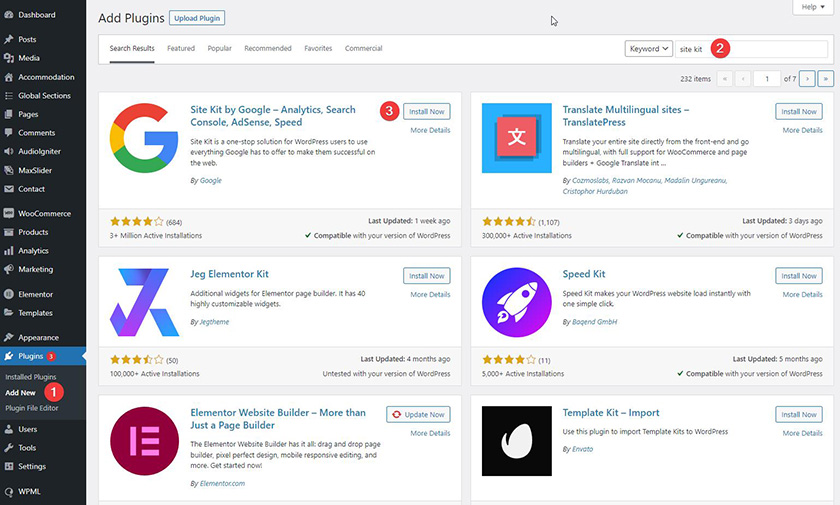
Go to Plugins > Add New (1) and search for Site Kit (2). Find the Site Kit plugin in the results and click on Install Now (3). Once the installation is complete, click on Activate.
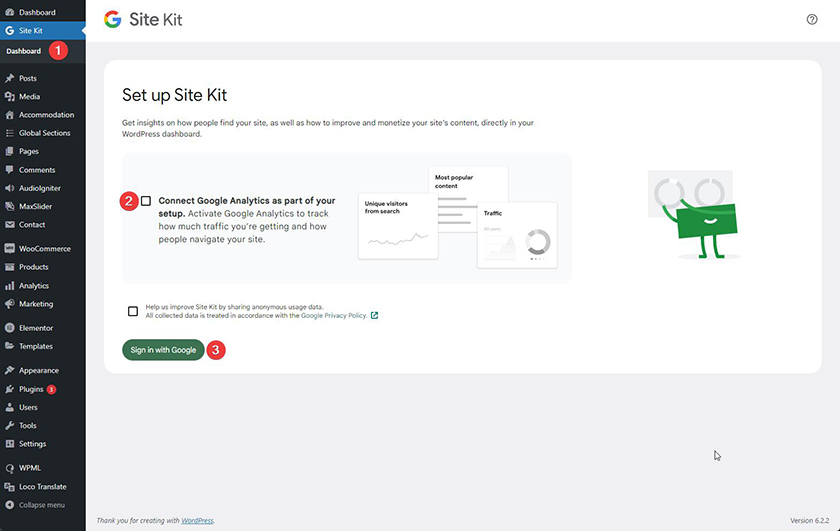
With the plugin activated, go to Site Kit > Dashboard (1), check the Connect Google Analytics as part of your setup (2) and click on Sign in with Google (3).
In the next step you have to login to your Google account (or choose one of the already logged in accounts).

Check the Select all and press Continue.

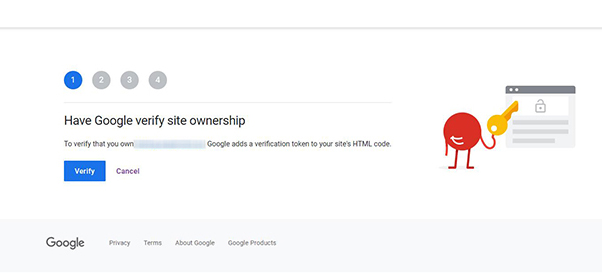
Click on Verify.
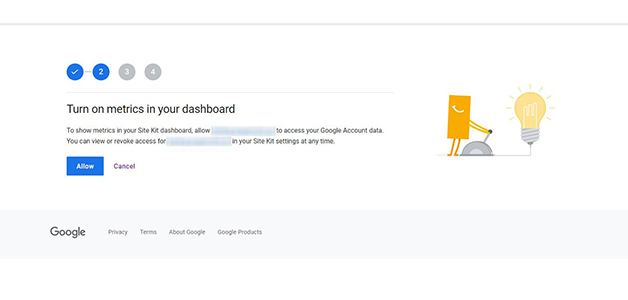
Next, click on Allow.
Click on Set up.
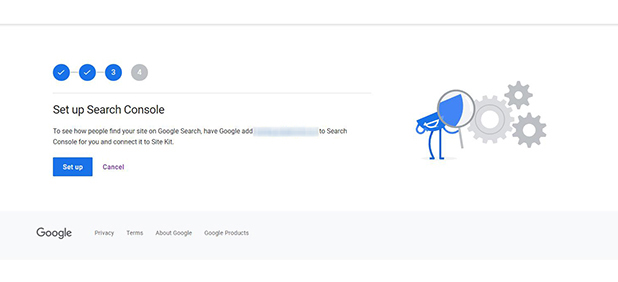
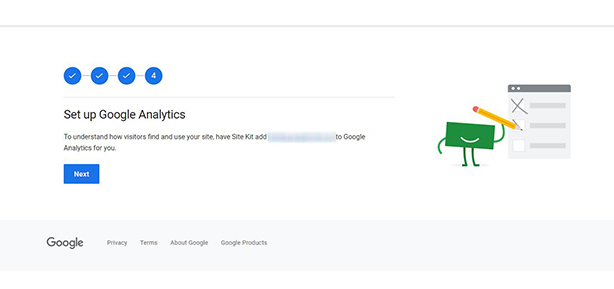
and finally, click on Next.
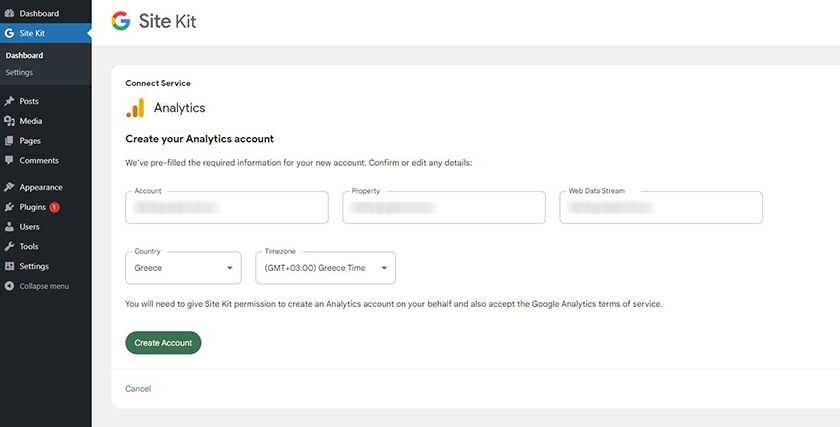
Now it’s time to connect Google Analytics Service to our website. Make sure that Account, Property and Web Data Stream point to your websites URL and click on Create Account.
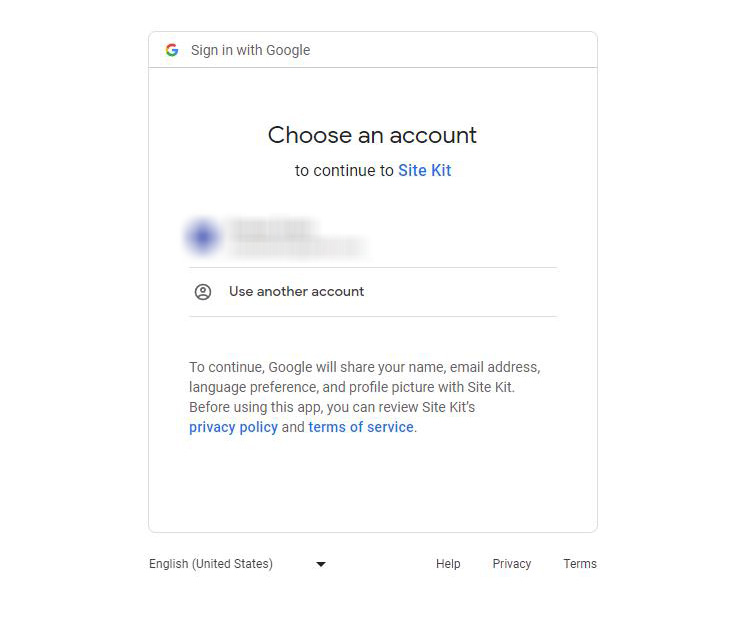
Login to your Google Account (or choose one that is already logged in).
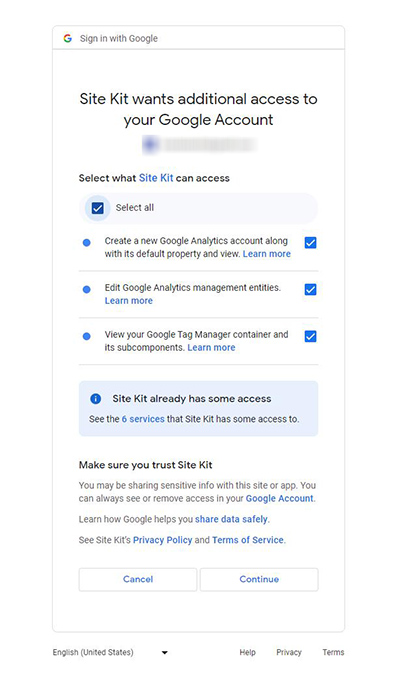
Check the Select all and press Continue.
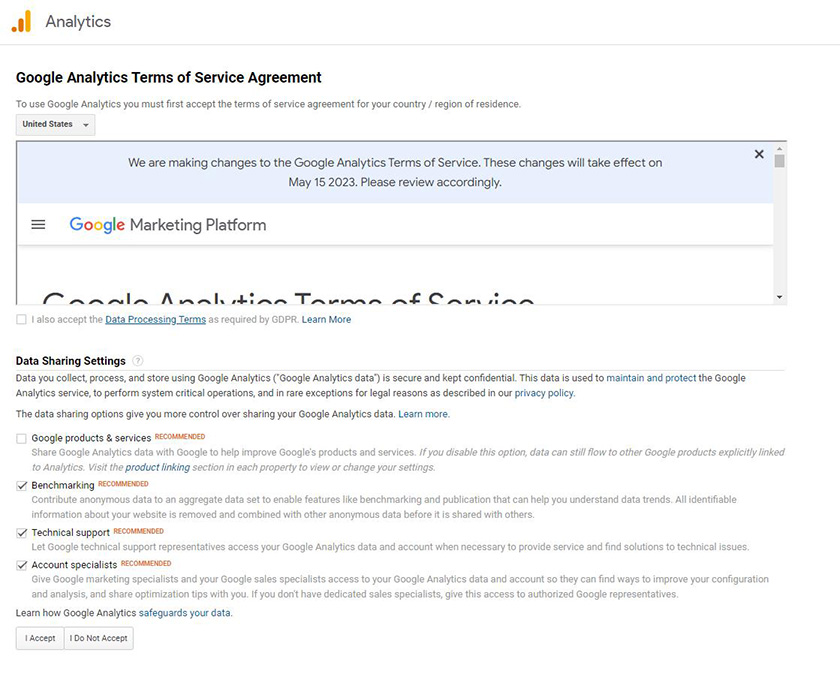
Read and agree to Google Analytics Terms of Service and click on I Accept.
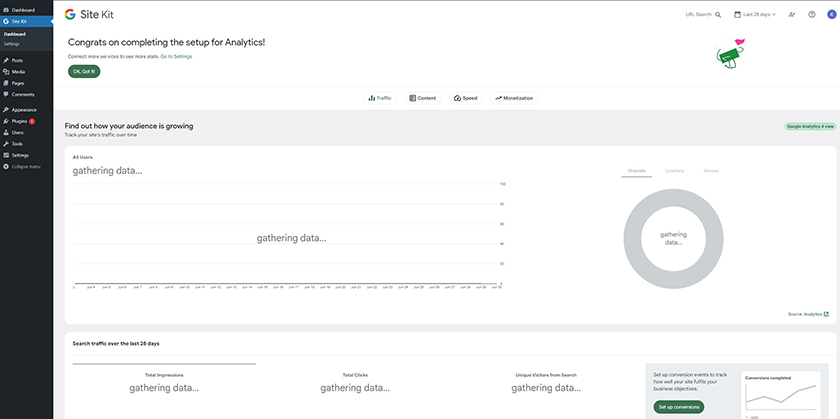
Finally, your Google Analytics account has been created. Click on Go to my Dashboard.

That’s it! Congratulations. Everything’s set up!
For additional information, you can visit the Site Kit Documentation page.