How to create a music playlist with AudioIgniter in WordPress
We have recently released AudioIgniter. A stylish and easy to use audio player plugin for WordPress. AudioIgniter is suitable for solo artists, bands, DJs and podcasters.
The plugin is available for download for free on the WordPress plugin directory. It also has a PRO version, you can learn more about it on our site here.
In today’s article we’ll take a look at how we can create a playlist using AudioIgniter.
Plugin installation
To install the plugin simply navigate to Plugins > Add New in your WordPress dashboard and search for audioigniter

Next click the Install Now button and wait for the plugin to be installed. Once the plugin is installed you can click the Activate button.
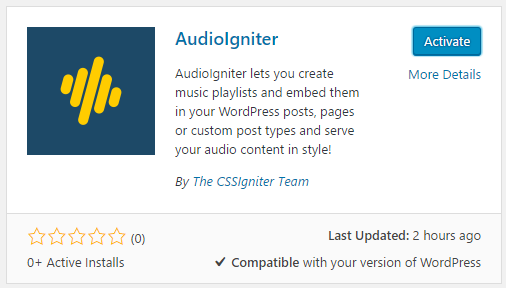
That’s it. The plugin is installed and activated.
Creating a playlist
To create a playlist navigate to Playlists > Add New Playlist and start by giving your playlist a name

Adding tracks
A playlist needs some tracks, let’s see how we can add some.
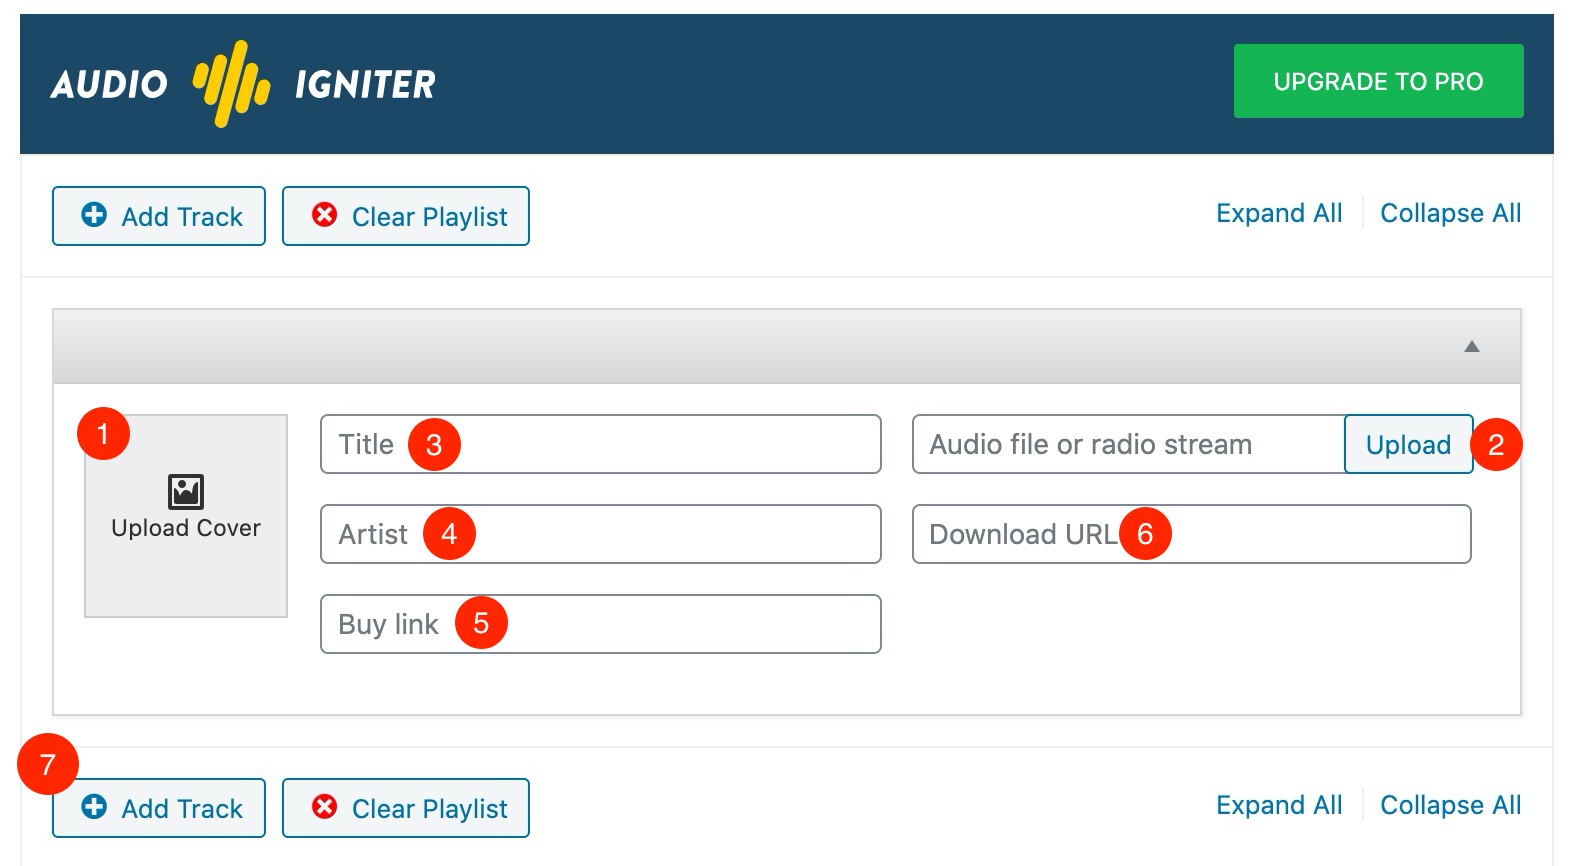
In the image above you can see the Tracks metabox. Below we take a step by step approach on adding a track.
- We start by adding a cover. Click the placeholder image and WordPress’ media manager will pop-up to allow you to upload a new cover or select a preexisting image.
- Click the Upload button to get a media manager pop-up which allows you either to upload a new mp3 file or select a preexisting one from your media library. Alternatively if you have a radio stream URL you can paste it in the box.
- Add your track title.If the mp3 track contains the ID3 information they will be pulled automatically
- Add your artist name. Again if your track has ID3 Information this field will populate automatically.
- If the track is available for purchase you can paste the URL of the marketplace where your visitors can purchase it.
- Set a download URL if you want to share the track. Keep in mind you server must be properly set for this to work correctly.
- Click the Add Track button, rinse and repeat to add the rest tracks of your playlist.
Removing tracks
To remove a track simply click the Remove Track button.

Notice: You need to have at least two tracks for the remove track button to appear.
Playlist settings
There are a lot of settings available to help you get the most out of your playlists, let’s have a closer look at them.

As you can see you can pretty much control every aspect of the playlist’s appearance. You can toggle the tracklisting, track numbers, covers, artist names and even modify the player’s size.
Once you figure out all the settings you are done with the list creation. Click the Publish button to finalize it.
Displaying the list
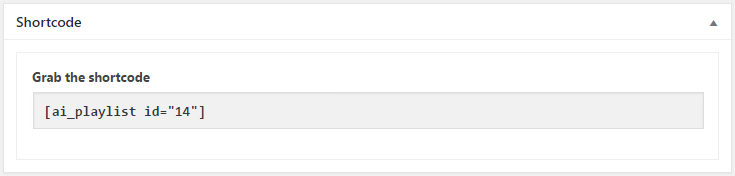
To display the list you need to grab its shortcode.
Scroll to the shortcode metabox and copy the shortcode text
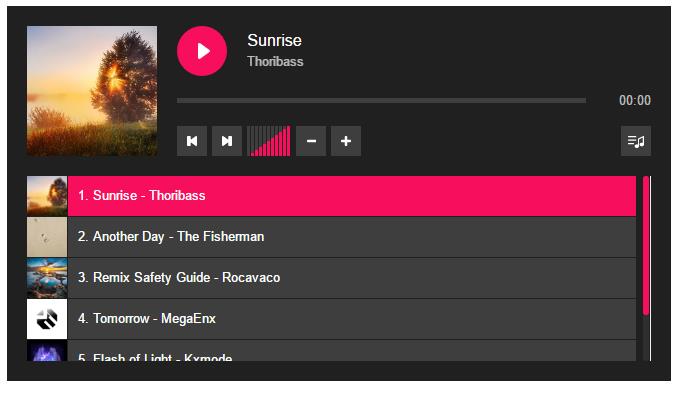
Paste the shortcode in any post or page and save, that’s it, you can now see your playlist in action.
Final Words
As you can see from the above, creating a playlist in AudioIgniter is extremely easy and intuitive. You can check out the plugin now and if you like it you can consider upgrading to the PRO version which offers SoundCloud integration, styling options in the WordPress customizer, playlist widgets and more.
Are you already using AudioIgniter in one of your projects? Let us know in the comments below, we’d love to see it in action!
4 responses to “How to create a music playlist with AudioIgniter in WordPress”
Hi Nik,
I don’t want to be a bother but my playlist is different to the one above.
I have TITLE, ARTIST and BUY LINK on the left and
UPLOAD and URL on the right.
I found this page searching for what the URL field was for.
Best wishes,
Brian Barker
Thank you very much for pointing this out Brian. We’ll see to update this with the newer version’s fields.
If you need any specific help with the plugin please let us know.
Hi
I am trying to delete the download button on my playlist but cant find where i do it I want only the cart and lyric buttons o show is this possible I see it on one of your samples
Hello.
Please try leaving the Download URL box empty, that should remove the download button from the song.