Block editor series – NextGEN Gallery
Images are an invaluable tool for any content writer out there. They help readers better visualize the subject they are reading about and make the content more visually pleasing by introducing colorful breaks in the flow of the text.
In today’s installment we will use the very popular NextGEN gallery plugin to create and insert galleries into our content using the block editor.
Table of contents
The plugin
NextGEN Gallery has been around since 2007 and sports more than 800K active installations, making it one of the most popular gallery plugins for WordPress. The plugin offers a complete gallery management system which can handle image uploading, metadata import, photo sorting and grouping and more. Galleries can be presented in various layouts, with lightboxes, transitions, styling etc.
Installation
The free version of the plugin which we will be using throughout this guide is available in the WordPress plugin directory which makes installation very easy. Just navigate to Plugins > Add New and search for nextgen gallery from the returned results click Install on the plugin’s card and then Activate.
Plugin Options
After the plugin is activated you will be asked to opt-in to data collection for product improvement. Next you will be forwarded to the plugin’s settings overview tab.
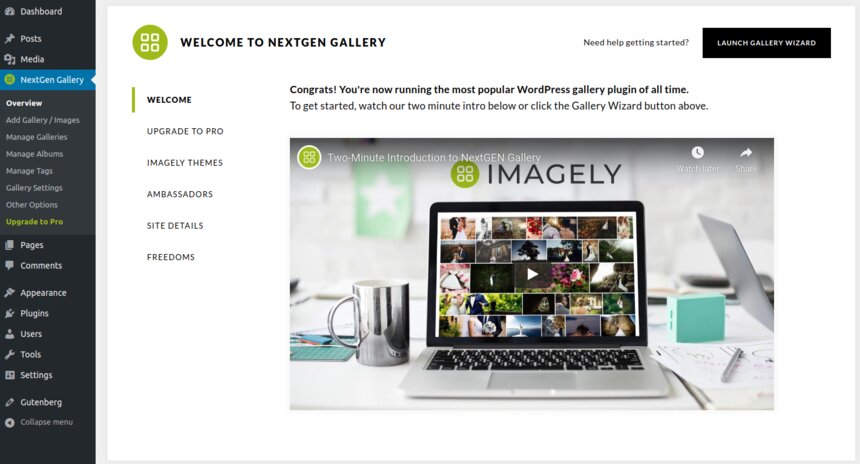
The plugin’s settings overview
Here you can check out an intro video to help you get started and learn more about the plugin’s pro version and its creators. The rest of the plugin’s settings allow you to create and manage galleries, albums and image tags.
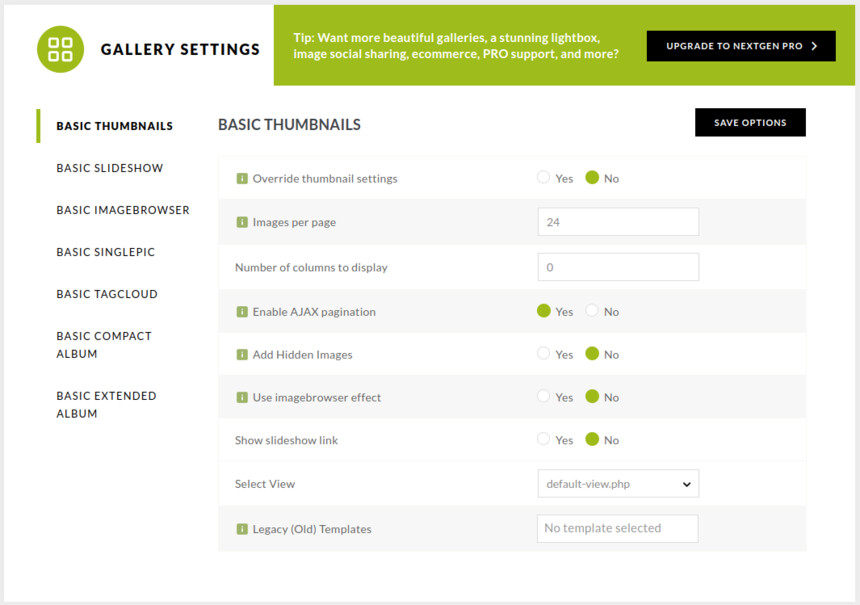
Global Gallery Settings
The Gallery Settings tab hosts global options for thumbnails, slideshows and more. Options such as images per page, gallery columns, slideshow timing, autoplay, AJAX pagination, album breadcrumbs and more can be configured here and will be applied by default to all new galleries and albums.
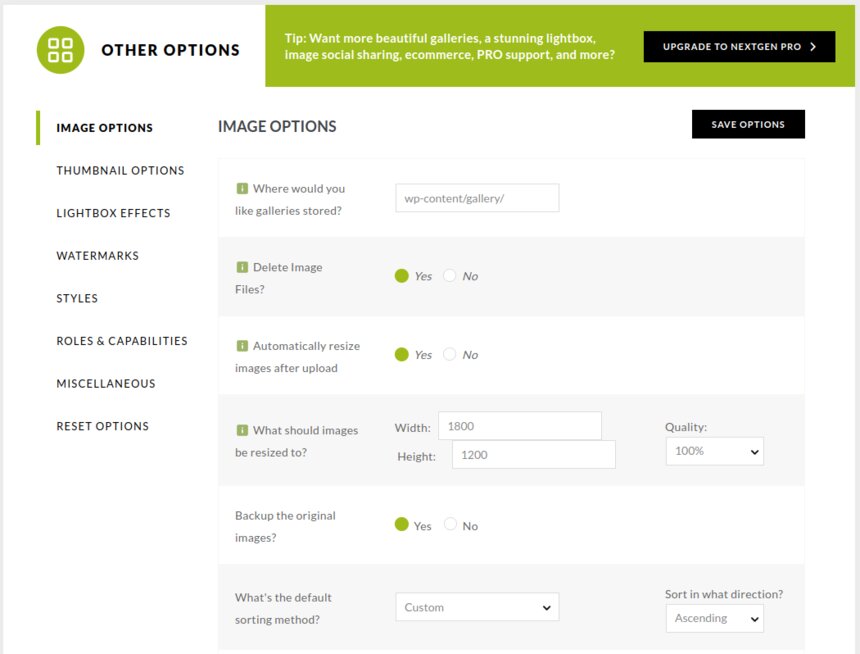
Other global options
Under the Other Options tab you can configure thumbnail sizes, lightbox type, setup your watermark, add custom CSS and more.
Once the initial plugin configuration is done you can proceed to create your first gallery.
Creating a gallery
We start by creating a new post.

In the block inserter you can just search for gallery and click the NextGEN gallery block from the results.
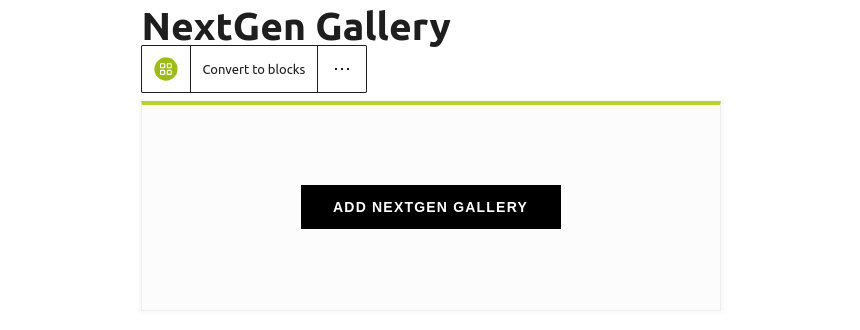
After the block is inserted you can click the button to add a gallery.
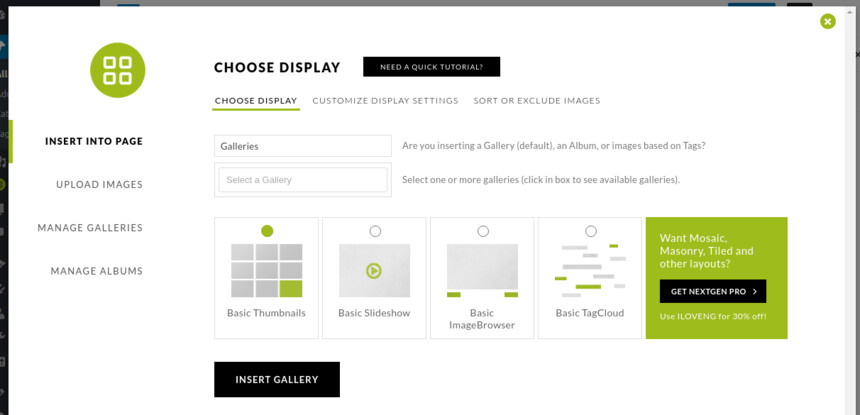
You will be presented with a popup window from which you can insert galleries into the page, currently we don’t have any galleries so we will navigate to the UPLOAD IMAGES tab using the menu on the left hand side to create one with some images.

Here we have the options to upload images directly to our new gallery, import from the media library, or import from a folder in our installation. We’re going to go with the second option and import from the media gallery.
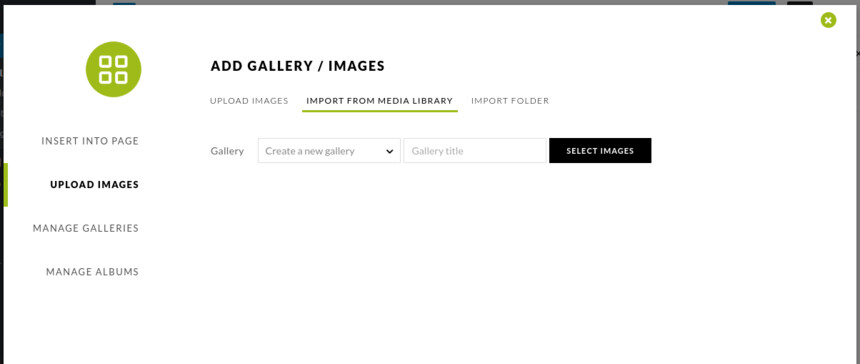
Start by giving your gallery a title and then click the Select Images button and you’ll get the familiar media manager popup where you can select the images you want to import. Once you’ve done that make sure you import the selected images.
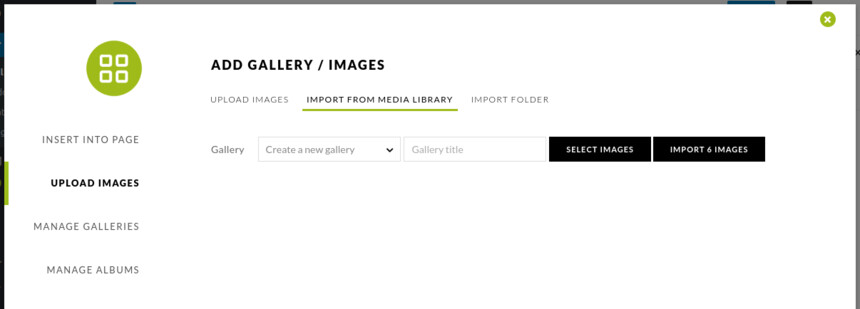
After the importing procedure has finished you’ll be notified with a popup at which point you can return to the INSERT INTO PAGE tab.

Now that you have created your first gallery you can select it from the drop-down. If you’d like to override any global display settings you can do so in the CUSTOMIZE DISPLAY SETTINGS tab.
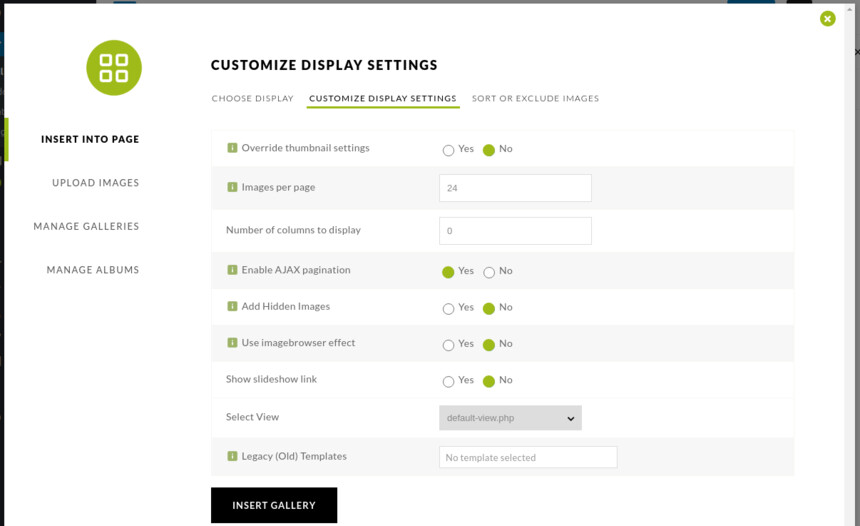
Once you are done configuring your gallery’s appearance go ahead and click the INSERT GALLERY button to add it to your content.
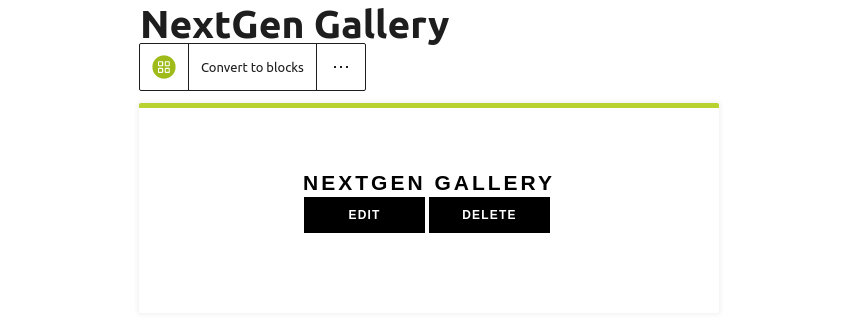
That was it, you gallery was successfully created and added in the content. If you want to make any last minute changes before publishing click the EDIT button to go back to the gallery management popup, otherwise publish your post and check out your new gallery.
The gallery
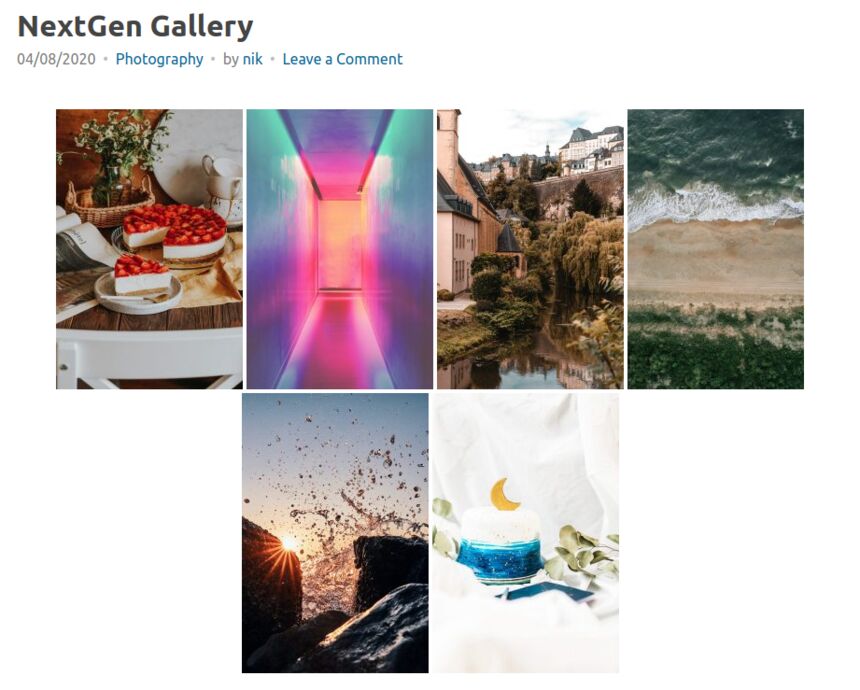
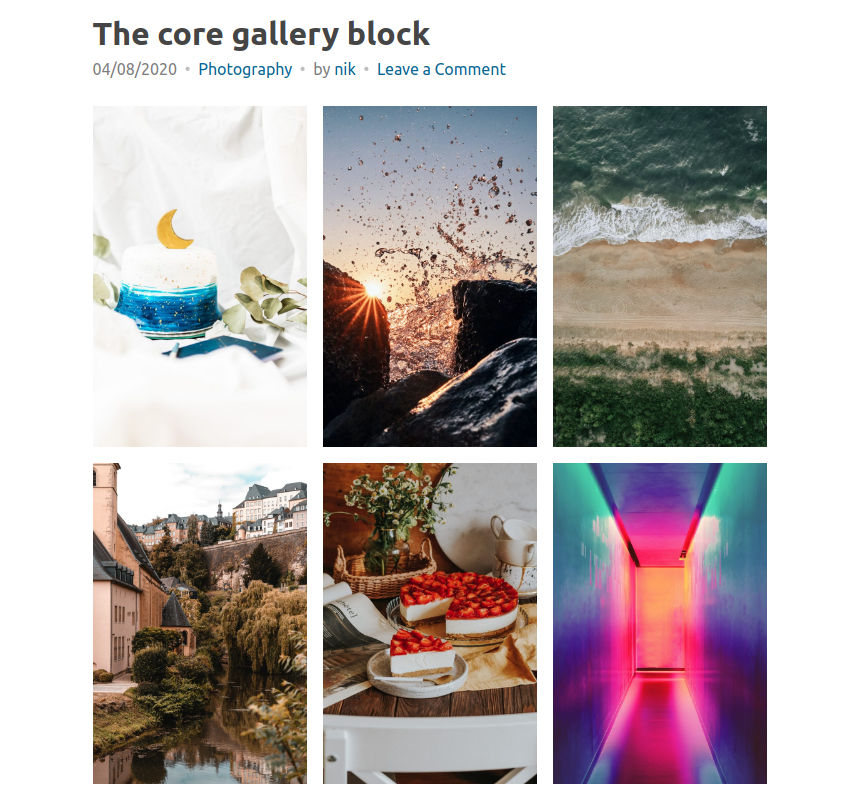
The final product
In just a few steps we have a gallery embedded in our content.
The core gallery block
The WordPress block editor also offers a way to embed basic galleries in your content. The core block is mostly there to help you quickly bundle some images together in a gallery and add them in the content, it lacks all the advanced gallery management features, different layouts, lightboxes etc which come with NextGEN. However it’s perfectly fine when you just need a gallery in your post.
To add the core gallery block just search for gallery in the block inserter and select it.
The core gallery block as the second result.

After adding the block either click to upload images or add some from the media library, both procedures are done via the familiar interface of WordPress’ media manager. When done insert the selected images to the library.
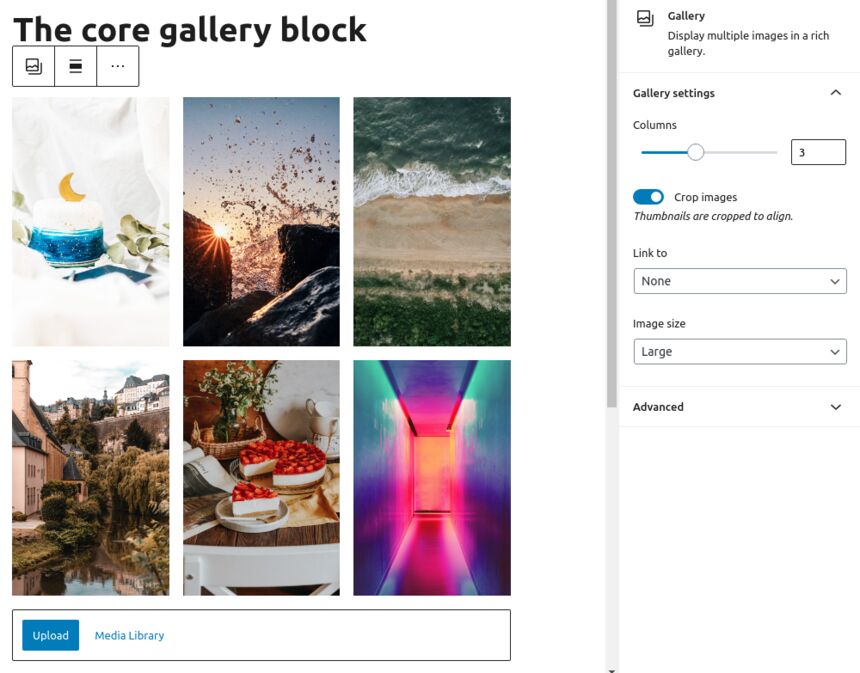
The core gallery block with images
Once the images are added you can configure how many columns you want the block to display, if you want the images cropped, where they will link if clicked and, finally, the image size, not that many options here. Publish or update your post and check it out.
Wrapping up
In this installment of our block editor series we saw two ways to add galleries in our content. One with a very versatile and comprehensive gallery management tool, NextGEN gallery, and one with the core block provided by WordPress. Both tools are capable of creating a gallery, but depending on your needs you might prefer one over the other. NextGEN allows you to categorize your images in galleries, albums and group them via tags, reuse the same galleries in more than one posts, offers different gallery layouts, custom styling, lightboxes and many many more, if you are looking for an all-in-one tool for all your image management needs it’s surely worth a try. If on the other hand you just want to add a bunch of images in your content perhaps the core block is perfect for you.