Documentation for Pinmaister – Legacy
Theme installation
The easiest way to install the theme, is by accessing your WordPress admin panel, then go to Appearance > Themes. Select the Install Themes tab and click the Upload link located just below the tab’s name. Click on Browse… and select the WordPress theme zip file you just downloaded. Then click the Install Now button, and after a few seconds, your new theme should be installed. Click activate and the theme is ready to use.
In order to install the theme manually, or in case you have trouble installing it through the admin panel, you have to unzip the WordPress theme’s zip file on your computer, and upload via FTP the resulting theme folder into your WordPress installation themes folder (wp-content/themes). Then, from the WordPress admin go to Appearance > Themes. The theme should be available in your themes list. Click activate.
TIP: More info on how to download and install a theme here.
Image Sizes
The minimum recommended image sizes for Pinmaister are:
- Post thumbnail: 360x450px
- Default featured image: 817px wide, no height requirement in place
- Narrow featured image: 750px wide, no height requirement in place
- Fullwidth featured image: 1140px wide, no height requirement in place
- Masonry thumbnail: 360px wide, no height requirement in place
- Header image: 1600x255px
- Slider image: 1600x860px
Useful Plugins
These plugins provide functionality and features used directly (or not) by the Theme. So, it is recommended to install and activate them before importing your sample content.
- User Submitted Posts: this plugin will allow your users to submit content to your site, you can then approve it to have it appear live.
- Contact Form 7 use this plugin to create a contact form, then copy the shortcode it gives you and paste it in a page which will serve as your contact page.
- WP Instagram Widget: Use the latest version of this plugin to help you display your Instagram feed in any of the theme’s sidebars.
- One Click Import : Use this plugin to help you import your content with just one click.
Importing Sample Content using One Click Import
To automate the process of importing and for a better experience we have natively included support for OneClick Import Plugin. Let install it fist:
From your WordPress dashboard
- Visit ‘Plugins > Add New’,
- Search for ‘One Click Demo Import’ and install the plugin,
- Activate ‘One Click Demo Import’ from your Plugins page.
From WordPress.org
- Download ‘One Click Demo Import’.
- Upload the ‘one-click-demo-import’ directory to your ‘/wp-content/plugins/’ directory, using your favorite method (ftp, sftp, scp, etc…)
- Activate ‘One Click Demo Import’ from your Plugins page.
Once the plugin is activated you will find the actual import page in: Appearance > Import Demo Data.
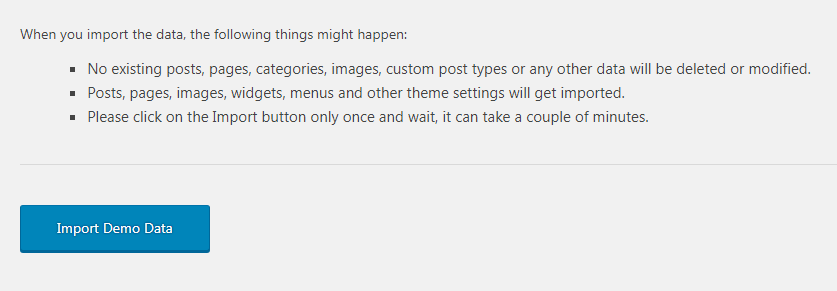
Click on the Import demo data button and you are done!
This plugin requires PHP version of at least 5.3.x, but we recommend version 5.6.x or better yet 7.x. Please contact your hosting company and ask them to update the PHP version for your site.
Importing sample content manually
To get the sample content file you can click the link in the notice that will appear on your dashboard immediately after activating the theme.

Extract the zip file you downloaded and upload the xml file in Tools > Import > WordPress (if not already present, you will be prompted to install the WordPress importer plugin), assing the authors to an existing user and make sure you check the “import attachments” box. You can now import the sample content.
You can also download the Sample Content for Pinmaister by clicking here
Importing widgets
You can also import the widgets you see on the theme’s demo. To do that, you need the Widget Importer & Exporter plugin. To install it go to Plugins > Add new search for widget importer exporter and install the plugin. Activate it and go to Tools > Widget Importer & Exporter click choose file and upload the pinmaister_widgets.wie file which is located in the sample content zip file, click Import widgets and you are good to go.
WARNING: As this will create posts, pages, custom post types, categories, widgets, etc. and change various system settings, it is strongly advised that you do this on a clean WordPress installation, without any previous and/or precious data. Under no circumstances we can be held responsible for total or partial data loss, so please be careful.
Setting up your theme
1) Populating your blog
To add new posts to your blog, go to Posts > add new and proceed to:
- add a title to your post,
- enter the content in the editor,
- upload a featured image by clicking “Set featured image” on the Featured Image panel,
- add categories to the post,
- add any tags you might need,
- and move to the Post Options metabox.
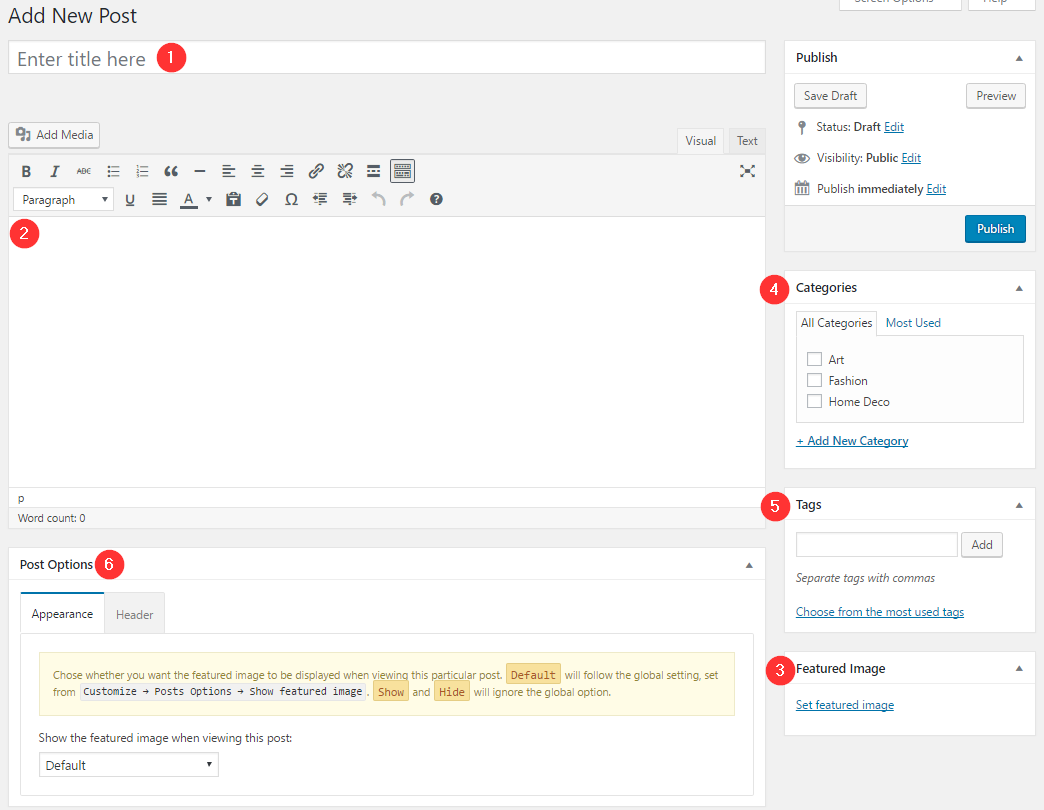
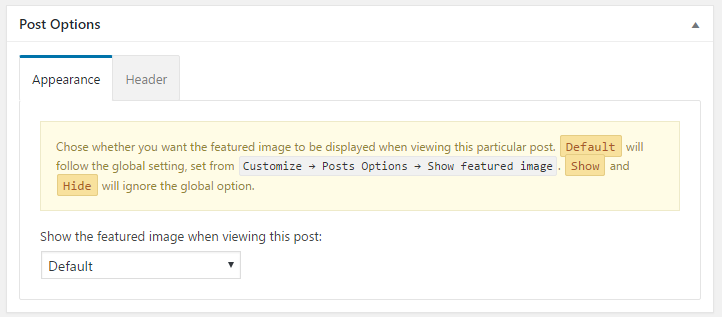
In the Post Options metabox, under the Appearance tab you can select whether you want to show the post’s featured image on the single view and in the Header tab you can set and configure the post’s header image.
Once you are done click the Publish button to publish your post.
2) Customizing the appearance
All theme customization is done via WordPress’s built in customizer. If you haven’t used it or want to learn more about it, please read this article.
Go to Appearance > Customize and you will see this

TIP: any changes you make in the tabs below will be previewed live on the site which appears in right side of the screen, however to save these changes you need to click the Save & Publish button on the top of the bar, if you have made a change but see the button grayed out (for example changed the font size of a heading), move the cursor outside the input box, for example, to the next input box, then the button should be clickable again.
Let’s take a look at the options each tab gives you.
-
Site Identity
In this tab you can modify the site’s title, tagline, logo, footer logo and site icon.
-
Layout Options
Here you can configure the length of the automatic excerpt, choose between numbered and older/newer pagination, select between 3 and 4 columns for the post listing page layout and toggle the masonry effect.
-
Posts Options
Here you can toggle various aspects of the single post’s appearance, such as dates, categories, excerpt, comment & like count, featured image, tags, social sharing buttons, author box, related posts and comments.
-
Appearance
Under the appearance tab you will find four panels. The Global Colors which will help you fine tune the color scheme of the main content areas, the Header panel which allows you to set the global header image and modify the colors of the header elements, the Sidebar Colors which will allow you to customize colors for sidebars and the Typography tab which allows you to modify heading sizes.
-
Social Networks
Here you can fill in the URLs to your various social network profiles supported by the theme. These will appear on the header, footer automatically, you can also display them in the post/page sidebar by adding the Theme – Social Icons widget in the blog or page sidebar.
-
Titles
Set the section title for the blog, search, and 404 pages. Additionaly modify the title of the related posts section and author box.
-
Menus
Here you can create and assign your main menu to the theme. To learn more about menu creation check out the Codex’s menu user guide here.
-
Widgets
Through this tab you can add widgets to the theme’s sidebars. The theme features eight sidebars. The main sidebar, the pages sidebar, the homepage sidebar, the prefooter sidebar and four footer ones.
-
Static Front Page
If you don’t wish to have your latest posts on the front page and wish to display static content using a normal page, or want to use the looks template as your front page, you can do so here. Set the desired page as your static front page and save.
-
Other
In this tab you can select the User submission page, set the footer text, add custom CSS and set your Google Analytics Tracking ID.
Theme pages
The contact page
For the contact page on the theme’s demo we used a page with the Narrow Page template applied to it and pasted in a contact form created with the Contact Form 7 plugin.
User submission page
To accept user submissions for content start by installing and activating the User Submitted Posts plugin. Next create a new page, apply to it the Narrow Page template (if you want it to look like the one on the theme’s demo) and in its content area paste the following shortcode:
[user-submitted-posts]
Publish the page and make sure you have it set as your User submission page under Customize > Other. Now users can click the + sign that appears on the right of the menu bar to get to the submission page and send you their content.
The Home Page
To create a homepage go to Pages > Add New and create a new page using the Homepage Template. Then go to Customize > Static Front Page and set the newly created page to be your static front page. The page is fully widgetized so you need to navigate to Customize > Widgets and add the widgets of your choice to the Homepage sidebar.
Recreating the demo’s homepage layout
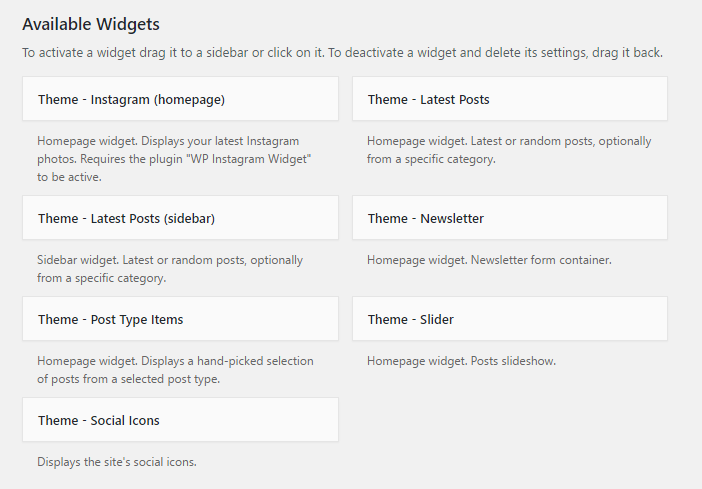
The entire front page template is widgetized to provide you with maximum flexibility. Below we list the widgets used on the demo’s home page.
- Theme – Slider: This widget creates the slider. You can either select to display posts from a certain category or hand pick your posts by placing their IDs in the corresponding box. Set the time out and animation speed and save your slider.
- Theme – Post type items: This widget displays four hand picked posts in a four column grid layout.
- Theme – Latest Posts: This widgets displays the latest six posts from a pre-set post category in a three columned carousel layout.
- Theme – Newsletter: The widget contains an HTML form for newsletter submissions.
- Theme – Latest Posts: This widgets displays the latest eightposts from a pre-set post category in a four columned grid layout.
- Theme – Instagram (homepage): This widget displays the latest 8 images from a preselected Instagram account.
Widgets
Along with WordPress’s widgets we have created 7 custom ones. They are really simple and they let you display various important info around the site.
You will find a small description in each widget detailing its usage.
Please note that the Theme Instagram (homepage) widget will only appear if the WP Instagram Widget plugin is installed and activated.
Next Steps
Still have questions or problems setting up your CSSIgniter Theme? We will be happy to help you out! Please visit our support Hub