Documentation for Milos – Legacy
Milos is a WordPress theme designed for hotel, resorts and restaurants.
Theme installation
To install the theme, access your WordPress admin panel, then go to Appearance → Themes. Select the Install Themes tab and click the Upload link located just below the tab’s name. Click on Browse… and select the WordPress theme zip file you just downloaded. Then click the Install Now button, and after a few seconds, your new theme should be installed. Click activate and the theme is ready to use.
TIP: Visual instructions can be found here
In order to install the theme manually, or in case you have trouble installing it through the admin panel, you have to unzip the WordPress theme’s zip file on your computer, and upload via FTP the resulting theme folder into your WordPress installation themes folder (wp-content/themes). Then, from the WordPress admin go to Appearance → Themes. The theme should be available in your themes list. Click activate.
Image Sizes
The recommended image sizes for the Milos theme are:
- Post Thumbnail: 1140x694px
- Slider: 1920x920px
- Hero: 1920x600px
- Listing Item: 750x850px
- Menu Item: 68x86px
Useful Plugins
These plugins provide functionality and features used directly (or not) by the Theme. So, it is recommended to install and activate them before importing your sample content.
- Socials Ignited use this plugin to create a widget that links to all your social profiles. You can also customize it with your icons and add new social networks, a guide can be found here.
- Contact Form 7 use this plugin to create a contact form, then copy the shortcode it gives you and paste it in an empty page.
- WP Instagram Widget: Use the latest version of this plugin to help you display your Instagram feed in any of the theme’s sidebars.
- WordPress Jetpack: You can use this to add Testimonials, tiled Galleries, better LightBox, insert sharing buttons etc.
Jetpack
Milos uses Jetpack extensive to display menu items, testimonials and create unique galleries for a better user experience. With Jetpack you can Add a rich, beautifully-presented media — no graphic design expertise necessary:
- [free] A high-speed CDN for your images
- [free] Carousels, slideshows, and tiled galleries
- [free] Simple embeds from YouTube, Google Documents, Spotify and more
- [free] Sidebar customization including Facebook, Twitter, and RSS feeds
- [free] Extra sidebar widgets including blog stats, calendar, and author widgets
For more information on Jetpack’s enchantments have a look here.
Importing Sample Content using One Click Import
To automate the process of importing and for a better experience we have natively included support for OneClick Import Plugin. Let install it fist:
From your WordPress dashboard
- Visit ‘Plugins > Add New’,
- Search for ‘One Click Demo Import’ and install the plugin,
- Activate ‘One Click Demo Import’ from your Plugins page.
From WordPress.org
- Download ‘One Click Demo Import’.
- Upload the ‘one-click-demo-import’ directory to your ‘/wp-content/plugins/’ directory, using your favorite method (ftp, sftp, scp, etc…)
- Activate ‘One Click Demo Import’ from your Plugins page.
Once the plugin is activated you will find the actual import page in: Appearance > Import Demo Data.
Theme pages
Let’s start by adding the first few basic pages you are going to need. Go to Pages → Add New and create the following pages:
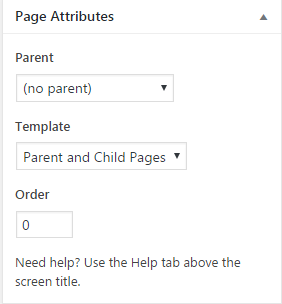
Creating Parent and Child pages
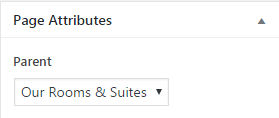
To set up the Parent and Child page select it under the Page Attributes drop down on the right. This page will list all child pages as items when displayed. This means you can use pages as Rooms and organize them as children pages under a Parent and Child Page. You can select a parent page from the Page Attributes dropdown on the right.
Creating Menu pages
This page will list all your Food Menu Items. You can select this template from the Page Attributes drop down on the right
Creating a Booking Page
This is the a Default WordPress page but with a Contact Form 7 form inside.
Blog
this will be your posts page. Just create and publish a blank default page named “Blog” (or whatever you wish to name it) without adding any content, no further action needed for now.
Setting up your theme
These are the basic elements that Milos uses to render your custom content.
Adding Food Menus
Milos uses Jetpack to display Food Menus, so Installing and Activating Jetpack is mandatory if you want to use Food Menus.
If you wish to have an overall view of your menu you can navigate to Food Menus→Menu Items. There you will have a screen like this

- You can Quickly Add a menu item.
- Change the Menu section
- Order your menu Sections the way you want them to display in your Menu Page template.
- Save the order if changed.
- Search your menu items.
When Adding a new Menu item from the above screen or from Food Menus→Add One Item you get this screen bellow

- Add the Menu Item Name.
- Add the Menu Item Description.
- Add the Price.
- Select a Menu Section (Main Menu, Desserts etc).
- Add a custom label (Chef’s Special, Spicy, etc).
- Add a featured image.
- Publish your Item.
You can also Add multiple Menu Items from Food Menus→Add Many Items.

- Select the Section you wish your Items to belong.
- Add Some Name, Price, Label and Description
- Add a New Row.
- Save your Items.
Adding Testimonials
Milos uses the Testimonial post type from Jetpack. So you will need to Install and Activate Jetpack if you want to use Testimonials.
The Testimonial custom post type allows you to add, organize, and display your testimonials. If your theme doesn’t support it yet, you can enable the Testimonial custom post type by activating the Custom Content Types module in your Jetpack settings.
You can then choose to display testimonials using the testimonial shortcode ( [testimonials] ) or you can view a full archive of your testimonials at yourgroovydomain.com/testimonial.
Setting Up the Frontpage
Creating a Front Page
To set up the homepage create a page named Home and set to it the Homepage Template from the Page Attributes drop down on the right. To add content to your front page go to Customize → Theme Options→Frontpage and use the theme’s sections to help you display your content.
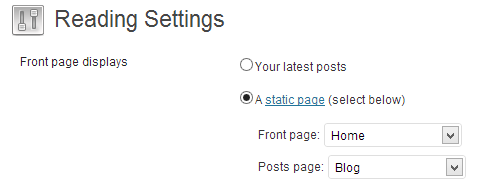
Once the pages are created, navigate to Settings → Reading and set the “Home” page to be your static frontpage and the “Blog” page as your posts page, as demonstrated in the image below.
Adding content to the Front Page
We will need to create the pages that we need to display in our Frontpage. We are going to recreate our demo site, but you are free to implement your own case scenario.
Adding a Slider or a Video background
Have a look in the Featured Slider Content section under Customizing your theme on adding a frontpage slider. You can easily add a video background instead of a slider by navigating to Appearance→Customize→Theme Options→Front page and pasting a Video URL (Youtube, Vimeo) under the Video URL field.
Recreating Frontpage Sections
First we will create a “Best Experience Ever” page with a simple testimonial inside. So go ahead and create a new page from Pages→Add New named “Best Experience Ever.” then add this shortcode inside to display our latest testimonial which we have already setup from Testimonials→Add New.
[testimonials showposts="1"]
Now let’s render it in our frontpage! Navigate to Appearance→Customize→Theme Options→Front page and Select the “Best Experience Ever” page we have just Created in the Section 1 page dropdown.
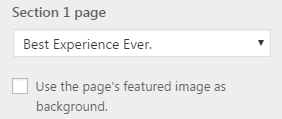
If you want to add a background image for this section you will need to add a Featured image in your page and select the Use the page’s featured image as background option.
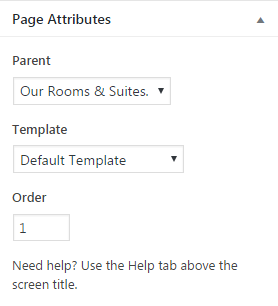
Next we are going to set up our “Our Rooms & Suites” page. First create a new page named Our Rooms & Suites from Pages→Add New. Then set the template from Page Attributes section to Parent and Child Pages.
That’s it! Save it we are done. This will serve as a main listing page, and all pages that have this page as parent will be its listing items. Go ahead and create some new pages with some content and a featured image and add this page as their parent from Page Attributes.
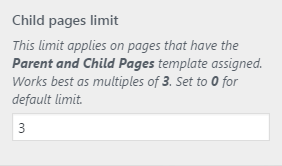
Lets navigate again to Appearance→Customize→Theme Options→Front page and under Section 2 page let’s select our parent “Our Rooms & Suites” page. You will notice all our Child pages content appeared. You can control how many of these child pages you want to appear globally in the same Customizer section. Use multiples of 3 for better results.
Let’s continue by creating a new page named “Our Beautiful Island”. In this page we are going to add a simple WordPress gallery enchanted by Jetpack’s tiled galleries. For more information on adding a gallery have a look here. Again in our Customizer we are going to select this page for our third section under the Section 3 page.
Next, we are going to create a new page named “Our Restaurant” in which we are going to select the Menu Page template under Page Attributes. This will work great as our fourth section, but since we dont want to bloat our Frontpage with unwanted menu items, we will truncate our content to show only what we wish. This can be easily done with the use of the native WordPress Read more tag button.

Finally, we are going to setup our contact / booking form and place it in our last fifth section. Go ahead and create a new page named “Plan your visit.” with your Contact Form 7 shortcode inside.
Select the page as a Section 5 page under your Customizer section as mentioned above.
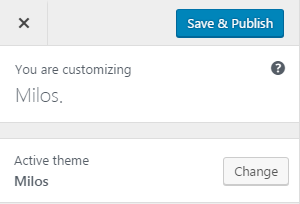
Save your Customizer Changes by clicking on Save & Publish Button and you are ready!
Customizing your theme
All theme customization is done via WordPress’s built in customizer. If you haven’t used it or want to learn more about it, please read this article.
Go to Appearance → Customize and you will see this

TIP: any changes you make in the tabs below will be previewed live on the site which appears in right side of the screen, however to save these changes you need to click the Save & Publish button on the top of the bar, if you have made a change but see the button grayed out (for example changed the font size of a heading), move the cursor outside the input box, for example, to the next input box, then the button should be clickable again.
Let’s take a look at the options each tab gives you.
Menus
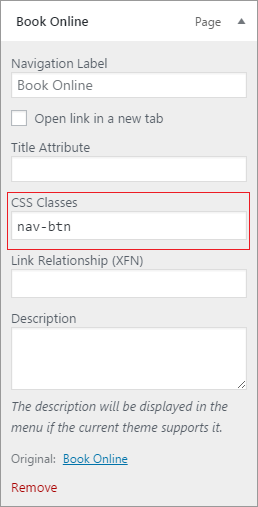
Here you can create and assign menus to the theme. The theme features one menu location, the main menu one. To learn more about menu creation check out the Codex’s menu user guide here. You will notice that one menu item comes with a different styling. This is the book menu item but you can add this styling to any menu item by applying the nav-btn class in the CSS Classes menu Item field.
Site Identity
In this tab you can modify the site’s title, tagline, logo and site icon.
Content Options
Here you choose between a full post or an excerpt for the blog and archive pages, change the Post details, show or its date, author, category, tags. Also, you can hide or show your featured images in posts or archives or pages.
Colors
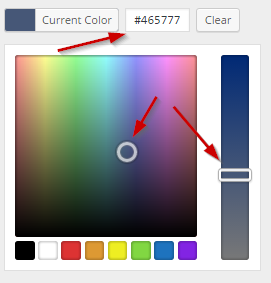
Are you looking to create your own unique color scheme? This tab will help you do it by allowing you to modify the colors of many elements of the content. To do that click the Select Color button and either use a hex color value in the box or use the palette to select a color.
Typography Options
Through this tab you can control the font size of key theme elements, such as headings, body and widgets. If you want to change the default Theme fonts have a look here
Widgets
Through this tab you can add widgets to the theme’s sidebars. This theme features two main sidebars, the blog and pages
Static Front Page
Use this tab to make the Home page your static front page so you can take advantage of the homepage template we have created for you.
Featured Slider Content
Milos allows you to set up to six posts as “featured,” which means they’ll be displayed in a slider in your Frontpage.
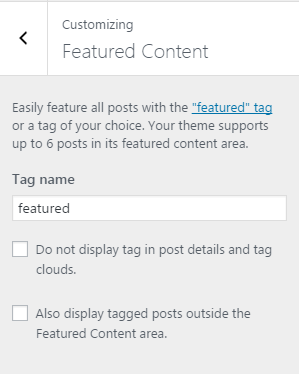
To add a post to the Featured Content Slider, the first step is to pick a special tag and set that in the Customizers Featured Content panel. For example, if you set the tag to be featured, all posts tagged with “featured” will be displayed in the Frontpage Content Slider.
To set your special tag, go to Appearance → Customize →Featured Content and type in the tag in the Tag name field.
To add a page or a post to the Featured Content slider, start a new page at Pages→ Add New or post at Posts→Add New , give it a title, and add content that you want to be shown on the slider.
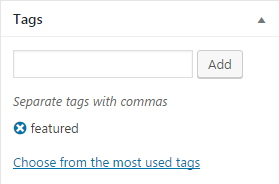
Add a Featured Image to the page , and add the special tag that you set in the previous step. Publish the post and it will show up on the Frontpage Content slider.
You can also add a manual excerpt that you wish to appear after your Title in your Featured Content Slider, by filling it in the Manual Excerpt Section in your post or page.

Testimonials
Here you can add a Title, Some description and an image for your Testimonials Archive.
Theme Options
Theme options is split in two sections.

In the Header tab you can control if you want to have a sticky menu. In the Theme Options tab you can select the pages you need to render after your Slider in your Homepage.

Here you can add a Video replacing your Featured Content Slider and select the pages you wish to show in your Frontpage. Currently you can have up to five Section pages. If you want to show less Child pages under the parent ones you might have selected in a section, change the Child pages limit accordingly.
Additional CSS
In this tab we host the custom CSS panel which you can use to insert styles for elements not covered in the rest of the tabs.
How to use the page builder template
The theme comes bundled with a page builder template which allows you to use your favorite page builder plugin on it and create unique layouts very easily.
You can use any page builder your wish but we recommend these three for a better experience.
- Elementor
The advanced drag & drop live page builder. - The Divi Builder
A drag & drop page builder plugin for WordPress - SiteOrigin Page Builder
The free responsive WordPress page builder.
To use that template start by going to Pages > Add New. This will create a new page. Add a title to your page and select the Page builder template from the template drop down in the Page Attributes metabox.
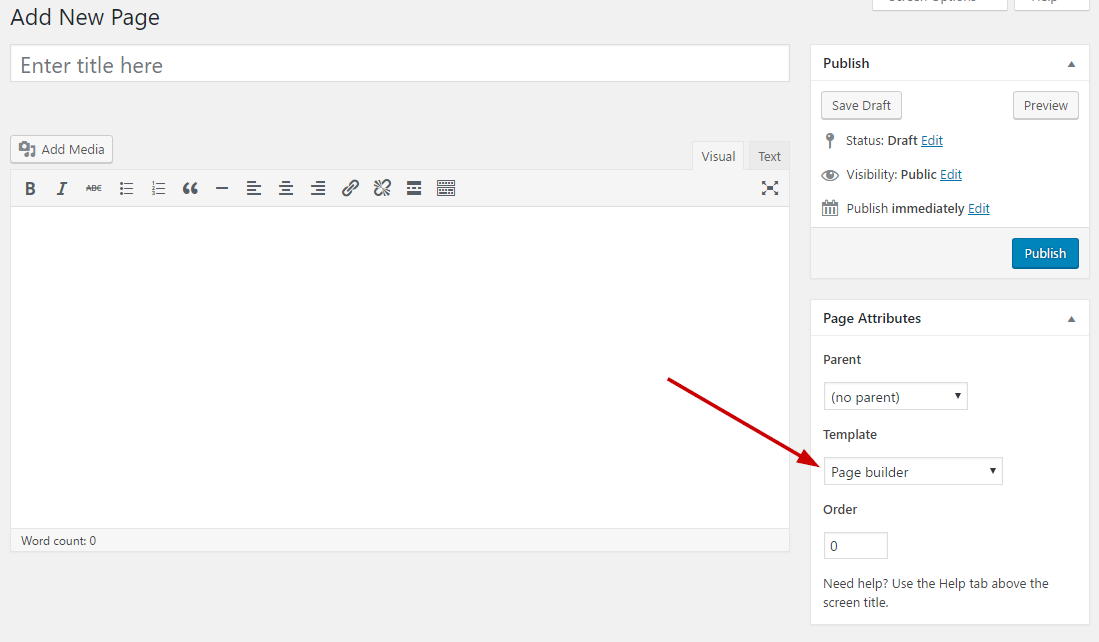
That’s it. You can now start building your page using the page builder of your choice, once done publish it and check it out.
Next Steps
Still have questions or problems setting up your CSSIgniter Theme? We will be happy to help you out! Please visit our support Hub