Documentation for Mavika
Zip file contents
In the zip file, you will find the following:
- DOCUMENTATION Contains a text file with a link to this document.
- HTML Contains the HTML version of the template. You can integrate it to your favorite CMS.
- WORDPRESS In this folder you will find the zip file which contains the theme, called “mavika.zip” also you will find the child theme called mavika_child.zip and finally, a subfolder called sample content which contains the sample content files, these are the mavika.xml and mavika.wie
Installing the theme
Login to your WordPress admin panel. Go to Appearance > Themes. Click on the Add New button.

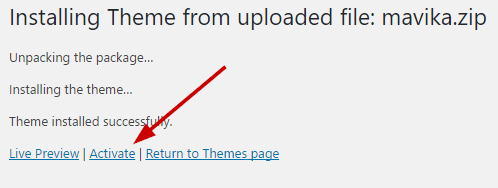
Click upload and Choose File. Select the mavika.zip located in the WORDPRESS folder and click Install.


Wait for the theme to upload and you will get a message that says “Theme installed successfully”. Click Activate and congratulations! You just installed the Mavika theme!
Next, follow the exact same procedure to install the child theme. Upload the mavika_child.zip, install it and activate it. This is very important if you plan on making any changes to the theme’s templates since it will help you keep these changes across updates. More info about child themes you can find here.
Notice: In order to setup the theme as seen on our preview you need to keep reading. Even If you are an experienced WordPress theme user do read this documentation in order to understand our approach on various things around the theme.
Installing WooCommerce
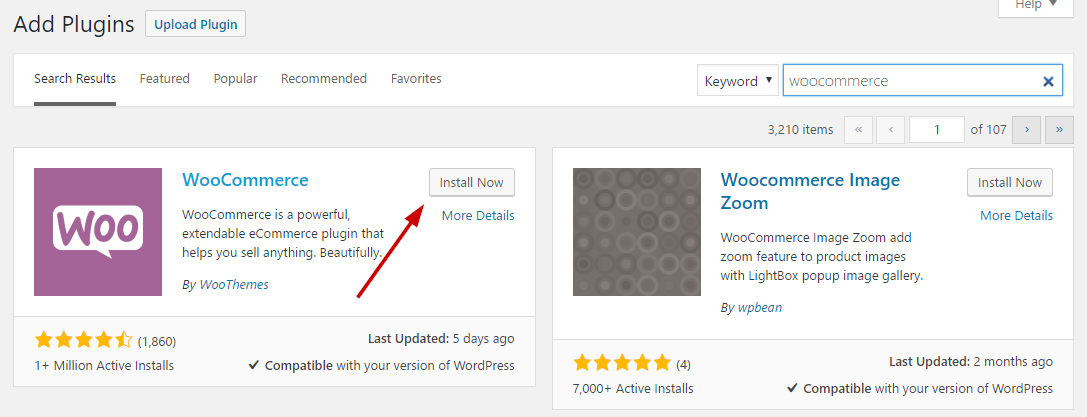
To enable eCommerce functionality for your website you need to install and activate the WooCommerce plugin by WooThemes. You can download the plugin free of charge from the WordPress Plugin Repository.
Go to Plugins > Add New and search for WooCommerce. Once the results come back, click the Install Now button.
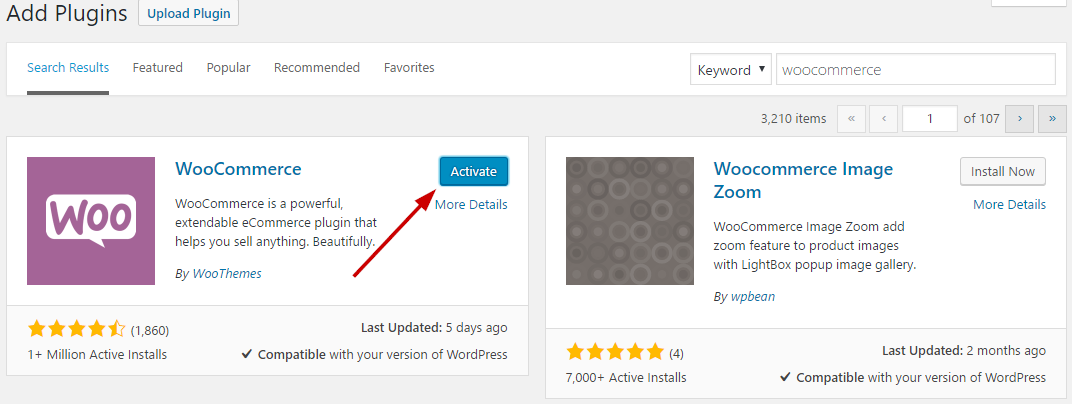
Once the installation is finished, click the Activate button to activate the plugin.
For detailed installation and usage instructions please refer to the plugin’s documentation.
Once you have installed and activated the WooCommerce plugin please install its pages by clicking on the button that WooCommerce provides on its banner. This will likely create a duplicate of some pages along with the pages install by the sample content but its a needed step. You can delete the old pages that came with the sample content or use them instead by going to WooCommerce > Settings > Pages and assign them anew.
Installing Visual Composer
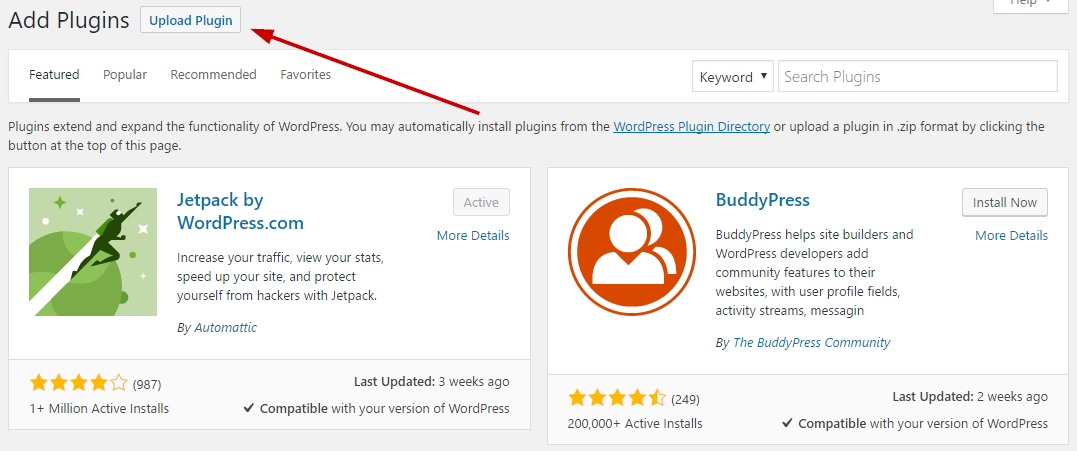
The theme comes bundled with the very popular Visual Composer plugin to help you create awesome layouts. To install the plugin navigate to Plugins > Add New and click the Upload Plugin button.
Importing sample content
To get the sample content file go to the /wordpress/sample content/ folder of the zip file. Additionally you can click the link in the notice that will appear on your dashboard immediately after activating the theme.

Extract the zip file you downloaded to get the sample content & widgets files.
Importing the sample content is easy. Go to Tools > Import and select the last option called WordPress.
If the Importer is not installed, a popup window will appear asking you to install it. Click the Install button on the right and click Activate Plugin & Run Importer
Click Browse, select the mavika.xml file you extracted earlier and click Upload file and import. It will ask you to import one or more authors. Just assign the posts from all of them to your existing user account by selecting it from the drop down menu. Check the Download and import file attachments. Click Submit.
NOTE 1: This will take a while. It could even take minutes because of importing all the placeholder images etc. So if you are out of coffee, go for a re-fill :)
NOTE 2: Demo Images are under copyright so you can’t use them.
NOTE 3: You need to set your permalinks at Settings > Permalinks > “Post name”
option.NOTE 4: If you get a SERVER TIME OUT you need to contact your hosting provider. It’s not a fault with the theme :) more info here
Importing widgets
You can also import the widgets you see on the theme’s demo. To do that, you need the Widget Importer & Exporter plugin. To install it go to Plugins > Add new search for widget importer exporter and install the plugin. Activate it and go to Tools > Widget Importer & Exporter click choose file and upload the mavika_widgets.wie file which is located in the sample content zip file, click Import widgets and you are good to go.
WARNING: As this will create posts, pages, custom post types, categories, widgets, etc. and change various system settings, it is strongly advised that you do this on a clean WordPress installation, without any previous and/or precious data. Under no circumstances we can be held responsible for total or partial data loss, so please be careful.
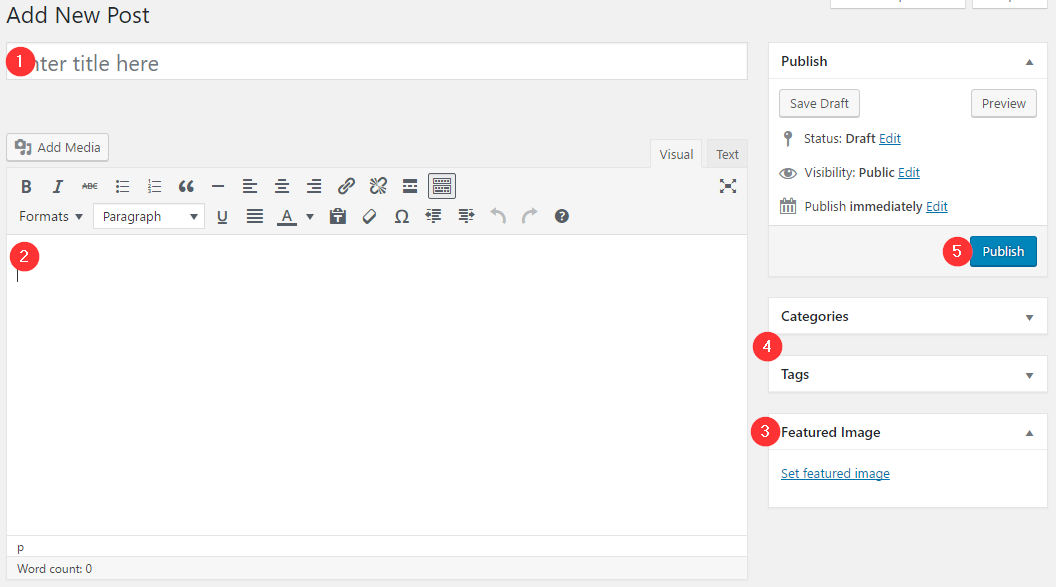
Adding a new post
To add new posts to your blog, go to Posts > add new and proceed to:
- add a title to your post,
- enter the content in the editor,
- upload a featured image by clicking “Set featured image” on the Featured Image panel,
- add a category and/or tag to the post,
- once finished click the Publish button to publish the post.
Creating a page for your posts
To setup your blog page you can go to Pages > Add New and create a page named Blog. Then navigate to Settings > Reading and set that page as your posts page.
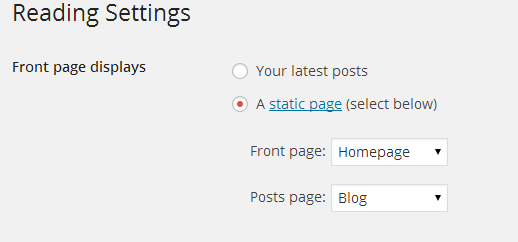
Now you can add that page to your menu to give your visitors easy access to all your posts.
Adding Products
Earlier we saw how we can install WooCommerce. Let’s take a brief look at creating products. Start by going to Products > Add Product.

- First we need to fill in the product title,
- next we will add the product’s description,
- click Set Product Image to add the product’s featured image and Add product gallery images to upload additional photos for the product,
- add categories and tags to your product to make filtering easier,
- in the Product Data metabox you will fill all the required product info, such as price, inventory, tax and shipping information and more,
- in the Product Appearance metabox you can disable the zoom on product thumbnails and add a video to the product’s gallery if you have one,
- fill in a short product description and finally
- Publish the product.
This is a brief overview of adding products to your site, the product post type is a complex one, if you haven’t worked with it before please consider reading the official documentation on how to add and manage products here.
Setup the shop page
Once you install and activate WooCommerce all the default pages will be created, including the shop listing page. To make sure this was properly configured go to WooCommerce > Settings > Products > Display and check if the Shop page is selected in the Shop Page drop down.

If the drop down is empty, locate the Shop page and select it. If you can’t find a page named Shop, just go to Pages > Add New create one and then set it as your shop page. Add this page to your menu to give your visitors access to the product listing.
How to use the page builder template
The theme comes bundled with a page builder template which allows you to use your favorite page builder plugin on it and create unique layouts very easily.
To use that template start by going to Pages > Add New. This will create a new page. Add a title to your page and select the Page builder template from the template drop down in the Page Attributes metabox.
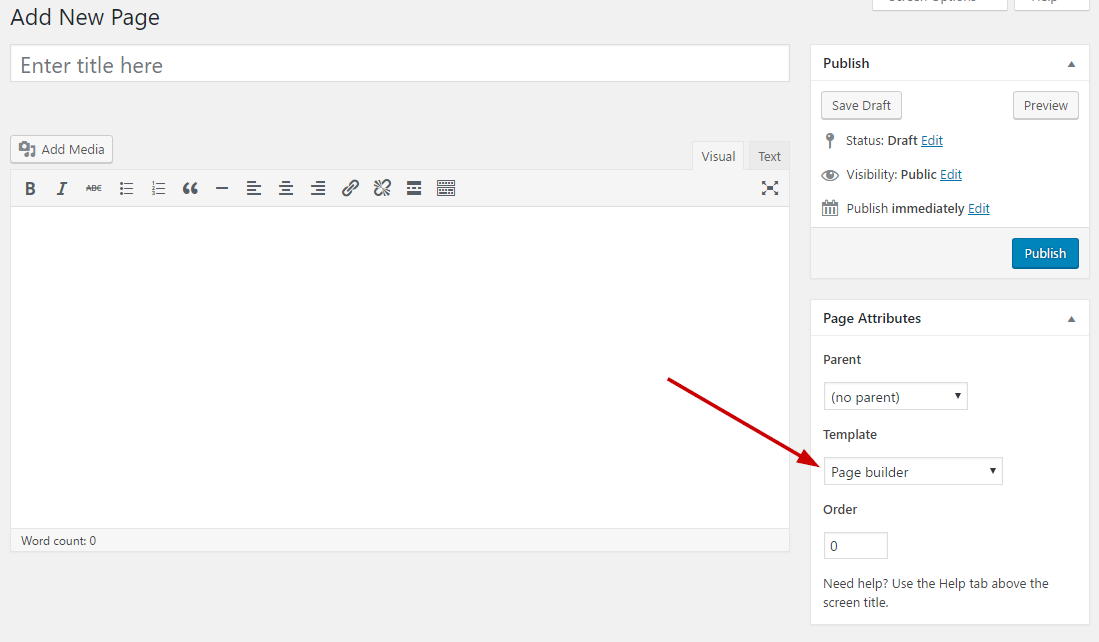
That’s it. You can now start building your page using Visual Composer which comes bundled with the theme.
Creating menus
Mavika offers three menu locations. The Main, Top and Footer. You can customize these menus any way you like to make navigation easier for your visitors. For info on how to create menus in WordPress, please have a look at our guide here.
Customizing the theme
All the theme’s options can be accessed via WordPress’ customizer. Navigate to Appearance > Customize and you will be presented with this panel.
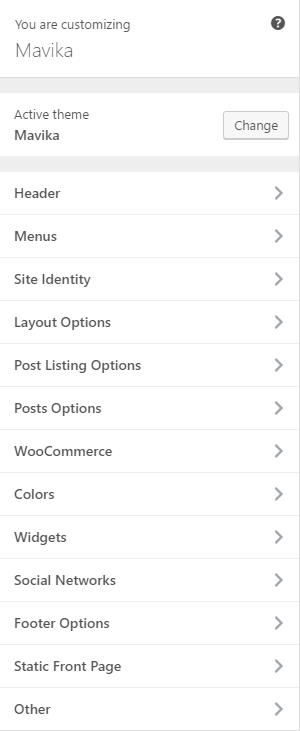
If you have used any theme from the WordPress.org theme directory you should be familiar with the usage of the customizer, if not you can read more about it here. Below we will take a look at the options each section offers.
Header Options
Header bar
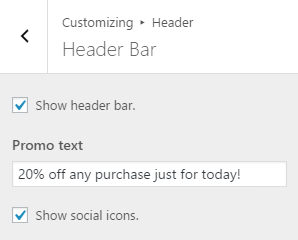
Here you can toggle the header bar, add a promo text on its left side and toggle the social network icons that appear on its right side.
Appearance
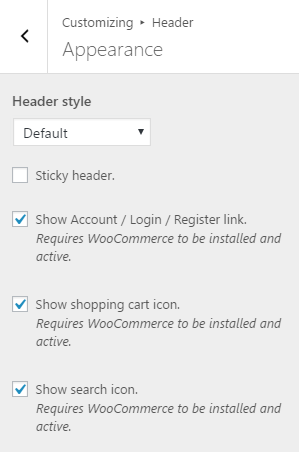
Under the appearance tab you can customize the header’s appearance. There are three layouts available, the Default with logo on the left and menu on the right, the Centered menu and Centered logo ones. If you want a sticky header you can enable it by checking the Sticky Header box. Finally here you can toggle the various shop related tools, like the account/login/register link, the shopping cart icon and search icon.
Menus
Using this tab you can create new or modify existing menus. For more info on menu creation please check the Creating Menus section above.
Site Identity

Here is where you take care of your site’s branding. You can set a logo, the site’s title and tagline and add a site icon which will be used on browsers and as an app icon on mobile devices.
Layout Options

In this tab you can modify the layouts of various pages on the site. You can globally toggle between a boxed or fullwidth layout, you can choose if you want a sidebar on your blog page and other listing pages. Additionally you can control the number of words on the automatic excerpt and toggle between numbered and previous/next pagination styles.
Post Listing Options
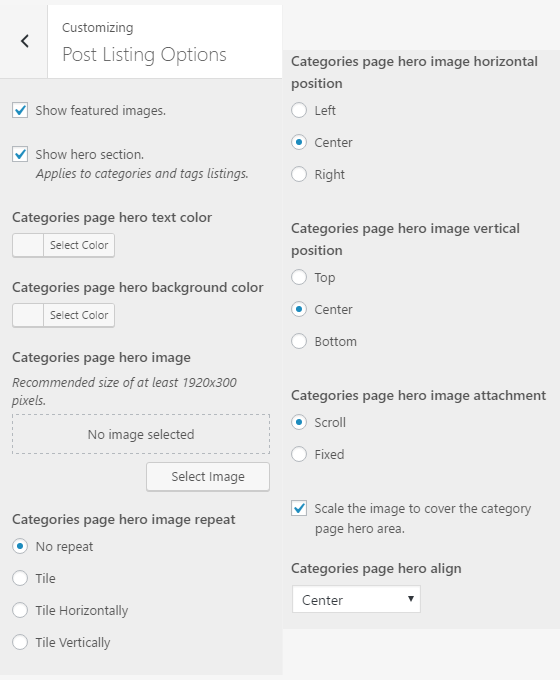
In this tab you will all options related to the appearance of post listing pages, such as the category listing ones. You can toggle featured images and the category hero section on and off if you so desire. You can also select the category hero text color and background.
Posts Options
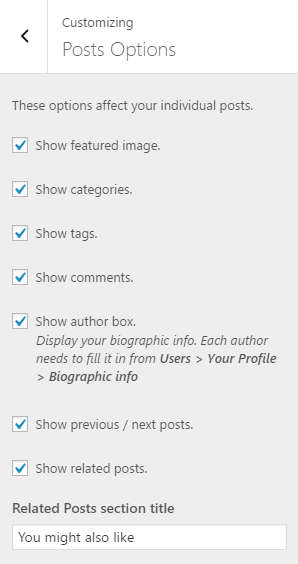
As you might imagine, this tab helps you configure the layout of single posts. You can toggle the featured image, the categories, tags, comments, author box, post navigation and related posts. You can also modify the title of the related posts section.
WooCommerce
Shop
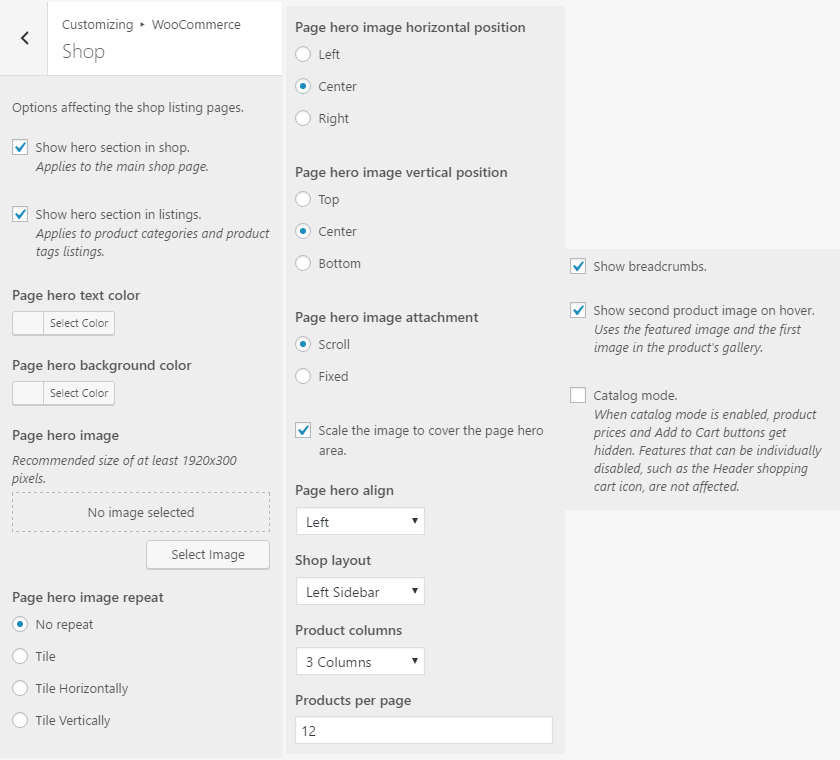
This tab allows you to customize the appearance of all shop listing pages. You can toggle the appearance of the hero section and set a hero text color and background. The shop’s layout can be customized by moving the sidebar to the left or right side of the products or even off-site. The number of columns and products on each listing page can also be customized here. You can also toggle WooCommerce’s breadcrumbs and select to show a second product image on hover. Finally you can set your shop to catalog mode which will disable the add to cart buttons and hide the prices.
Shop

Under this tab you can toggle various sections of the single product, such as review, up-sells, related products and social sharing buttons.
Colors
Global
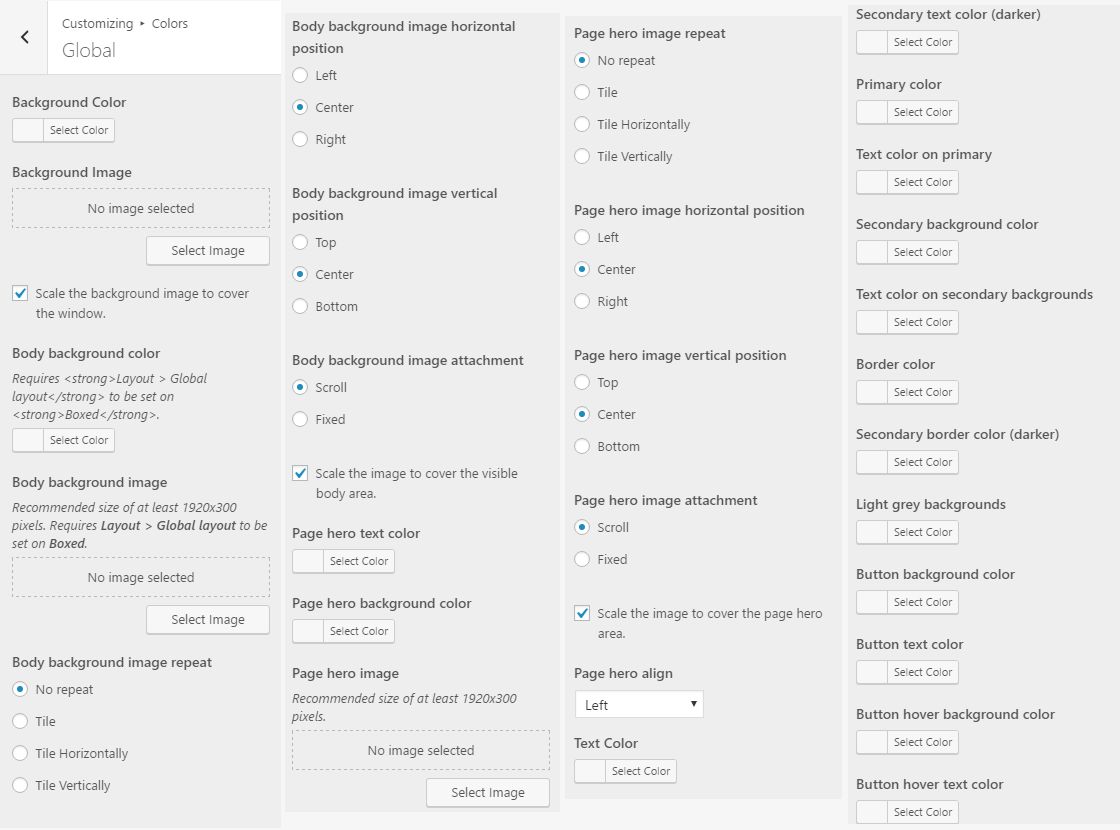
This is the go to tab when you want to modify colors on your site. Here you can set a background image or color, a global page hero text color and background and modify the color of text, buttons and borders.
Header
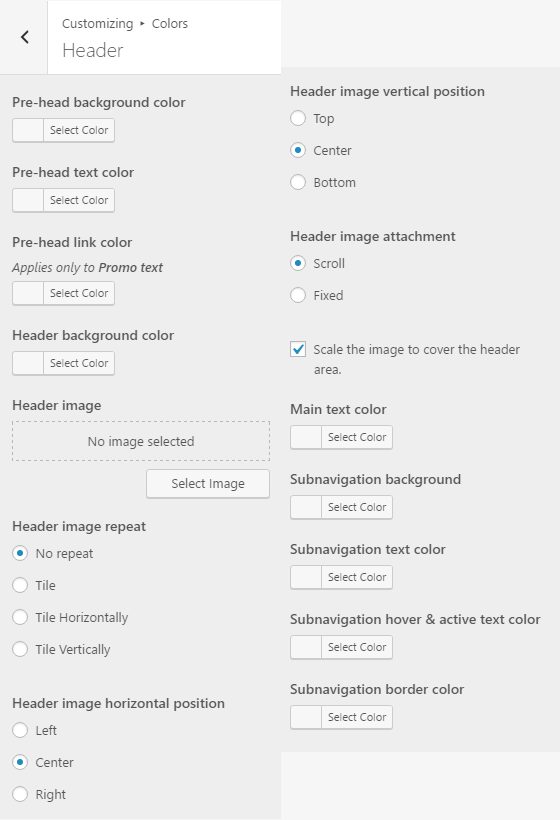
Here you can modify the header image and background color. You can also change the navigation colors.
Footer
The footer strip’s background and text colors can be modified throug the footer color tab.
Sidebar
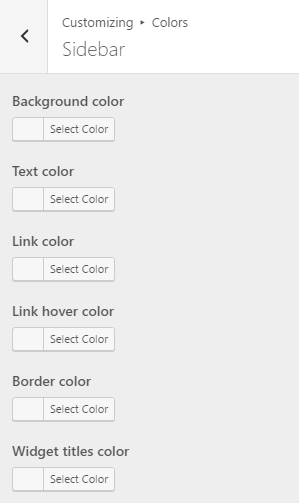
the last tab in the colors section allows you to change sidebar background color, text, link and border colors.
Typography Options
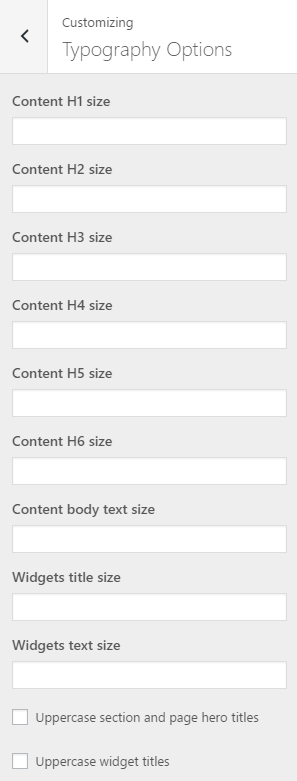
The typography options tab allows you to modify the size of all content headings, body text and widget titles and text. You can also set page, section and widget titles to be all uppercase.
Widgets
Through this tab you can access all the available theme sidebars and add widgets to them.
Social Networks

Fill in the links to your social profiles and use them on the header bar or in any sidebar using the social icons widget.
Footer Options
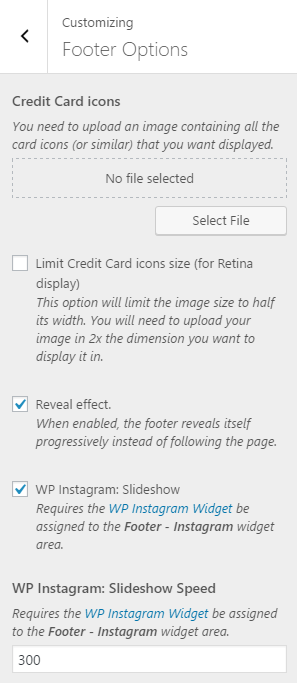
In this tab we can upload the credit cards icons to let people know which payment methods are accepted on your site. You can also toggle the reveal effect on the footer and the appearance of the Instagram carousel.
Static Front Page
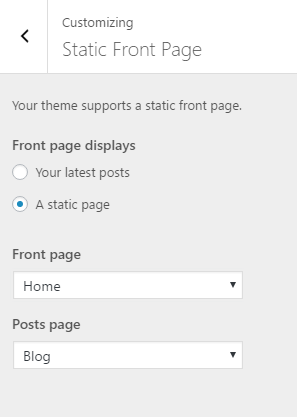
Using this tab we can choose what gets displayed on the front page of our site. For example if we want to create a homepage using Visual Composer we will need to create a new page using the Page Builder template, name it home and set it as our Front Page above. The Posts Page is the page that will display our post listing, as discussed earlier in the post creation section.
Other

This tab contains the custom CSS box which allows you to add custom styling if you need it and an input box where you can place your Google Analytics Tracking ID so you can monitor your site’s activity.
Custom Widgets
The theme comes bundled with three custom widgets. Let’s take a look at each one.
About Me
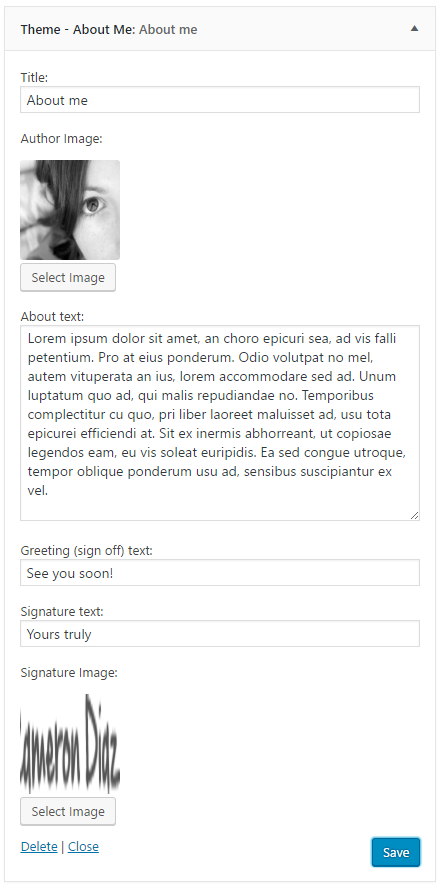
Using this widget you can create an author profile in just a couple of minutes. Add it to a sidebar, upload your author image, about text, greeting, signature & signature image and save.
Social Icons
![]()
This widget will display the social icons which you configured earlier under Customize > Social Networks.
Latest Posts
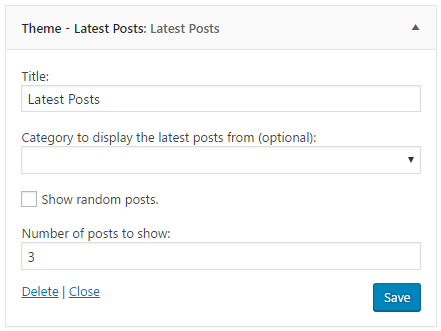
The latest posts widget will display a selected number of latest posts on any sidebar you want. You can optionally set it do display posts from a single post category, or display random posts.